
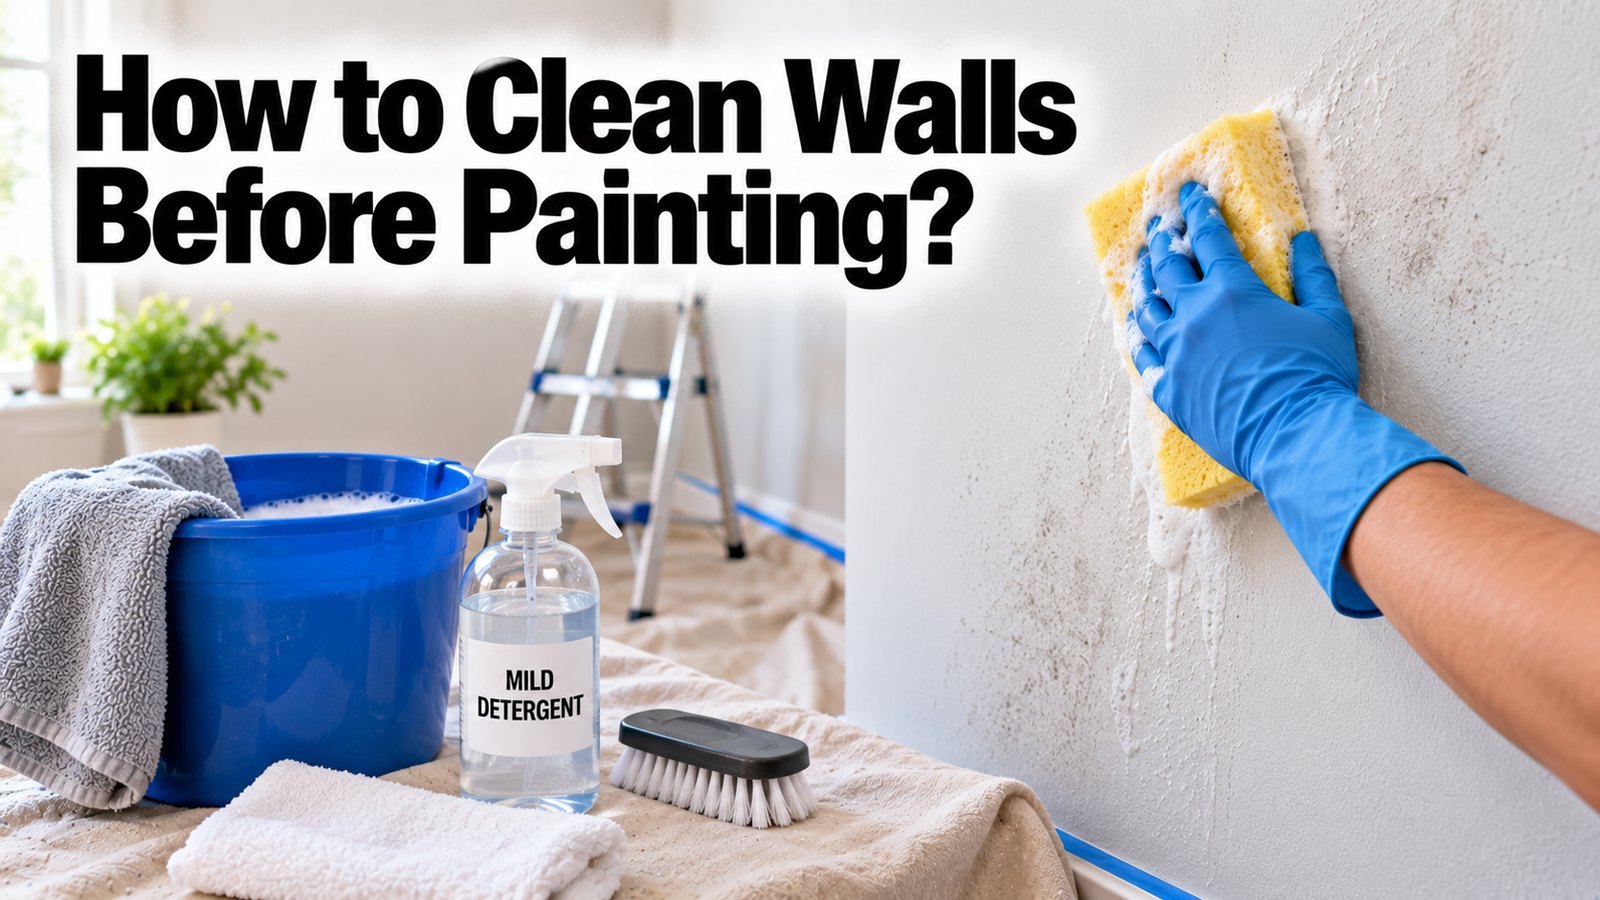

To clean walls before painting, dust them from the top down, wash them with warm water and a little mild dish soap, use a degreaser or TSP on greasy or stained spots, then rinse and let them dry completely. Clean walls matter because paint will not bond to dust, grease, or grime; skip this step and you risk peeling, bubbling, or a streaky finish. It is the least glamorous part of painting and one of the most important.
This guide walks through the whole process in order, which cleaner to reach for in different rooms, how to handle grease and glossy walls, and the common mistakes that undo good prep. None of it is hard, it just takes a little patience before the fun part.
Why cleaning walls first matters
Paint needs a clean, sound surface to grip. Over time walls collect a thin layer of dust, cobwebs, grease, and grime that you often cannot even see, and fresh paint clings to that residue instead of the wall. The result shows up later as peeling, bubbling, streaking, or a coat that simply does not last as long as it should.
Grease is the sneakiest culprit. A thin, invisible film of oil near a stove or a light switch is enough to make paint separate into little rings as it dries, a defect painters call fish-eye. No number of coats fixes it, because the problem is underneath. Cleaning first is what prevents these issues, which is why professionals treat it as a non-negotiable step rather than an optional one.
How much cleaning a wall needs depends partly on the room and the existing finish. High-traffic areas like hallways, kitchens, and bathrooms build up far more invisible residue than a quiet bedroom, so they deserve extra attention. The finish matters too: glossy and semi-gloss walls are easier to wipe down but slick enough that paint struggles to grip, while flat or matte walls are more delicate and can mark or burnish if you scrub too hard. Knowing what you are working with lets you clean thoroughly without damaging the surface you are about to paint.
The number one cause of paint that peels or fish-eyes is a surface that wasn’t clean. A few minutes of washing saves you from redoing the whole wall later.
How to clean walls before painting, step by step
Work through these in order. Prep the room first, then clean from the top down so you are never dripping dirty water onto an area you already finished.
- Prep and protect the room. Move furniture away from the walls, cover the floor with a drop cloth, and remove wall plates, picture hangers, and switch covers. Tape around trim and outlets to guard against moisture.
- Dust from the top down. Before any water touches the wall, sweep off loose dust and cobwebs with a vacuum brush attachment or a long-handled microfiber duster, starting at the top corners and working down. Pay attention to crown molding, corners, and baseboards.
- Mix a mild cleaning solution. In a bucket, combine warm water with a few drops of mild dish soap. This is enough for most walls, and gentler on the surface than harsh cleaners.
- Wash in small sections. Wipe with a soft, well-wrung sponge or cloth in gentle circular motions, working from the bottom up on each section to avoid streaks. Do not soak the wall; a damp cloth is all you need.
- Spot-treat grease and stains. For greasy kitchen walls, smoke stains, or stubborn marks, switch to a degreaser or a TSP solution on those areas, following the product’s safety directions.
- Rinse with clean water. Go back over the walls with a fresh cloth and plain water to remove any cleaner residue. This step is essential, since leftover soap or TSP interferes with paint adhesion.
- Let the walls dry completely. Wipe off excess moisture with a dry cloth and let the walls dry fully. Once they are dry to the touch, they are ready for repairs, priming, and paint.
The rinse and dry steps are the two people rush most, and they are exactly the ones that protect your finish. Give the walls the time they need before moving on.
Which cleaner should you use?
Most walls need nothing fancier than soap and water, but a few situations call for something stronger. Match the cleaner to the wall.
| Situation | What to use | Note |
| General dust and light dirt | Warm water + mild dish soap | Handles most walls |
| Greasy kitchen or stove walls | Degreaser or TSP | Soap alone just smears grease |
| Smoke or nicotine stains | TSP solution | Wear gloves; rinse fully |
| Glossy or semi-gloss walls | Clean, then scuff-sand or deglosser | Dull the sheen so paint grips |
The rule of thumb: start mild and only step up when the wall demands it. Warm soapy water covers general dust and dirt across most of a home. Reach for a degreaser or TSP only in grease-heavy or stained spots, and remember that TSP is a strong cleaner that needs gloves and a thorough rinse. Whatever you use beyond plain soap, rinsing off the residue is what keeps it from sabotaging your paint.
Handling grease and glossy walls
Two situations deserve extra attention because they are the ones most likely to wreck an otherwise good paint job.
Grease first. Kitchen walls, spots above a stove, and areas around light switches carry an oily film that ordinary soap just smears around rather than lifts off. Use a proper degreaser or a TSP solution (a common mix is about one cup of TSP to a gallon of warm water), work it in from the top down, let it sit briefly, then rinse thoroughly with plain water. Never let TSP dry on the wall, since the residue blocks adhesion just as surely as the grease did.
Glossy and semi-gloss walls are the other case. Their slick sheen gives new paint nothing to grip, so cleaning alone is not enough. After washing, lightly scuff-sand the surface with fine-grit sandpaper, around 150 to 220 grit, to dull the shine and create tooth, then wipe off the sanding dust with a damp cloth. Where sanding is awkward, such as on trim or molding, a liquid deglosser etches the surface chemically instead. Either way, you are turning a slippery wall into one that will actually hold a fresh coat.
Don’t forget repairs and a light sand
Cleaning pairs naturally with two other prep tasks. Once the walls are dry, scan for holes, cracks, dents, and peeling paint. Scrape off any loose paint, fill holes with spackle or drywall compound, let the repairs cure fully (usually at least 24 hours), then sand them smooth and level with fine-grit sandpaper.
A light overall sand helps too, even on walls that are not glossy. A quick pass with 180 to 220 grit gives the whole surface a bit of tooth so the new primer and paint bond more tightly. Wipe away the dust afterward with a dry or barely damp cloth, and vacuum the room so loose dust does not drift back onto the walls and into your wet paint.
One detail that saves headaches later: spot-prime your repairs. Bare spackle and patched areas absorb paint differently from the surrounding wall, so without a dab of primer they often show through the finished coat as dull, flat patches even after two coats of color. A quick touch of primer over each repair evens out how the wall drinks in the paint, so the final surface looks uniform rather than blotchy. It is a small extra step that makes the difference between a passable job and one that looks professionally done.
Common mistakes to avoid
Most prep problems come from a few avoidable shortcuts. Knowing them saves a redo.
- Skipping the rinse. Leftover soap, degreaser, or TSP left on the wall blocks paint from bonding, so always rinse with clean water after any cleaner.
- Painting over grease. Ordinary soap only smears an oily film around; use a degreaser or TSP, or the paint will fish-eye into rings.
- Not sanding glossy walls. A slick surface sheds paint no matter how clean it is. Scuff the sheen or use a deglosser first.
- Over-wetting the walls. Soaking a wall can damage the surface and drag out drying. Use a damp, well-wrung cloth, not a dripping one.
- Painting before it’s dry. Trapped moisture ruins adhesion. Let the walls dry fully to the touch before priming or painting.
Avoid those five and your prep is doing its job. Clean, dry, sound walls are what a lasting paint job is built on.
For more detail on the full routine, Bob Vila’s guide to cleaning walls before painting walks through each step, and The Home Depot’s guide to cleaning painted walls covers how different paint finishes handle cleaning.
Conclusion
Cleaning walls before painting is simple but essential. Dust from the top down, wash with warm soapy water, hit grease and stains with a degreaser or TSP, scuff any glossy areas, then rinse and let everything dry completely. Handle repairs and a light sand along the way, and avoid the classic mistakes of skipping the rinse or painting over grease. Do that and your new paint bonds to a clean, sound surface, giving you a smooth finish that lasts.
Frequently asked questions
Do you really need to clean walls before painting?
Yes. Paint will not bond well to dust, grease, or grime, and skipping cleaning leads to peeling, bubbling, or a streaky finish. Even walls that look clean carry an invisible film that a quick wash removes, which is why it is a step professionals never skip.
What should you clean walls with before painting?
Warm water with a few drops of mild dish soap handles most walls. For greasy kitchen walls or smoke and nicotine stains, use a degreaser or a TSP solution instead, then rinse thoroughly with plain water so no residue is left behind.
Do you have to rinse walls after washing them?
Yes, especially after using any cleaner stronger than mild soap. Leftover soap, degreaser, or TSP residue interferes with paint adhesion. Go over the walls with clean water and a fresh cloth, then let them dry fully before painting.
Do you need to sand walls before painting?
Glossy and semi-gloss walls should be lightly scuff-sanded with 150 to 220 grit so the new paint can grip. A light overall sand helps on other walls too, and you should always sand repaired spots smooth. Wipe off the dust before painting.
How long should walls dry after cleaning before you paint?
Let them dry until they are dry to the touch, which usually takes a couple of hours depending on how damp they got and the room’s humidity. Do not paint over damp walls, since trapped moisture ruins adhesion. If you made repairs, give spackle or compound at least 24 hours to cure.
Related Articles
How to Get Paint Off Laminate Floor Without Damage?
How to Get Paint Off Tires Without Damaging the Rubber?