

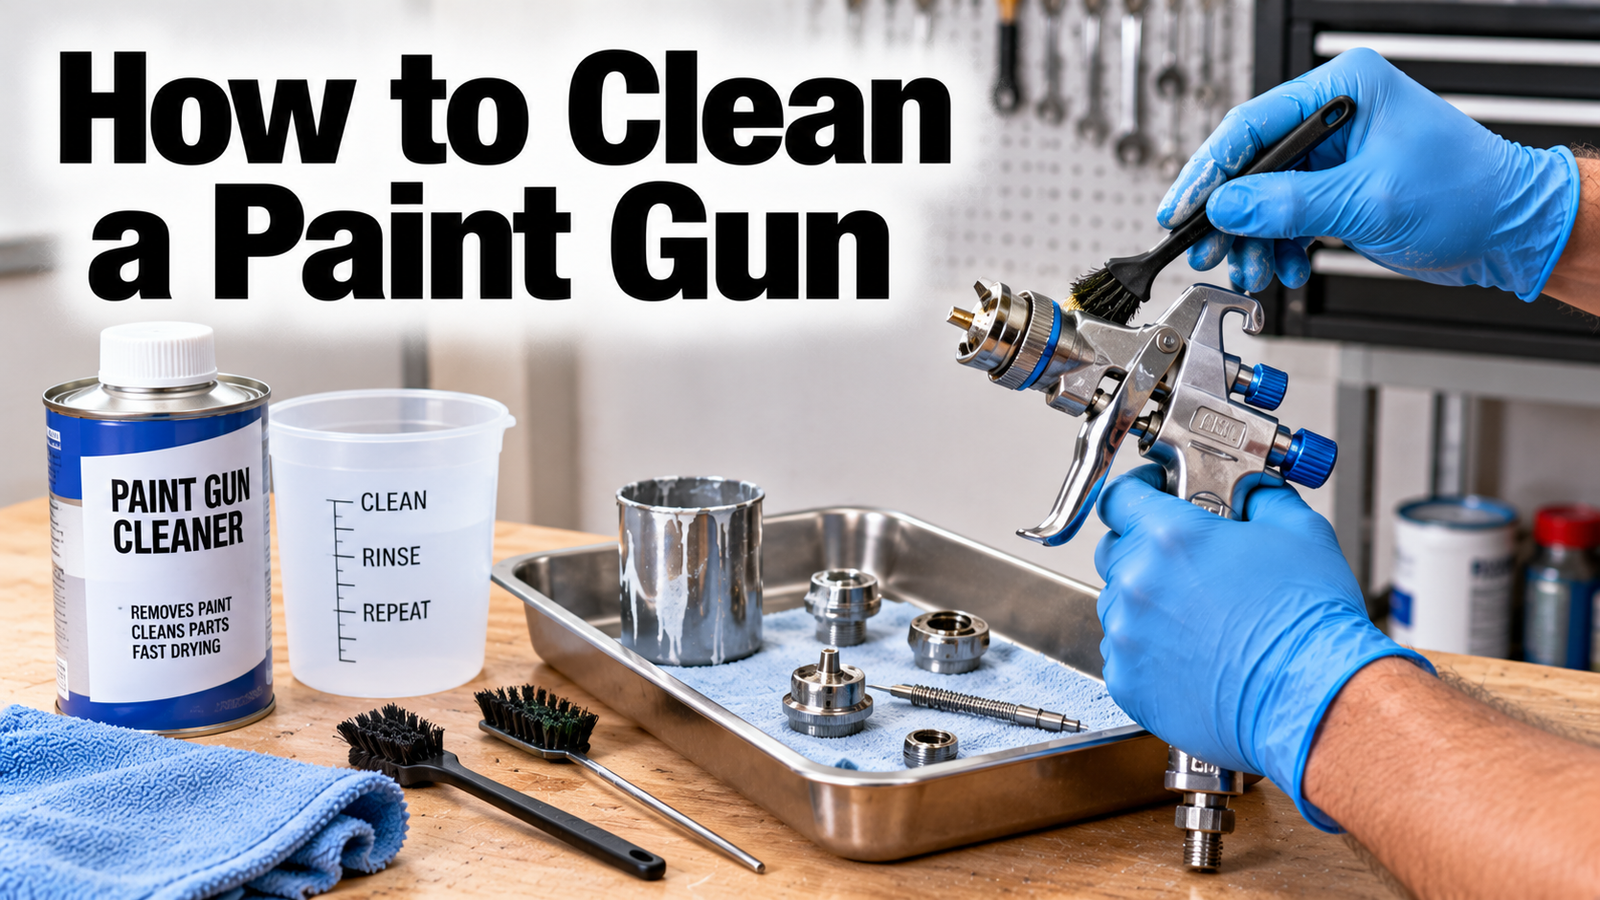

To clean a paint gun, empty the cup, flush the gun with the right cleaner until it runs clear, then disassemble the air cap, nozzle, and needle and brush each part clean before drying and reassembling. Use water for water-based paint and a solvent like mineral spirits or lacquer thinner for oil-based or lacquer, and never mix the two. The golden rule is to clean it immediately after use, because dried paint inside the gun clogs the nozzle and ruins your spray pattern.
This guide covers why cleaning matters, the supplies you need, a full step-by-step from flushing to reassembly, which cleaner to use for your paint, and the mistakes that damage a gun. It applies to most HVLP and gravity-feed spray guns; keep your model’s manual handy for the exact disassembly.
Why cleaning your paint gun matters
A paint gun is a precision tool, and paint that dries inside it does real damage. Residue builds up in the fine passages, the nozzle, and the needle, and once it hardens it causes clogging, uneven spray patterns, spitting, and eventually a gun that will not spray at all. What starts as a skipped ten-minute cleanup can turn into an hour of hard disassembly or a costly repair later.
Timing is everything. Cleaning immediately after use, while the paint is still wet, takes only about ten to fifteen minutes and prevents nearly all of these problems. Let the paint dry first and the same job gets far harder. Regular cleaning is also what keeps your finishes consistent, since a clean gun lays down an even coat while a dirty one flecks and sputters.
It helps to know how a spray gun actually works, because that is why the small parts matter so much. Paint flows through the fluid nozzle while air from the air cap atomizes it into a fine, even fan. Both jobs depend on clean, precisely sized openings. A little dried paint in the nozzle throws the fluid off, and a single clogged hole in the air cap skews the whole spray pattern to one side. This is why a gun that sprayed perfectly last week can suddenly spit or spray a lopsided pattern, and why the fix is almost always a thorough cleaning rather than a new gun.
Clean your paint gun right after you finish spraying, while the paint is still wet. Dried paint inside the gun is the single biggest cause of clogs and ruined spray patterns.
What you’ll need
Gather your supplies before you start so you are not hunting for a brush with a half-cleaned gun. You need the correct cleaner for your paint (more on that below), a spray gun cleaning kit with a set of small brushes, a soft tool or pipe cleaner for the air-cap holes, clean rags or paper towels, a waste container for the dirty cleaner, and protective gloves and eye protection. A well-ventilated space is essential, especially if you are using solvents.
A dedicated gun-cleaning kit is worth having. Its brushes are sized for the fluid passages and small parts, and it lets you reach residue that simply flushing the gun leaves behind. One caution on tools: never use a wire or metal brush on the nozzle, needle, or air cap, since it scratches and enlarges these precision parts. Soft brushes, a toothpick, or a pipe cleaner are what you want for the delicate spots.
How to clean a paint gun, step by step
Work through these in order. Set up over a waste container in a ventilated area, and put on gloves and eye protection first.
- Depressurize and empty the cup. Release any pressure per your gun’s instructions, then remove the paint cup and pour leftover paint back into its can or into waste. Wipe the cup out with a cleaner-dampened rag.
- Flush the gun until it runs clear. Fill the cup partway with the correct cleaner, reattach it, and spray into your waste container until only clean cleaner comes out. Refill and repeat until it runs completely clear.
- Disassemble the fluid parts. Following your manual, remove the parts in order: the cup, the air cap collar and air cap, the fluid nozzle (usually with a wrench), and the needle. Take the needle out carefully so you do not bend the tip.
- Soak and brush the parts. Place the air cap, nozzle, needle, and small parts in a tub with enough cleaner to cover them, let them soak, then scrub off residue with the kit’s soft brushes. Wipe the needle with a cleaner-soaked rag rather than scrubbing the tip.
- Clear the air-cap holes. The tiny holes in the air cap clog easily and control your spray pattern. Clear each one gently with a soft cleaning tool, a toothpick, or a pipe cleaner, never a drill bit or wire that could widen them.
- Clean the fluid passages, not the air passages. Brush the fluid channels in the gun body with a passage brush. If you soak the body, use only enough cleaner to cover the fluid paths, and keep solvent out of the air passages, since trapped particles there ruin later spraying.
- Dry and reassemble. Wipe and air-dry every part completely, then reassemble in reverse order, aligning and tightening each part per the manual. On many guns the nozzle goes in before the needle.
Finish with a quick test spray of a compatible material to confirm the pattern is even. If it spits or sprays unevenly, a part likely needs another pass or a check for wear.
Cleaning is also the natural moment to inspect the gun. With everything apart, look over the needle, nozzle, air cap, and seals for wear, corrosion, or damage, since these parts wear out over time and a worn one degrades your spray no matter how clean it is. Replace anything that looks pitted or bent rather than fighting a poor pattern later. If your manual recommends it, a touch of the maker’s gun lubricant on the needle and moving parts, using a silicone- and petroleum-free product so it does not contaminate your paint, keeps the trigger and needle moving smoothly for the next job.
Which cleaner should you use?
This is the step people get wrong most often, and it matters. Match the cleaner to the paint you sprayed. Here is the quick reference.
| Paint used | Clean with | Note |
| Water-based (latex, acrylic) | Warm water, mild dish soap | Never use solvent on a waterborne gun |
| Oil-based / enamel | Mineral spirits or paint thinner | Work in ventilation; wear gloves |
| Lacquer / spirit-based | Lacquer thinner or acetone | Fast-evaporating; strong fumes |
The critical rule is never to use a solvent-based cleaner on a gun you used with waterborne paint, or vice versa. Mixing the wrong cleaner with the wrong paint can make the residue cling and clog rather than dissolve. Water-based paints clean up with warm water and a little mild dish soap; oil-based and enamel need mineral spirits or paint thinner; lacquer and spirit-based finishes call for lacquer thinner or acetone. When in doubt, check your paint can and your gun’s manual.
Do’s and don’ts
A few habits protect both the gun and your results.
- Do clean immediately after every use, while the paint is still wet. It is the difference between a ten-minute job and an hour of scrubbing.
- Do use soft brushes and a gun-cleaning kit sized for the parts, and clear air-cap holes with a toothpick or pipe cleaner.
- Don’t submerge the whole gun in solvent. The air passages and seals are not meant for it, and trapped particles will come out during your next spray.
- Don’t use wire or metal brushes on the nozzle, needle, or air cap. They scratch and enlarge precision parts and change your spray pattern.
- Don’t let the needle tip bend or the seals dry out. Handle the needle gently, and lubricate seals with the maker’s recommended lubricant if your manual calls for it.
Treat the gun as the precision instrument it is, and it will spray cleanly for years.
A time-saver between coats
You do not have to fully clean the gun between coats of the same paint. If you are coming back within an hour or so, just wipe the nozzle with water or the right cleaner and a brush, then wrap the gun, or at least the cup and nozzle, tightly in plastic wrap or a plastic bag. As long as air cannot get to the paint, it will not dry out, the same trick people use to wrap a paintbrush between uses. When switching colors or paint types, though, at least remove and clean the tip, needle, and nozzle so the old material does not contaminate the new.
For model-specific steps, Graco’s guide to cleaning a paint sprayer walks through flushing and storage, and Eastwood’s HVLP gun cleaning guide covers the disassembly and part-soaking in detail.
Conclusion
Cleaning a paint gun is simple if you do it right away: empty the cup, flush until clear, disassemble the air cap, nozzle, and needle, brush each part with the correct cleaner, clear the air-cap holes gently, then dry and reassemble. Match the cleaner to your paint, use water for waterborne and solvent for oil-based, and never submerge the gun or reach for a wire brush. Do that after every use and your gun keeps laying down smooth, even coats project after project.
Frequently asked questions
How do you clean a paint gun after using water-based paint?
Empty the cup, then flush the gun with warm water, adding a little mild dish soap if needed, until it runs clear. Disassemble the air cap, nozzle, and needle and brush them clean with water, dry everything, and reassemble. Never use a solvent cleaner on a gun used with waterborne paint.
What can I use to clean a paint gun?
Match the cleaner to the paint: warm soapy water for water-based, mineral spirits or paint thinner for oil-based and enamel, and lacquer thinner or acetone for lacquer and spirit-based finishes. A gun-cleaning kit with soft brushes handles the parts and passages.
Do you have to take a spray gun apart to clean it?
For a thorough clean after each use, yes. Flushing alone leaves residue in the passages, so you should remove the air cap, nozzle, and needle and brush them individually. Between coats of the same paint you can skip full disassembly and just wrap the gun to keep it wet.
How do you clean the tiny holes in a spray gun air cap?
Use a soft tool such as a toothpick, pipe cleaner, or the fine tool in a cleaning kit, and clear each hole gently. Never use a drill bit, wire, or anything metal that could enlarge the holes, since their size controls your spray pattern.
What happens if you don’t clean a paint gun?
Paint dries inside the fine passages, nozzle, and needle, causing clogs, spitting, and uneven spray patterns, and eventually a gun that won’t spray at all. Cleaning immediately after use, while the paint is still wet, prevents nearly all of this in about ten to fifteen minutes.
This article is general guidance. Always follow your gun’s manual for disassembly and your cleaner’s label for safe handling, ventilation, and disposal.
Related Articles
How to Open a Paint Can Without the Mess?
How to Paint a Concrete Patio: Step-by-Step
Can I Paint a Vinyl Fence? Everything You Need to Know Before You Pick Up a Brush