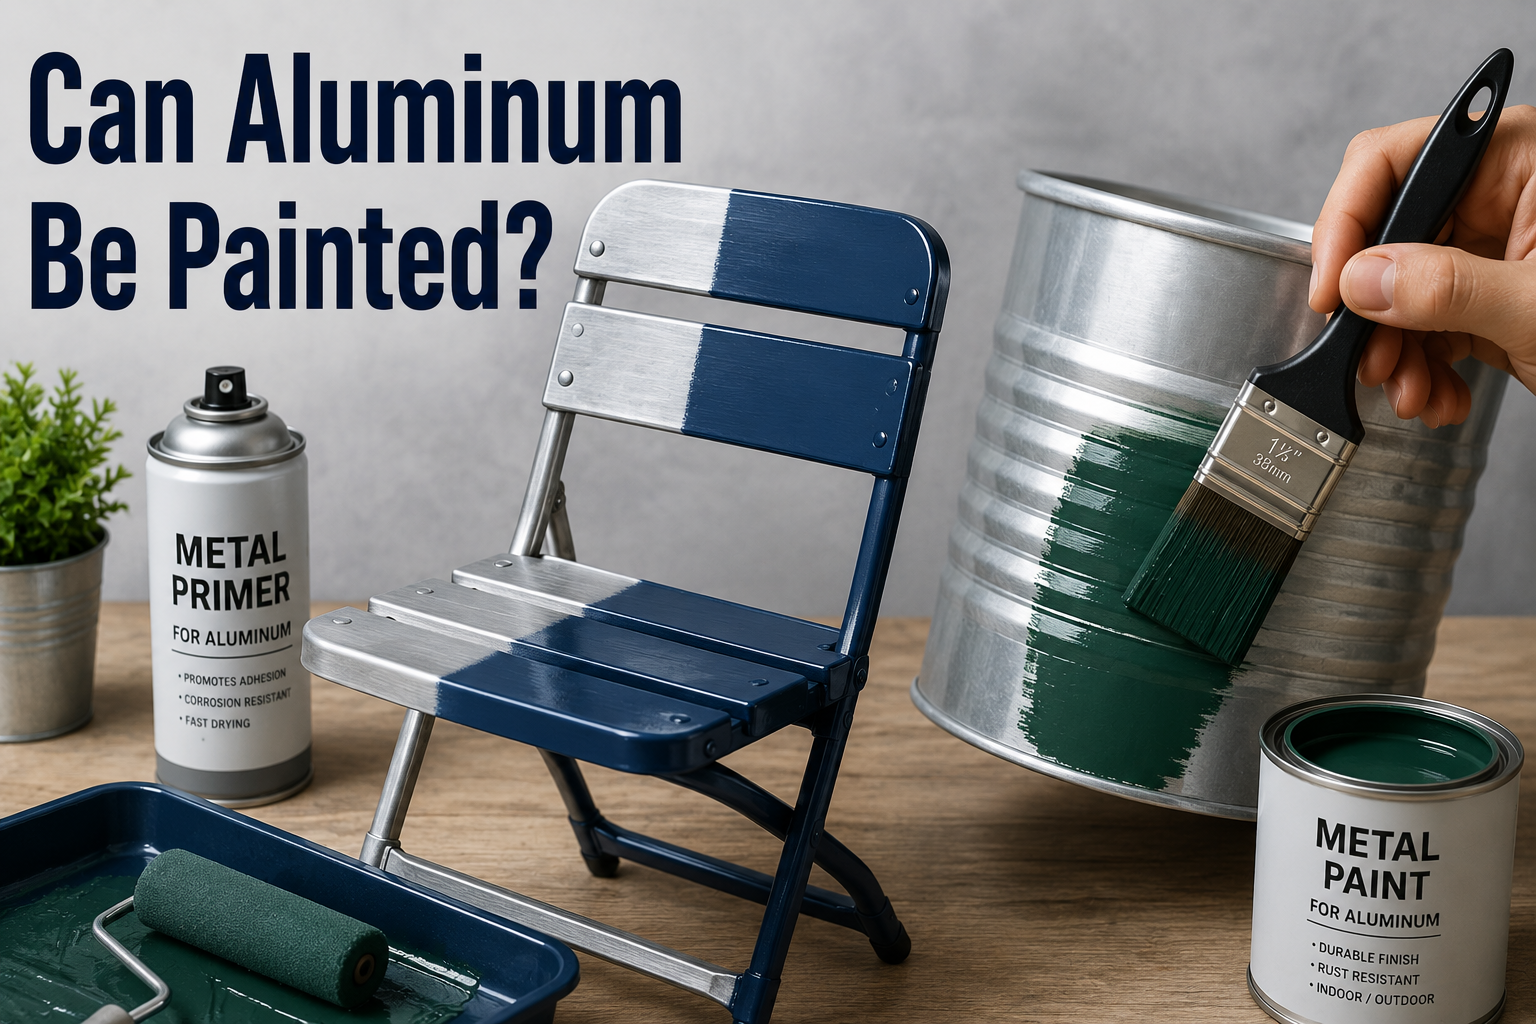

Yes, aluminum can be painted, and a painted aluminum surface can hold its finish for a decade or more. The metal itself isn’t the problem; the preparation is. Aluminum is slick, non-porous, and covered by an invisible oxide layer that reforms within minutes of being exposed, and ordinary paint has nothing to grip on that surface, which is why unprepped aluminum sheds its coat in sheets.
- Why paint fails on aluminum?
- What to buy: primer, paint, and sheen
- How to paint aluminum, step by step
- Spray, brush, or roller: getting a smooth finish
- Project-by-project notes
- Old aluminum siding: chalking and the lead question
- Mistakes that shorten the finish
- How long will painted aluminum last?
- Conclusion
- Frequently asked questions
- What kind of paint sticks to aluminum?
- Do I need to prime aluminum before painting?
- Can I paint aluminum without sanding?
- Can you paint anodized aluminum?
- Why is my paint peeling off aluminum?
- Related Articles
The fix is a short, specific routine: degrease, scuff, prime with a self-etching or aluminum-rated bonding primer, then apply two thin coats of the right paint. Here is why the metal behaves the way it does, exactly what to buy, the full step-by-step, and the adjustments for siding, furniture, boats, and anodized finishes.
Why paint fails on aluminum?
The moment bare aluminum meets air, it grows a microscopically thin layer of aluminum oxide. That layer is why aluminum doesn’t rust the way steel does: it seals the metal, and if you scratch it, it heals itself. It is also transparent, hard, and chemically unhelpful to paint. Combine it with aluminum’s smooth, non-porous surface and there is nothing for a standard primer to soak into or bite onto.
That’s the whole story behind failed aluminum paint jobs. The coat sits on the oxide like a sticker on glass, and then moisture, sun, and temperature swings do the rest: paint lifts off in sheets, flakes at edges, bubbles where water creeps underneath, and fades early because the film was never anchored. None of that means aluminum “can’t” be painted; it means the bond has to be created chemically and mechanically before any color goes on.
What to buy: primer, paint, and sheen
Three products decide the outcome, and only one of them is the paint.
- The primer is the make-or-break purchase. A self-etching primer contains a mild acid that microscopically bites into the aluminum and bonds to the metal itself rather than sitting on the oxide. The alternative is a direct-to-metal (DTM) or bonding primer rated for aluminum, which achieves adhesion through its resin chemistry, the same preparation art-material makers specify for painting on raw aluminum panels. Either works; ordinary all-purpose primer does not.
- The topcoat should match the setting. For most projects, exterior-grade acrylic latex formulated for metal is the right call: it flexes with the metal’s expansion, resists fading, and cleans up with water. Oil-based enamel gives a harder, glossier film for railings and doors. For harsh service, boats, machinery, constant weather, a two-part epoxy or polyurethane system outlasts everything else.
- The sheen should be modest. Aluminum items usually carry small dents, ripples, and scratches, and high gloss spotlights every one of them. Matte, eggshell, or satin hides the history; save gloss for surfaces you know are dead smooth.
Spray or brush both work. Spray (cans or a sprayer) leaves the smoothest film on furniture, doors, and anything with curves and slats; a brush and mini foam roller are fine for siding, gutters, and flat panels. Whichever you use, thin coats always beat one heavy one on metal, because thick paint on a slick surface is exactly where runs and adhesion problems start.
How to paint aluminum, step by step
The full routine, in order:
- Clean and degrease. Wash with warm water and dish soap or a degreaser to remove dirt, oils, and fingerprints; power wash large outdoor surfaces like siding. Rinse and let it dry fully. Finish with a solvent wipe, isopropyl alcohol on a lint-free cloth works well, because any grease left behind becomes a spot where primer never bonds.
- Remove loose paint and heavy oxidation. Scrape and wire-brush any flaking old paint. On weathered bare aluminum, dull gray or white chalky patches are oxidation; sand or brush them back to sound, brightish metal.
- Scuff the whole surface. Sand with 220 to 400 grit until the shine turns uniformly dull. You are not removing material, just giving the primer thousands of tiny scratches to key into. Wipe off every trace of sanding dust with a damp or solvent cloth.
- Prime promptly. Fresh oxide starts reforming within minutes of sanding, so apply your self-etching or bonding primer soon after scuffing, in two light passes rather than one wet one. Let it cure for the full time on the can, not just until it feels dry.
- Apply two thin coats of paint. Keep each pass light and even, let the first coat dry completely, and sand very lightly between coats if the label recommends it.
- Seal if the job earns it. On high-touch or outdoor pieces, one or two coats of a clear enamel sealer add chip and UV resistance. Then respect the cure time, often several days to a week, before heavy use; paint that feels dry is not yet at full hardness.
Quick rule: sand, wipe, prime, same session. Bare aluminum starts rebuilding its oxide layer within minutes.
Spray, brush, or roller: getting a smooth finish
Application technique buys a lot of finish quality on metal, because aluminum’s smoothness shows every flaw.
With spray cans or a sprayer, hold 8 to 12 inches off the surface, keep the can moving in overlapping passes that start and end off the edge of the piece, and build color in two or three misted passes per coat instead of one wet one; runs on slick metal appear the instant you linger. With a brush, lay the paint on, then immediately “tip off” with a light dry stroke in one direction to level brush marks.
On flat panels, a high-density foam mini roller followed by tipping off gives a near-sprayed result. Whatever the tool, work out of direct sun, in still air, and in mild temperatures, since a hot panel flashes paint dry before it can level or bond.
Project-by-project notes
The same core routine flexes across projects; only the details change.
| Project | What changes |
| Aluminum siding | Power wash, treat chalking first, then exterior acrylic latex; this is the classic and most forgiving aluminum repaint |
| Gutters and downspouts | Degrease thoroughly (gutter grime is oily); use exterior acrylic over etch primer |
| Patio furniture | Spray paint rated for metal gives the smoothest result on tubes and slats; seal high-wear spots |
| Doors and window frames | Enamel or DTM acrylic for a harder film; mask glass and hardware carefully |
| Boats | Marine epoxy primer plus two-part polyurethane above the waterline; leave fuel tanks unpainted |
| Anodized aluminum | Paintable with prep: scuff the anodized surface, clean, and use a bonding primer; the factory finish is an oxide layer, so adhesion still has to be built |
Old aluminum siding: chalking and the lead question
Old painted aluminum siding deserves two extra notes. First, chalking: decades-old siding paint often degrades into a powdery film that wipes off white on your palm, and new paint applied over chalk bonds to the powder, not the wall.
Wash until a wiped hand comes away clean, and use a primer rated to bind chalky surfaces if any residue remains. Second, age: if the home predates 1978, the existing paint layers may contain lead, and dry-sanding or scraping them releases hazardous dust.
Test before disturbing old layers, and follow the EPA’s lead-safe practices for DIYers, wet methods, containment, and careful cleanup, if the test comes back positive. A repaint that doesn’t disturb sound old paint is the low-risk path.
Mistakes that shorten the finish
The failure list is short and predictable:
- Skipping the etch or bonding primer. This is the single decision behind most peeling aluminum paint.
- Painting over chalk, grease, or gloss. Paint bonds to whatever is on top; make sure that’s clean, scuffed metal or sound primer.
- Waiting too long after sanding. Scuff in the morning, prime in the morning; the oxide doesn’t wait.
- Heavy coats. Thick paint runs on slick metal and skins over before it bonds; two thin coats beat one thick one every time.
- Painting in the wrong weather. Aluminum expands and contracts sharply with temperature; work in mild, dry conditions and avoid hot sun on the panel, which flashes the paint off too fast.
- Using gloss to look premium. On dented, decades-old aluminum, gloss is a magnifying glass; satin is the professional’s default.
How long will painted aluminum last?
Set expectations for the payoff. A properly prepped exterior acrylic job on aluminum siding commonly lasts ten years or more before it needs attention, and painted furniture and trim typically go five to ten depending on wear and sun.
Two habits stretch those numbers. First, wash painted aluminum once a year with mild soap so grime and mildew never establish. Second, touch up chips promptly: aluminum won’t rust under a chip the way steel does, but moisture creeping under the film peels the surrounding paint, so a small dab of paint on a fresh chip protects a much larger area.
One honest alternative deserves a mention for new work: powder coating, a factory-baked finish, outlasts any brushed or sprayed paint, so for parts being fabricated new it’s worth specifying up front. For the aluminum you already own, paint is the practical route, and done right it’s a durable one.
Conclusion
Aluminum takes paint well; it just refuses to take it casually. Degrease, scuff to a uniform dull finish, prime with a self-etching or aluminum-rated bonding primer while the surface is fresh, and lay on two thin coats of a metal-rated topcoat in a modest sheen.
Do that and painted aluminum siding, furniture, and trim hold their finish for years; skip the primer step and the best paint on the shelf will still come off in sheets. The prep is the paint job.
Frequently asked questions
What kind of paint sticks to aluminum?
Exterior-grade acrylic latex made for metal is the best all-rounder, applied over a self-etching or aluminum-rated bonding primer. Oil-based enamel suits doors and railings, and two-part epoxy or polyurethane systems handle boats and harsh service. The primer matters more than the topcoat brand.
Do I need to prime aluminum before painting?
Yes, and it needs to be the right primer: self-etching or a direct-to-metal bonding primer rated for aluminum. Standard all-purpose primer sits on the slick oxide layer and lets the whole paint job peel. Priming is the step that decides whether the finish lasts.
Can I paint aluminum without sanding?
It’s a gamble not worth taking. Scuffing with 220 to 400 grit gives the primer a mechanical grip that dramatically improves adhesion, even under primers marketed as no-sand. On glossy, oxidized, or previously painted aluminum, sanding isn’t optional at all.
Can you paint anodized aluminum?
Yes, with the same discipline: scuff the anodized surface until uniformly dull, clean it thoroughly, and use a bonding primer before the topcoat. Anodizing is itself a hardened oxide finish, so paint needs the primer’s chemistry to anchor to it.
Why is my paint peeling off aluminum?
The coat never bonded to the metal. Almost always the cause is missing or wrong primer, paint applied over grease, chalk, or gloss, or bare aluminum that re-oxidized between sanding and priming. The fix is to strip the loose paint and redo the prep, not to add another coat.
Related Articles
Can Acrylic Paint Be Used on Fabric?
Can You Use Acrylic Paint on Metal? Yes, Here’s How