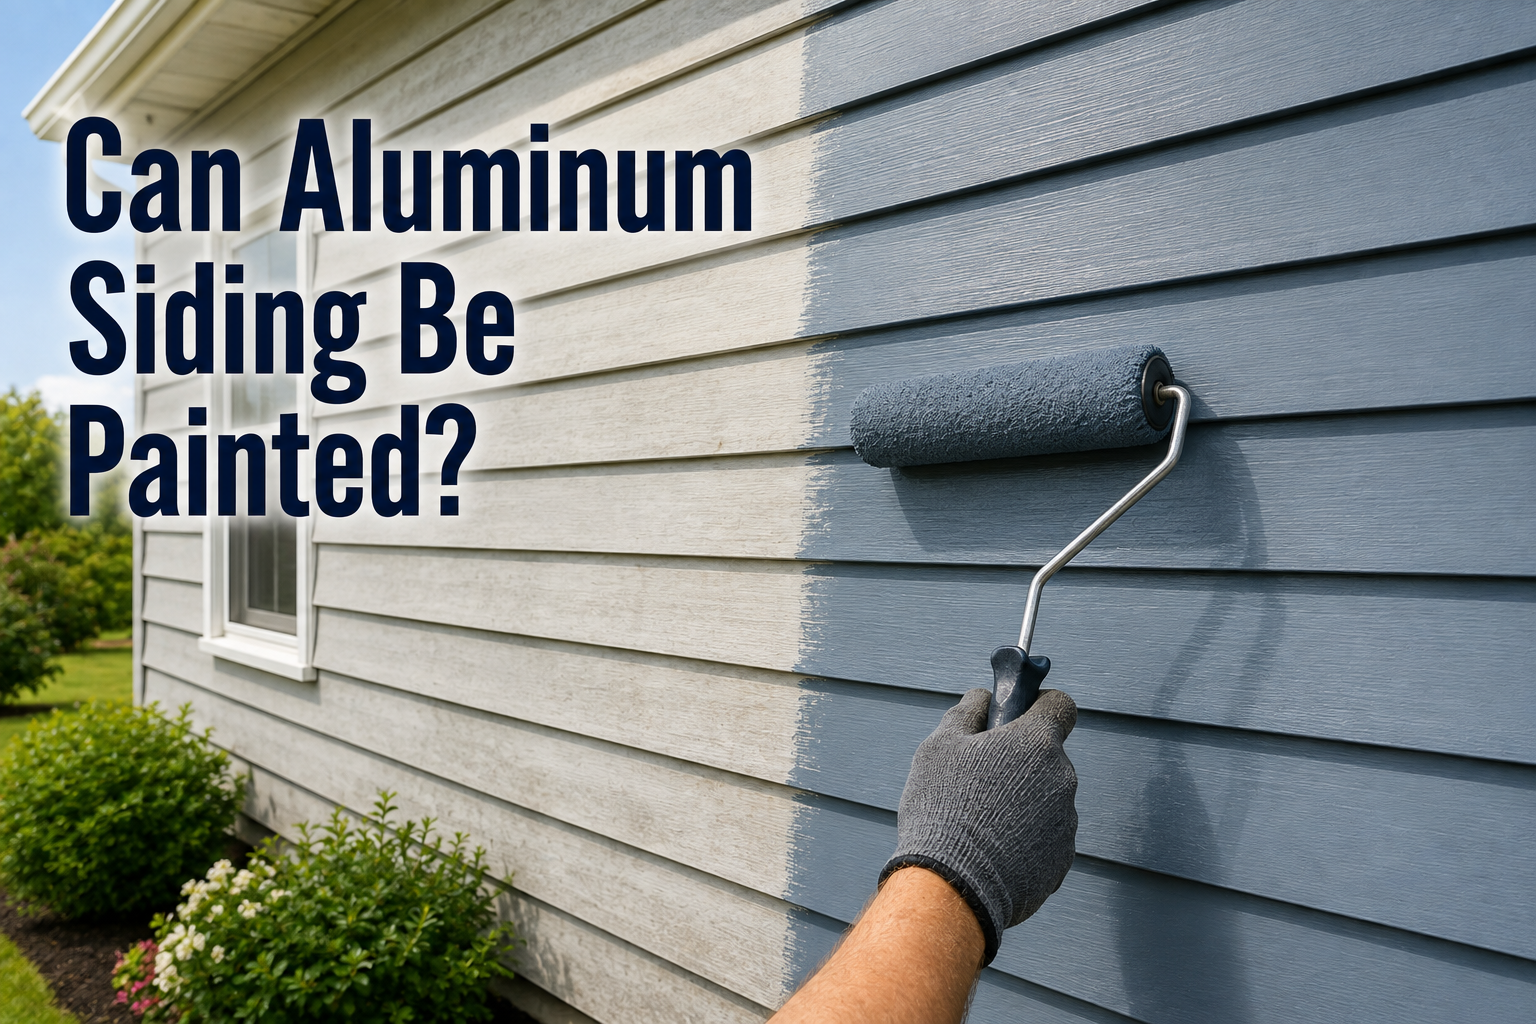

Yes, aluminum siding can be painted, and it’s one of the most cost-effective ways to refresh an older home. A good repaint can make faded, dated siding look new again and add years to its life, for a fraction of the price of replacing it. Homeowners do it all the time, and the results can last well over a decade.
There’s one catch that decides whether the job succeeds or fails, and it isn’t the paint you pick. It’s the prep, specifically removing the chalky film that builds up on old aluminum. Skip that, and your fresh coat will peel within a year or two. Handle it, and you’re most of the way there. Here’s the whole process, the right products, what it costs, and how to decide whether painting is even the right move.
The one thing that decides success: chalking
Aluminum siding comes with a baked-on factory finish. Over years of sun and weather, that finish slowly breaks down into a fine, powdery residue on the surface. This is called chalking or oxidation, and it’s the number one reason aluminum repaints fail. Paint applied over chalk bonds to the loose powder instead of the siding underneath, so it flakes off, sometimes within months.
The good news is there’s a dead-simple test. Once the siding is clean and dry, rub your hand or a dark cloth firmly across it. If a white, powdery residue comes off onto your skin or the cloth, the siding is still chalking and isn’t ready for paint. If your hand stays clean, the surface is sound and you can move on. It’s the single most useful check in the whole project, so do it before you open a can of anything.
The decision gate: rub the siding with your hand. Powder on your palm means keep cleaning. A clean palm means you’re ready to prime and paint.
Removing chalk usually means a thorough wash, and for stubborn oxidation, some scrubbing or light sanding until the hand-rub test comes back clean. It’s the least glamorous part of the job and the part that matters most. Everything below assumes you’ve gotten the siding to that clean-palm point.
It’s worth knowing the difference between light and heavy oxidation, because it changes how much work you’re in for. Light chalking, a faint powder that mostly rinses away with a good wash, is normal on almost any older aluminum and is easy to deal with.
Heavy oxidation is another matter: when the factory finish has worn through to bare metal in patches, or you see rough, raised white spots (sometimes called white rust), the surface keeps shedding powder no matter how much you clean it.
Siding that bad can still be painted, but it needs extra scrubbing, a corrosion-resistant primer, and realistic expectations, and at some point it tips over into replace-instead territory, which we’ll come back to.
How to paint aluminum siding, step by step?
With chalking understood, here’s the full sequence from start to finish.
- Inspect and repair. Walk the whole house and look for dents, loose panels, holes, and mildew. Pop small dents out with a rubber mallet from behind where you can, and fill deeper dents or holes with an auto-body filler like Bondo, sanding smooth once cured. Note that dents and damage will still show under paint, so fix what you can now.
- Check for lead paint on older homes. If the siding was last painted before 1978, test for lead before you sand or scrape. If lead is present, follow safe handling practices or bring in a certified pro.
- Wash thoroughly. Clean the siding top to bottom with a siding cleaner or a detergent solution to strip dirt, grease, and chalk. Treat any mildew with a bleach-and-water solution first. A pressure washer speeds this up; use a wide tip and keep the wand back so you don’t dent the thin metal or drive water behind the panels.
- Let it dry, then run the hand test. Give the siding a full day or two to dry completely. Then do the hand-rub test. If powder still transfers, scrub or lightly sand those areas and rinse again until your hand stays clean.
- Caulk and seal. Replace cracked or missing caulk around windows, doors, and trim where materials meet. Good seals keep water out and make the finish last.
- Prime. Apply an even coat of a quality acrylic or direct-to-metal primer, by sprayer, roller, or brush. Prime bare metal, repairs, and any spots that were heavily weathered. Let it cure for the full time on the label, not just until it’s dry to the touch.
- Paint two coats. Apply two thin coats of 100% acrylic exterior paint, letting the first dry fully before the second. Thin coats level better and last longer than one heavy coat. A sprayer gives the smoothest finish; a brush and roller work for smaller areas and cutting in around trim.
Pick a mild, dry, low-humidity day to paint, and avoid direct blazing sun on the panel you’re working, which can make paint dry too fast and streak. Patience through the prep is what separates a finish that lasts fifteen years from one that peels in eighteen months.
A few technique notes make the finish look professional. If you spray, back-roll or back-brush the first coat, meaning go over the sprayed paint with a roller or brush to work it into the surface, which improves adhesion and evens out the coat. Keep a wet edge by painting whole panels or sections before stopping, so lap marks don’t show where a dried area meets a fresh one.
Work top to bottom so any drips land on unpainted siding you’ll cover next. And for latex paint, use nylon or polyester brushes rather than natural bristle, which soaks up water and goes limp. None of this is difficult, but small habits like these are what make a DIY job look like a pro did it.
What paint and primer to use?
The product choice is simpler than the prep, and getting it right matters for how long the job holds up.
For the topcoat, use a 100% acrylic latex exterior paint. Acrylic flexes as the metal expands and contracts with temperature swings, so it won’t crack the way a rigid coating would. Just as important, avoid oil-based paint on aluminum. Oil becomes brittle over time on metal and is far more likely to peel, and it can react badly with the original baked-on enamel.
For the primer, use a bonding or direct-to-metal (DTM) acrylic primer made to grip metal and chalky surfaces. Water-based bonding primers work well here. Priming isn’t always required on a sound, well-adhered old finish, but it’s strongly recommended over bare metal, repairs, and any weathered areas, and it’s cheap insurance for adhesion. If you want a trusted walk-through of tools and technique, This Old House’s guide to painting aluminum siding covers the details well.
A quick note on color: you can go lighter or darker, or change the scheme entirely. Going much lighter over a dark original color may take an extra coat to fully hide, so plan for that. Two proper coats over good primer will give the most even, durable result.
Rule of thumb: 100% acrylic latex over a bonding or DTM acrylic primer. Never oil-based on aluminum.
How much does it cost, and how long does it last?
Painting is far cheaper than replacing. For a typical home, materials for a DIY repaint often run a few hundred to around fifteen hundred dollars, depending on house size and product quality. A full re-side, by contrast, commonly runs well over ten thousand dollars, and often much more. Even hiring a pro to paint usually costs a fraction of replacement.
As for longevity, a well-prepped repaint with quality acrylic typically lasts around 10 to 15 years before it needs a refresh, and professional jobs with full prep can push toward the top of that range. DIY jobs usually land a bit lower, in the 8-to-12-year range, and harsh conditions like coastal salt air or constant west-facing sun can shorten it.
The single biggest factor in all of this isn’t the brand of paint; it’s whether the chalking was removed. Clean, primed aluminum holds paint for well over a decade. Paint over chalk and it can flake within a couple of years.
Should you paint or replace?
Painting isn’t always the answer, so it helps to weigh it honestly against replacement.
Painting makes sense when the siding is structurally sound and just looks tired, faded, chalky, or an outdated color. It’s cheaper, keeps usable siding out of a landfill, and refreshes curb appeal fast. The trade-offs are that it’s labor-intensive, existing dents and damage will still show through, and you’ll likely need to repaint again in 10 to 15 years.
Replacement makes more sense when the siding is heavily dented, badly corroded with widespread bare metal or white rust, or failing in ways paint can’t hide. New siding is a bigger upfront cost, but modern options need less maintenance and last much longer, so over decades the math can favor replacing. If your panels are basically fine and you mostly want a new look, paint. If they’re at the end of their life, put the money toward replacement instead.
Quick verdict: sound but faded siding, paint it. Heavily dented, corroded, or failing siding, replace it.
Conclusion
Yes, aluminum siding can be painted, and it’s a smart, budget-friendly way to bring an older home back to life. The whole job hinges on one thing: removing the chalky oxidation so your new paint bonds to the siding and not to loose powder.
Wash it, run the hand-rub test until your palm stays clean, repair and caulk, prime, and finish with two thin coats of 100% acrylic latex. Do that and you’ll get a fresh, durable finish that lasts 10 to 15 years, at a fraction of the cost of replacing the siding altogether.
Frequently asked questions
Do you have to prime aluminum siding before painting? Priming isn’t always required on a sound old finish, but it’s strongly recommended, and essential over bare metal, repairs, and weathered spots. A bonding or direct-to-metal acrylic primer helps the paint grip and last.
What is the best paint for aluminum siding? A 100% acrylic latex exterior paint. It flexes with the metal so it won’t crack, and it resists fading. Avoid oil-based paint, which turns brittle on aluminum and is prone to peeling.
Why is my aluminum siding chalky? That powder is oxidation, the factory finish breaking down over years of sun and weather. It must be washed off before painting, because new paint bonds to the chalk instead of the siding and will peel.
How long does painted aluminum siding last? Usually 10 to 15 years with good prep and quality acrylic paint, sometimes longer for professional jobs. Skipping the chalk removal is the main thing that cuts that lifespan short.
Can you pressure wash aluminum siding before painting? Yes, and it’s an efficient way to clean it. Use a wide tip, keep the wand 12 to 18 inches back, and wash top down so you don’t dent the thin metal or force water behind the panels.
Related Articles
Best Washable Glow in the Dark Paint: A Buyer’s Guide
Best Paint for Kitchen Cabinets: How to Choose