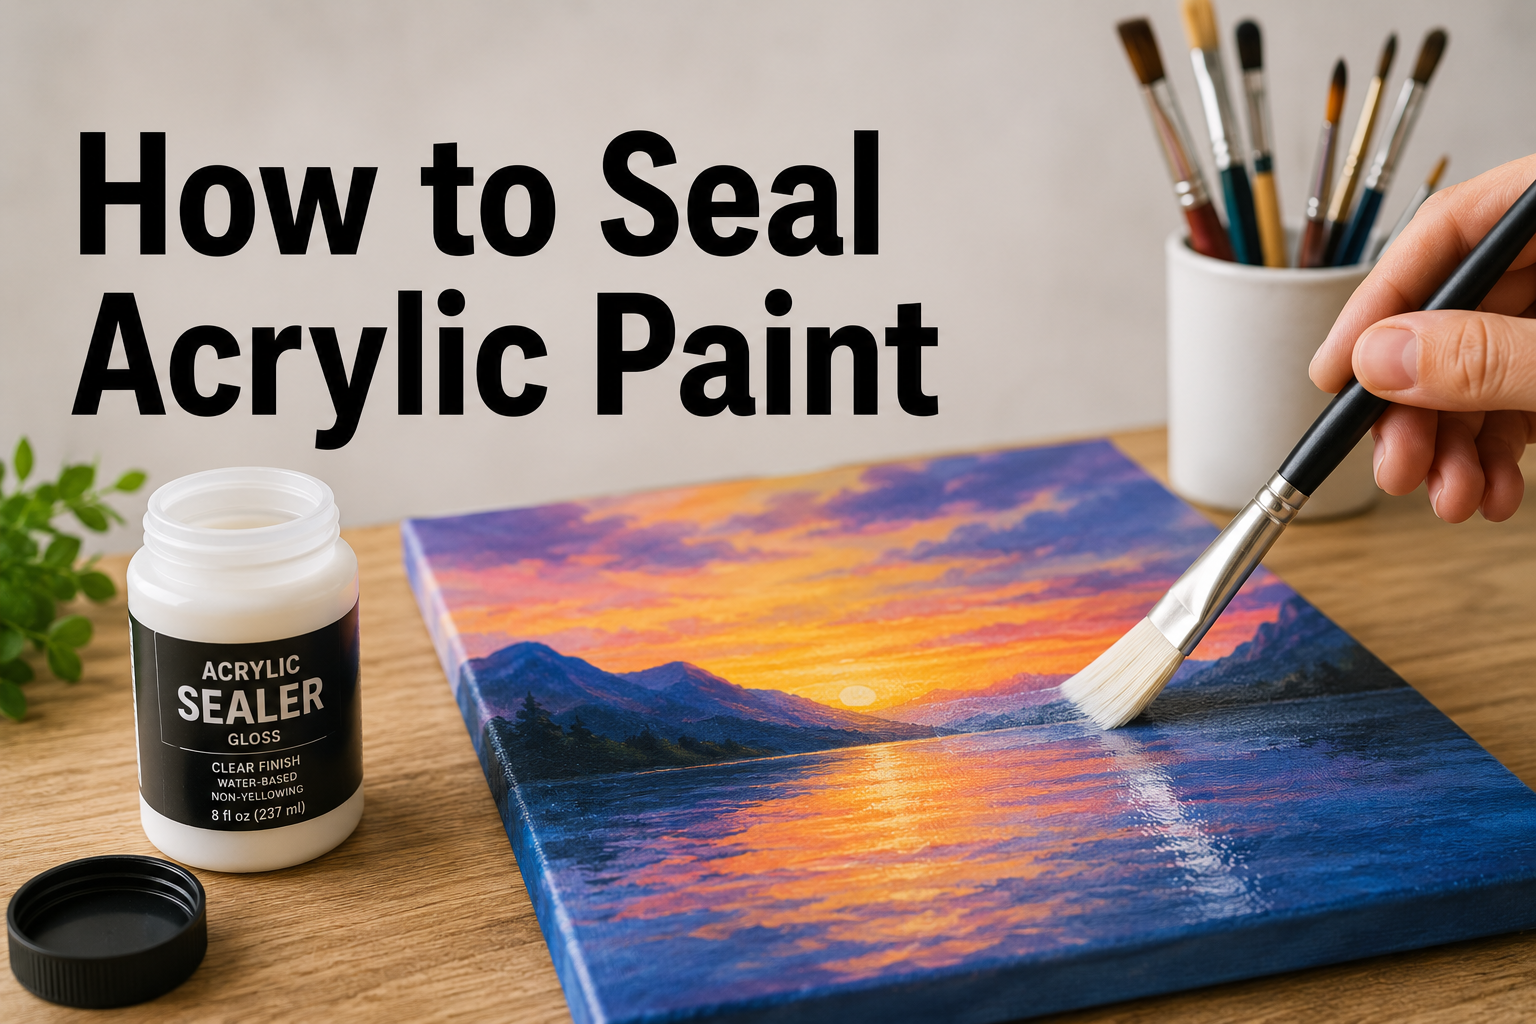

If you’ve just finished a painting, your next question is probably the same one every acrylic painter asks eventually: how do you seal acrylic paint so it actually stays protected? Sealing locks in your colors, guards against dust, UV fading, and moisture, and gives your work a professional, finished look. But use the wrong product, apply it too soon, or skip a step, and you can end up with cloudy patches, brush marks, or paint that lifts right off the canvas. This guide walks you through exactly when, why, and how to seal acrylic paint — on canvas, wood, paper, and other surfaces — plus the mistakes to avoid and how to fix them if something goes wrong.
- Why You Need to Seal Acrylic Paint (and When You Don’t)
- What You’ll Need Before You Start
- Choosing the Right Sealer for Your Project
- Acrylic Polymer Varnish (Brush-On or Spray)
- Polycrylic (or Polyurethane)
- Mod Podge or Decoupage Glue
- Spray Varnish or Fixative
- Epoxy Resin
- Step 1: Let Your Painting Cure Completely
- Step 2: Prep Your Painting and Workspace
- Step 3: How to Seal Acrylic Paint with a Brush-On Varnish
- Step 4: How to Seal Acrylic Paint with a Spray Varnish
- Sealing Acrylic Paint on Different Surfaces
- Common Mistakes to Avoid When Sealing Acrylic Paint
- Troubleshooting: Fixing Sealer Problems
- Frequently Asked Questions
- Final Thoughts
- Related Articles
Why You Need to Seal Acrylic Paint (and When You Don’t)
Acrylic paint dries to a flexible, plastic-like film, but that film isn’t indestructible. Without a protective topcoat, your painting is vulnerable to:
- UV fading – sunlight breaks down pigments over time, especially in reds and blues.
- Dust and grime – unsealed acrylic has a slightly tacky surface that attracts dust, which is nearly impossible to clean off later.
- Moisture and humidity – bathrooms, kitchens, and outdoor spaces can cause paint to soften, streak, or grow mildew.
- Surface scuffs – fingerprints, scratches, and general handling can mar the paint film.
That said, you don’t always need to seal a painting. If a piece will hang indoors, away from direct sunlight and high humidity, and won’t be touched often, sealing is optional — it mainly adds sheen and a bit of extra durability. Sealing becomes essential if your painting will be:
- Displayed in a bathroom, kitchen, or anywhere with humidity
- Hung outdoors (on a door, porch, or patio)
- Handled frequently (like a sign, tray, or functional item)
- Sold or given as a gift, where you can’t control its future environment
- Created with paint pens, markers, or mixed media that could smudge
What You’ll Need Before You Start
- A varnish, sealer, or spray product suited to your project (see the comparison below)
- A soft, synthetic-bristle flat brush (2-inch is a good all-purpose size) — only if brush-on
- A dust-free workspace or a large piece of cardboard/plastic sheeting if spraying outdoors
- Disposable gloves
- A level surface to let the painting dry flat
- Painter’s tape (optional, to protect canvas edges or a frame)
Choosing the Right Sealer for Your Project
Not all sealers behave the same way, and picking the wrong one for your project is the single biggest reason painters run into trouble. Here’s how the main options compare.
Acrylic Polymer Varnish (Brush-On or Spray)
This is the gold standard for finished acrylic paintings. It’s made specifically for acrylics, comes in matte, satin, and gloss finishes, and many formulas are removable — meaning a conservator (or you, years later) can strip and reapply it without damaging the paint underneath. Brands like Liquitex, Golden, and Winsor & Newton fall into this category.
Best for: Finished paintings on canvas or panel that you want to protect long-term, especially anything you plan to sell or display prominently.
Polycrylic (or Polyurethane)
A water-based, furniture-grade protective coating. It’s thicker and more durable than acrylic varnish, which makes it popular for craft projects, wood signs, and pour paintings that need a glassy, resin-like finish. It’s not designed as an archival art product, though, so it’s less common for fine art paintings.
Best for: Crafts, wood surfaces, and acrylic pour art where extra durability matters more than reversibility.
Mod Podge or Decoupage Glue
An adhesive that also works as a light sealer. It dries clear but tends to be softer and less protective than a true varnish, and it’s not UV-resistant in most formulas.
Best for: Mixed-media pieces, craft projects, and lower-stakes items where a heavy-duty finish isn’t necessary.
Spray Varnish or Fixative
The fastest and easiest method, and the safest choice if your painting includes paint markers, pens, or delicate details that a brush could smear. Look for one labeled “non-yellowing” and, for anything that will see sunlight, “UV-resistant” or “UV-protective.”
Best for: Detailed work, paint-pen lettering, quick projects, and anyone who wants an even coat without brush strokes.
Epoxy Resin
A thick, pourable coating that cures into a glass-like, high-gloss shell. It offers serious protection and a stunning shine but requires precise mixing, a dust-free environment, and a longer cure time.
Best for: Pour paintings, tabletop pieces, coasters, and trays where a thick, glossy finish is the goal.
Step 1: Let Your Painting Cure Completely
This is the step every competitor guide underplays, and it’s the one most likely to ruin your finish. Acrylic paint feels dry to the touch within hours, but “dry” and “cured” aren’t the same thing.
- Thin layers on canvas or paper: wait at least 1–2 weeks before sealing.
- Thicker layers or heavy body paint: wait 2–4 weeks.
- Acrylic pour paintings (with pouring medium): wait a full 30 days. Pouring medium traps moisture underneath the surface, and sealing too early locks that moisture in, causing cloudiness, streaking, or a tacky finish that never fully hardens.
If you’re not sure whether a painting has cured, press a fingernail gently into an inconspicuous edge. If it leaves a mark, give it more time.
Step 2: Prep Your Painting and Workspace
- Wipe the surface gently with a soft, dry cloth (or a barely damp one) to remove dust, hair, or debris.
- Choose a room with good ventilation and minimal dust — a bathroom right after a hot shower is surprisingly dust-free and humid enough to slow drying just slightly, which helps avoid brush marks.
- If spraying, move outdoors or into a garage with the door open, and lay down cardboard to catch overspray.
- Set the painting on a level surface. If it will tilt or you’re working with a very fluid sealer, prop it up on cups or a cooling rack so drips don’t pool.
Step 3: How to Seal Acrylic Paint with a Brush-On Varnish
- Stir the varnish gently — don’t shake it, which introduces bubbles.
- Load your brush and apply in one direction (e.g., left to right) in thin, even strokes.
- Work in sections, slightly overlapping each pass while the previous section is still wet, to avoid visible lines.
- Let the first coat dry for 1–2 hours, or per the product label.
- Lightly assess the surface. If it looks even, apply a second coat in the opposite direction (top to bottom) for full coverage.
- Most paintings look great with 2 thin coats. Avoid piling on more than 3, which can cause cloudiness or a plasticky look.
- Allow a full 24 hours before handling, and up to a week before framing under glass.
Step 4: How to Seal Acrylic Paint with a Spray Varnish
- Shake the can for a full minute, or as directed — this is not optional and affects how evenly the product sprays.
- Test the spray pattern on scrap cardboard first.
- Hold the can 10–12 inches from the surface and use steady, sweeping side-to-side passes, slightly overspraying past the edges of the painting so you don’t get a spotty border.
- Apply a light first coat — it’s fine if it looks thin. A heavy first coat is the top cause of drips and pooling.
- Wait 10–15 minutes, then apply a second light coat.
- Two to three light coats generally give better, more even coverage than one heavy coat.
- Let it cure for 24 hours before touching, and avoid stacking or wrapping the painting for at least a week.
Sealing Acrylic Paint on Different Surfaces
- Canvas: Any acrylic varnish (brush-on or spray) works well. Stick to thin coats to preserve texture and avoid a plasticky sheen.
- Wood (signs, panels, furniture): Polycrylic or polyurethane holds up better to handling and moisture than a standard art varnish.
- Paper: Use a light spray varnish rather than a thick liquid — heavy brush-on sealers can warp or buckle paper. Consider mounting the paper to a rigid board first if you want extra protection.
- Tumblers, mugs, and ceramics: Look specifically for a sealer labeled dishwasher-safe or food-safe adjacent (not food-contact safe) if the item will be handled often, and consider a two-part epoxy for maximum durability.
- Rocks, ornaments, and outdoor décor: Choose a UV-resistant, outdoor-rated spray sealer, and reapply annually if the item stays outside year-round.
Common Mistakes to Avoid When Sealing Acrylic Paint
- Sealing too soon. This is the number one cause of cloudy, streaky, or tacky finishes.
- Using a paintbrush on paint-pen or marker details. Wet brush-on sealer can drag pigment and smear fine lines — switch to spray for these.
- Shaking (instead of stirring) brush-on varnish. This traps air bubbles that show up as tiny bumps once dry.
- Applying one thick coat instead of several thin ones. Thick coats dry unevenly and are prone to drips, streaks, and cloudiness.
- Skipping ventilation. Spray sealers release fumes that need airflow — always work outdoors or in a well-ventilated space.
- Ignoring the finish type. A high-gloss varnish on a piece meant to look soft and matte (or vice versa) can change the entire mood of the painting, so test on a scrap piece first if you’re unsure.
Troubleshooting: Fixing Sealer Problems
- Cloudy or milky finish: Usually caused by sealing before the paint fully cured, or by trapped humidity. Let it cure longer next time; for an already-cloudy coat, a fresh, thin final coat sometimes evens it out once fully dry.
- Visible brush strokes: Switch to a foam brush or spray application, and make sure you’re using thin, even coats rather than a single heavy one.
- Tackiness that won’t go away: Often means the coat was applied too thick, or humidity slowed the cure. Move the piece to a dry, well-ventilated spot and give it more time.
- Smeared or bled paint-pen details: Unfortunately, once smeared, this usually can’t be reversed — for future projects, use a spray sealer over any paint-marker work instead of a brush-on product.
- Bubbles in the finish: Caused by shaking rather than stirring the sealer, or by brushing too aggressively. Strain the product and apply with a light hand next time.
Frequently Asked Questions
Do I have to seal acrylic paintings? Not always. If a painting will hang indoors away from humidity and direct sunlight, sealing is optional. It’s recommended for anything displayed in a bathroom, outdoors, handled often, or sold to someone else.
How long should I wait to seal acrylic paint? At least 1–2 weeks for thin layers, up to 4 weeks for thick or heavy body paint, and a full 30 days for acrylic pour paintings.
Can I use hairspray to seal acrylic paint? No. Hairspray isn’t formulated to protect paint long-term, isn’t UV-resistant, and can yellow or become sticky over time. Always use a product made for sealing paint or artwork.
What’s the best sealer for acrylic paint on canvas? A brush-on or spray acrylic polymer varnish in your preferred finish (matte, satin, or gloss) is the standard choice for canvas paintings.
Is Mod Podge a good sealer for acrylic paint? It works for light-duty craft projects, but it’s softer and less UV-resistant than a true varnish, so it’s not ideal for paintings you want to protect long-term.
How many coats of sealer does acrylic paint need? Two thin coats is the sweet spot for most projects — enough for even protection without a heavy, plasticky look.
Can you seal acrylic paint with resin? Yes. Epoxy resin gives a thick, glass-like, high-gloss finish and excellent protection, but it requires careful mixing and a longer cure time than varnish or spray sealers.
Final Thoughts
Sealing acrylic paint isn’t complicated once you know the order of operations: let the painting fully cure, choose a sealer that matches your project and surface, and apply it in thin, even coats rather than rushing one heavy layer. Do that, and you’ll protect your work from fading, dust, and moisture while giving it a polished, professional finish. Ready to seal your next piece? Pick the sealer type that matches your surface from the guide above, do a quick test patch if you’re unsure about the finish, and give your painting the protection it deserves.
Related Articles
How to Paint a Brick Fireplace: The Complete Step-by-Step Guide
How to Get Rid of Paint Smell Fast: 12 Proven Tips That Actually Work
Can You Thin Acrylic Paint With Water? The Complete Guide
What Paint to Use for Face Painting: The Complete Beginner’s Guide