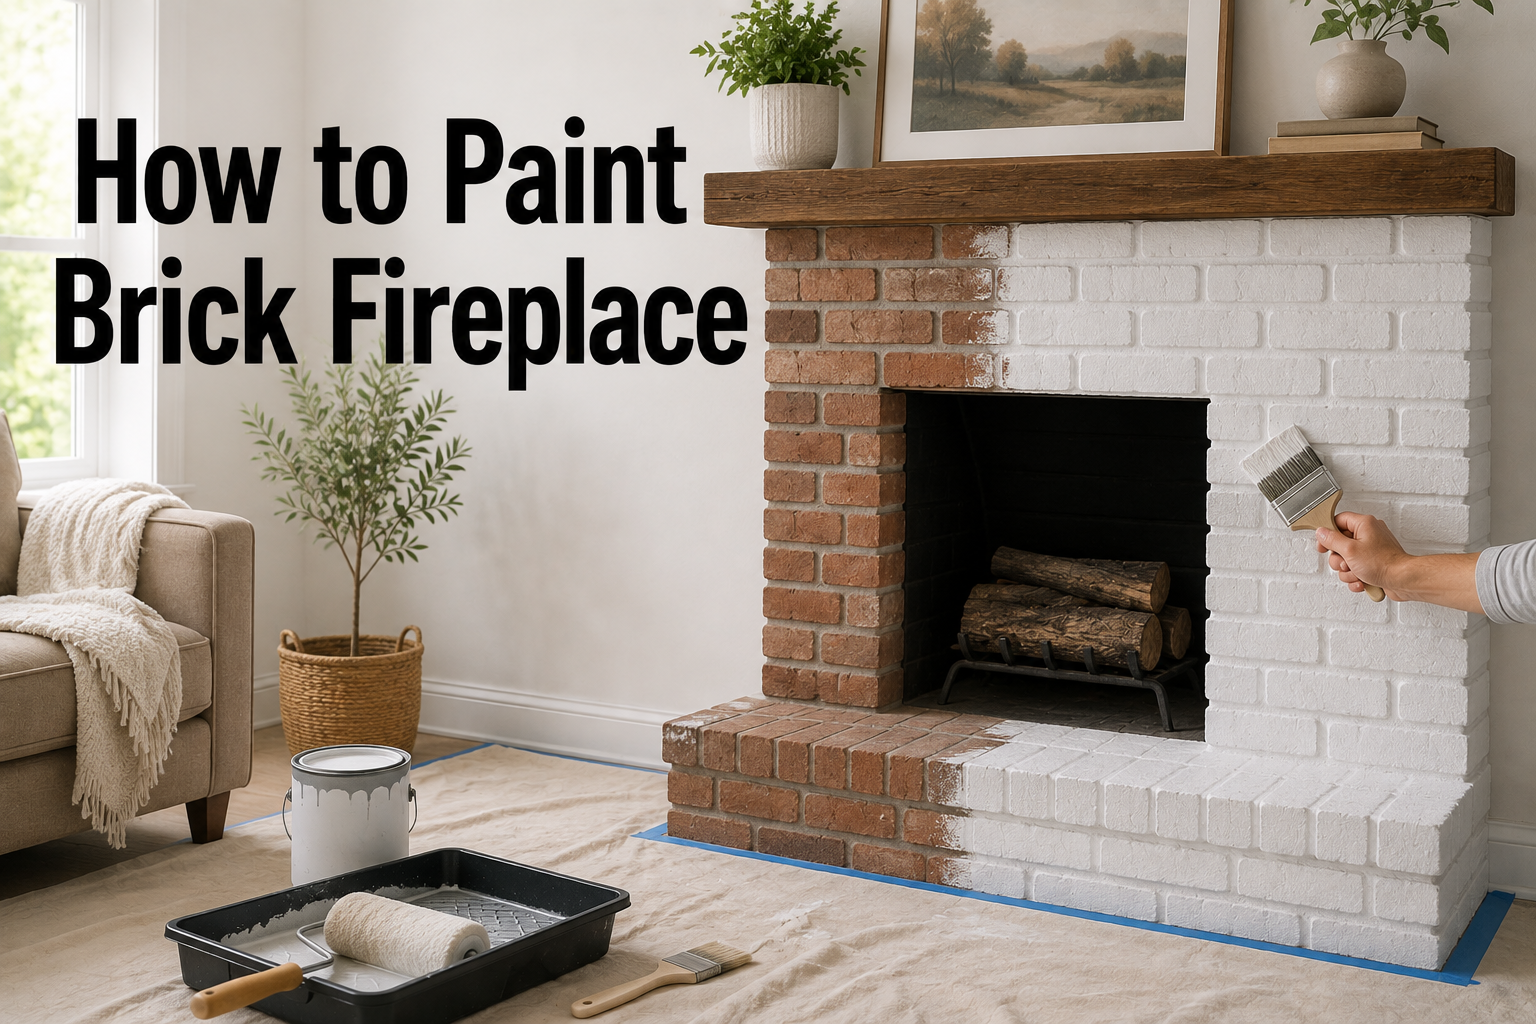

A brick fireplace is often the focal point of a living room, but over time that reddish-brown brick can start to feel dated, dark, or mismatched with a newer decor style. This is exactly why so many homeowners turn to painting as an affordable way to refresh the space without tearing anything out. If you’ve been searching for how to paint a brick fireplace, you’re in the right place — this guide walks through the entire process from start to finish, in plain, simple language.
- Is Painting Your Brick Fireplace a Good Idea?
- Understanding Fireplace Zones (Where You Can and Can’t Paint)
- Tools & Materials Checklist
- Choosing the Right Paint for Brick
- Step-by-Step Preparation
- Priming the Brick
- Step-by-Step Painting Process
- Sealing and Finishing Touches
- Safety Precautions
- Color Ideas & Design Inspiration
- Maintenance Tips After Painting
- Common Mistakes to Avoid
- Cost Breakdown
- DIY vs. Hiring a Professional
- Frequently Asked Questions (FAQ)
- Conclusion
- Related Articles
Painting a brick fireplace is one of those weekend projects that looks intimidating at first but is actually very manageable once you understand the correct order of steps: cleaning, repairing, priming, painting, and sealing. Skipping any one of these steps is usually the reason paint jobs on brick fail early, peel, or look patchy.
By the end of this guide, you’ll understand not just how to paint a brick fireplace, but also which paint types are safe near heat, what mistakes to avoid, and how to keep the finish looking fresh for years.
Is Painting Your Brick Fireplace a Good Idea?
Before picking up a brush, it’s worth pausing to think about whether painting is the right move for your specific fireplace. In most cases, yes — a coat of paint can transform a heavy, outdated brick surround into a bright, modern feature. But there are a few trade-offs worth knowing about.
The upside: Painted brick instantly feels lighter and more current. It’s far cheaper than replacing the fireplace surround with stone, tile, or shiplap, and it gives you full control over color, whether you want a soft white, a bold charcoal, or a trendy whitewash look.
The downside: Paint is essentially permanent once applied — brick is porous, and removing paint later usually means sandblasting or chemical stripping, both of which can damage the brick underneath. Painting also covers up the natural texture and color variation that some homeowners actually love about raw brick.
There are also a few situations where painting isn’t the best idea:
- The fireplace is in a historic home where original brick adds to its value or character.
- The brick shows signs of structural damage, like crumbling mortar or spalling (flaking brick surface) — this needs repair first, not paint.
- The brick has been exposed to repeated heat damage or soot buildup that suggests a ventilation problem, which should be inspected before cosmetic work begins.
If none of these apply to you, painting is a safe and rewarding project.
Understanding Fireplace Zones (Where You Can and Can’t Paint)
One detail that trips up a lot of first-time DIYers is that not every part of a fireplace can be painted with the same product. A fireplace has different “zones,” and each one experiences a different level of heat.
The surround and mantel — the decorative brick framing the opening, extending out to the edge of the wall — typically stays cool enough to use standard masonry or latex paint. This is the area most people mean when they picture “painting a brick fireplace.”
The firebox, on the other hand, is the inner chamber where the actual fire burns. This area gets extremely hot and requires special high-heat or fire-rated paint, if it should be painted at all. Many professionals recommend leaving the firebox brick unpainted entirely, since standard paint can scorch, discolor, or release fumes when heated.
Here’s a simple breakdown:
| Fireplace Zone | Heat Exposure | Recommended Paint |
|---|---|---|
| Surround / face brick | Low to none | Masonry paint, latex/acrylic |
| Mantel (if brick) | Low to none | Masonry paint, latex/acrylic |
| Hearth (floor area) | Low to moderate | Masonry paint (foot traffic durable) |
| Firebox interior | Very high (direct flame) | High-heat/fire-rated paint only, or leave unpainted |
Knowing this distinction early prevents a common and frustrating mistake: using ordinary paint too close to the flame, where it can bubble, crack, or smoke.
Tools & Materials Checklist
Having everything ready before you start makes the whole project go much more smoothly. Here’s what you’ll typically need:
Cleaning supplies
- TSP (trisodium phosphate) or a dedicated brick and masonry cleaner
- Stiff-bristle scrub brush
- Bucket, sponges, and clean rags
- Shop vacuum for loose dust and debris
Safety gear
- Rubber gloves
- Safety goggles
- A dust mask or respirator, especially when scrubbing or sanding
Painting tools
- Angled paintbrush (for mortar lines and edges)
- Thick-nap roller (¾ inch or more, to get into brick texture)
- Paint sprayer (optional, but great for even coverage on textured brick)
- Masking tape
- Drop cloths or plastic sheeting
Paint and finishing products
- Masonry bonding primer
- Masonry, latex, or heat-resistant paint (depending on the zone)
- Masonry sealer (optional, for extra durability)
- Mortar repair compound or masonry caulk, if needed
Choosing the Right Paint for Brick
Not all paint is created equal when it comes to brick. Because brick is porous and slightly rough, it needs a paint that can flex, breathe, and bond well to an uneven surface.
Masonry paint is usually the top recommendation. It’s formulated specifically for surfaces like brick, stucco, and concrete, and it allows moisture to escape rather than trapping it inside the brick, which helps prevent peeling and mold growth.
Latex or acrylic paint can also work well on brick surrounds that don’t get much heat exposure, especially when paired with a good bonding primer. Many DIYers already have experience with latex paint, which makes it a comfortable choice.
Heat-resistant or high-temperature paint is a must if you’re painting anywhere near the firebox opening. These specialty paints are rated to withstand several hundred degrees without discoloring, smoking, or releasing harmful fumes.
When it comes to finish, most people choose a matte or eggshell finish for a soft, updated look, since brick already has a lot of texture and a glossy finish can highlight every bump and imperfection. A satin finish is a good middle ground if you want something slightly easier to wipe clean.
Step-by-Step Preparation
Good preparation is really the heart of learning how to paint a brick fireplace successfully. Rushing this stage is the number one reason paint fails on brick.
Clear the Area
Start by moving furniture, rugs, and decor away from the fireplace. Give yourself enough open space to move a ladder, roller tray, and drop cloths around comfortably.
Clean the Brick Surface
Brick fireplaces accumulate soot, dust, grease, and sometimes a light film of smoke residue over the years, and paint will not stick well over any of this. Mix a TSP solution (or use a store-bought brick cleaner) according to the label instructions, and scrub the brick thoroughly with a stiff brush, paying extra attention to mortar lines where grime tends to collect. Rinse with clean water and allow the brick to dry completely — this can take a full 24 to 48 hours, since brick holds moisture longer than smooth surfaces.
Repair Any Damage
Inspect the brick and mortar closely. Small cracks, chips, or gaps should be filled with a mortar repair compound or masonry caulk. This step matters not just for appearance, but because paint will not bridge large gaps effectively, and moisture can get trapped behind unfilled cracks. Let all repairs cure fully — usually 24 hours or more — before moving forward.
Tape and Protect Edges
Use painter’s tape to protect the wall, floor, and any trim bordering the fireplace. Lay down drop cloths generously, since brick texture can cause paint to splatter more than it would on a flat wall. If you’re not painting the firebox, tape off or loosely stuff the opening with newspaper to keep overspray out.
Priming the Brick
Priming is a step people are often tempted to skip, but it makes a significant difference in how well the paint bonds and how long it lasts. Brick is naturally porous, and without a primer, it will soak up paint unevenly, leading to blotchy color and premature peeling.
A masonry bonding primer is the best choice, since it’s designed to grip into brick’s texture and create a uniform base for the topcoat. Apply the primer with a thick-nap roller, working it into the mortar lines with a brush where needed. One coat is usually enough, but very porous or previously unpainted brick may need two. Allow the primer to dry fully — check the product label, but 24 hours is a safe general guideline — before applying paint.
Step-by-Step Painting Process
First Coat
Once the primer is dry, apply your first coat of paint using a roller for the flat areas and an angled brush for mortar lines, corners, and edges. Work in small sections, about two to three feet at a time, so the paint doesn’t dry unevenly before you can blend it. Brick’s texture means it will likely absorb more paint than a smooth wall, so don’t be surprised if the first coat looks slightly thin or uneven — that’s normal.
Drying Time Between Coats
Most masonry and latex paints need four to six hours of drying time between coats, though this can vary by brand and humidity levels. A good sign that it’s ready for the next coat is when the surface feels completely dry and not tacky to the touch.
Second Coat (and Additional Coats if Needed)
Apply a second coat the same way, focusing on any spots that look thin or patchy from the first pass. Pay close attention to mortar joints and corners, as these areas are the easiest to miss. Most brick fireplaces look fully covered after two coats, but very dark or red brick may need a third coat for complete, even coverage.
Sealing and Finishing Touches
Once your final coat has dried completely (usually 24 hours), a masonry sealer can be applied as an optional but worthwhile step. A sealer adds a protective layer that makes the painted surface more resistant to moisture, dust, and everyday wear, which is especially useful in a high-traffic living room.
After sealing, carefully remove the painter’s tape while the sealer is still slightly fresh, pulling at a 45-degree angle to get clean, crisp lines. Do a final walk-around inspection under good lighting to check for any missed spots, drips, or uneven areas, touching them up as needed.
Safety Precautions
Painting near a fireplace comes with a few safety considerations beyond a typical painting project. Always ensure the fireplace has been unused and completely cool for at least 24 hours before starting any work. Keep the room well-ventilated by opening windows or running a fan, since paint fumes can build up quickly in an enclosed space.
If any part of the firebox itself is being painted, only use paint specifically labeled as fire-rated or heat-resistant, rated for at least 500°F or higher. Never use standard latex or masonry paint inside the firebox, as it can smoke, discolor, or emit fumes once a fire is lit. When in doubt, it’s safest to leave the interior firebox brick unpainted and limit your project to the surround and mantel.
Color Ideas & Design Inspiration
Color choice can completely change the personality of a room, and a painted brick fireplace is a great opportunity to set the tone. Crisp white or off-white remains one of the most popular choices, since it brightens the space and pairs well with almost any decor style. For a more dramatic, modern look, deep charcoal or matte black has become a favorite in contemporary interiors.
A popular in-between option is the whitewash or German smear technique, where diluted white paint or mortar is brushed on and partially wiped away, leaving some of the natural brick texture and color peeking through. This creates a softer, more rustic look than a solid, flat coat of paint.
If you’d rather keep things subtle, painting the fireplace the same color as the surrounding wall can help it blend in and feel like a natural part of the room’s architecture, rather than standing out as a separate feature.
Maintenance Tips After Painting
Painted brick is fairly low maintenance, but a little regular care goes a long way. Dust the surface periodically with a soft cloth or vacuum brush attachment, and wipe down any marks or smudges with a damp cloth and mild soap — avoid harsh chemical cleaners, which can dull the finish over time.
Keep an eye out for any chipping or peeling, especially near the firebox opening or high-touch areas like the mantel edge, and touch these up promptly with leftover paint before they spread. With proper prep and paint, a painted brick fireplace can look great for anywhere from five to ten years before it needs a refresh, though light touch-ups may be needed sooner in high-use rooms.
Common Mistakes to Avoid
A few recurring mistakes account for most of the painted-brick-fireplace disasters people run into:
- Skipping the cleaning step, which leaves soot and grease trapped under the paint and causes early peeling.
- Ignoring cracks or crumbling mortar instead of repairing them before painting.
- Using the wrong type of paint, particularly standard latex paint too close to the firebox opening.
- Skipping primer, which leads to blotchy, uneven color and poor adhesion.
- Applying paint over brick that isn’t fully dry after cleaning, trapping moisture underneath.
- Rushing between coats without allowing proper drying time.
Cost Breakdown
One of the appealing things about this project is how affordable it is compared to a full fireplace renovation. Here’s a rough estimate:
| Cost Category | DIY Estimate | Professional Estimate |
|---|---|---|
| Cleaning supplies | $15–$30 | Included in labor |
| Primer | $20–$40 | Included in labor |
| Paint (masonry/latex) | $30–$60 | Included in labor |
| Brushes, rollers, tape | $20–$35 | Included in labor |
| Labor (if hired) | — | $300–$800+ |
| Total | $85–$165 | $300–$900+ |
Costs can vary based on fireplace size, brick condition, and regional labor rates, but DIY painting is generally one of the most budget-friendly ways to update a fireplace’s appearance.
DIY vs. Hiring a Professional
For most straightforward fireplace surrounds, this is a very doable DIY project, even for someone with limited painting experience. It mainly requires patience during the prep stages rather than advanced skill.
That said, hiring a professional makes sense in a few scenarios: if the brick shows significant damage that needs proper repair first, if you’re working with a very tall or elaborate fireplace wall that requires scaffolding, or if you simply want a guaranteed, flawless finish without investing the weekend yourself. Professionals also bring experience working around structural or ventilation concerns that an untrained eye might miss.
Frequently Asked Questions (FAQ)
Can you paint a working fireplace? Yes, the surround and mantel of a working fireplace can be painted safely as long as the firebox itself is either left unpainted or coated only with a certified heat-resistant paint.
How long does painted brick last? With proper cleaning, priming, and sealing, painted brick can look good for roughly five to ten years before it needs touch-ups or a fresh coat.
Can painted brick be reversed or removed? Technically yes, through methods like chemical stripping or sandblasting, but both are labor-intensive and carry a risk of damaging the underlying brick, so it’s worth being confident in your color choice before painting.
Does painting brick decrease home value? This depends on buyer taste and the local market — some buyers love the updated, modern look of painted brick, while others prefer natural brick for its classic character. In most cases, a clean, well-done paint job is viewed as a neutral-to-positive update.
What’s the best paint finish for a fireplace? A matte or eggshell finish is generally recommended, since it minimizes the appearance of brick’s natural texture and imperfections better than a glossy finish would.
Conclusion
Learning how to paint a brick fireplace really comes down to following the right order of steps: clean thoroughly, repair any damage, prime properly, paint in even coats, and seal for lasting protection. It’s a project that rewards patience during preparation far more than it rewards fancy technique during the actual painting.
Whether you’re going for a crisp white update, a moody charcoal statement wall, or a soft whitewashed look, a freshly painted brick fireplace can completely transform the feel of a room for a fraction of the cost of a full renovation. With the right materials, a little time, and the steps outlined in this guide, you’ll have a fireplace that looks refreshed and ready to be the centerpiece of the room again.
Related Articles
Do You Sand Primer Before Painting? A Complete Step-by-Step Guide
Can You Use Acrylic Paint on Wood?