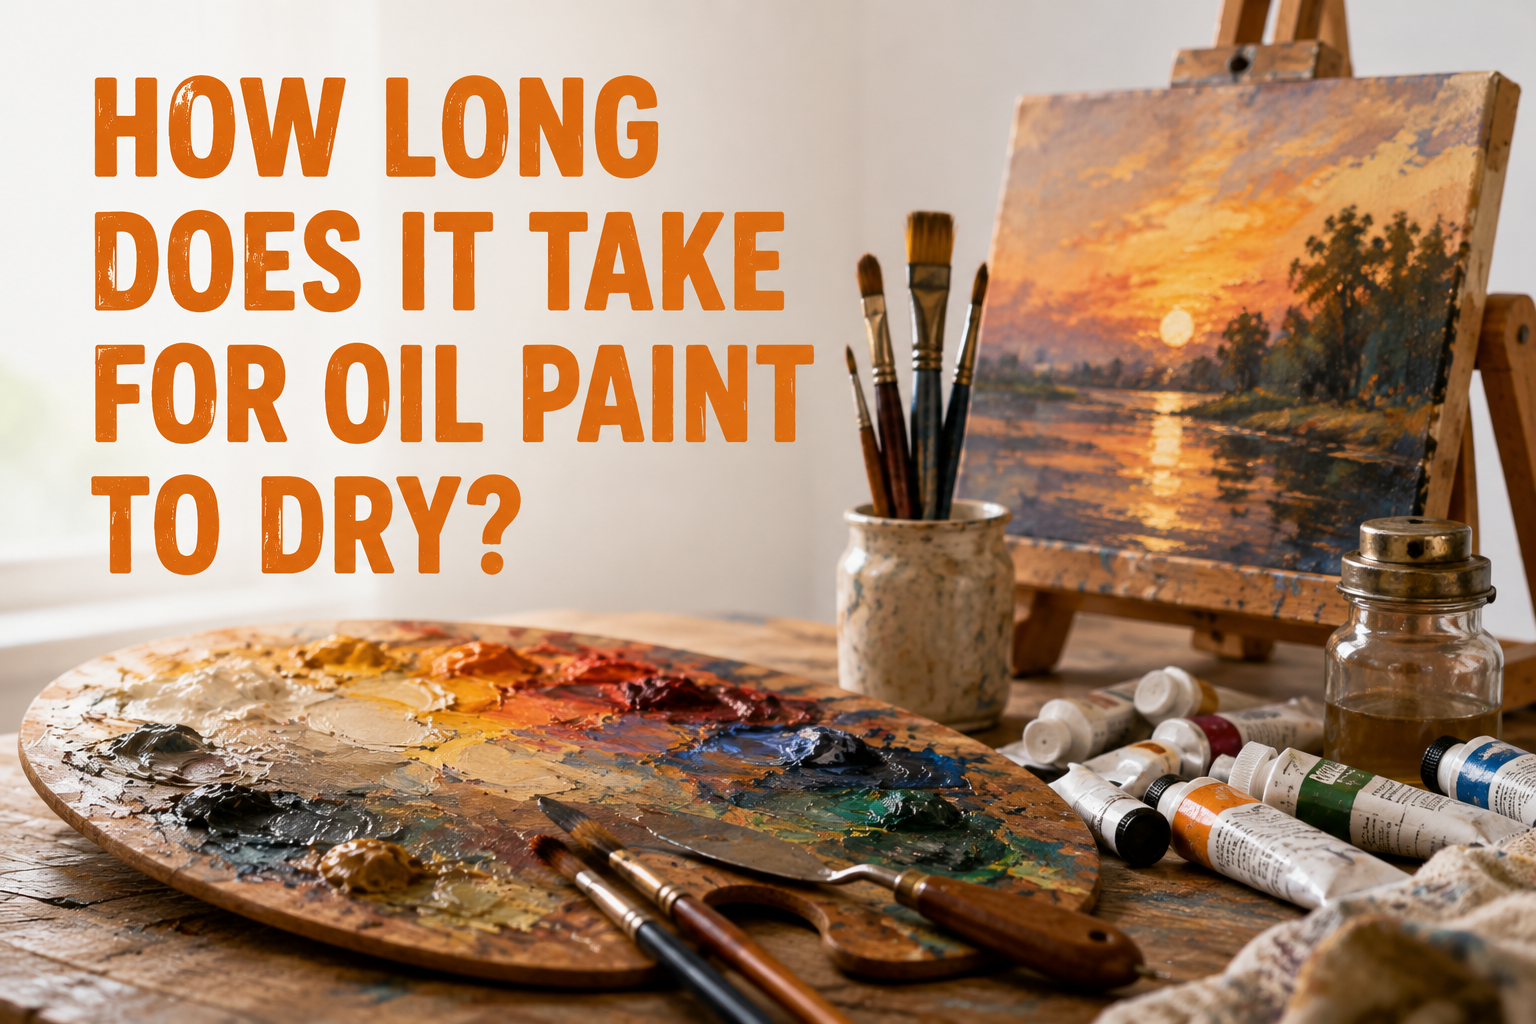

If you have ever picked up a brush and started working with oils, you have probably asked yourself the same question almost every artist asks at some point: how long does it take for oil paint to dry? It is a fair question, because unlike acrylics or watercolors, oil paint does not behave in a way that feels predictable at first. You might touch your painting after a day and think it is ready to go, only to find a smudge days later when you pick it up carelessly.
- 2. Drying vs. Curing: The Key Difference
- 3. Average Drying Timeline
- 4. Factors That Affect Drying Time
- 5. Drying Times by Pigment/Color
- 6. Fat Over Lean Rule
- 7. How to Speed Up Drying
- 8. How to Slow Down Drying (Wet-on-Wet Technique)
- 9. Signs Your Painting Is Dry
- 10. Common Mistakes to Avoid
- 11. When Can You Varnish or Frame?
- 12. FAQs
- 13. Conclusion
- Related Articles
The short answer is that oil paint dries to the touch within one to two days, but it does not fully cure for six months to a year, depending on several factors. The longer answer is more interesting, and understanding it will help you avoid ruined paintings, cracked surfaces, and frustrating waiting games. This guide walks you through everything that affects oil paint drying time, from the chemistry behind it to practical tips you can use in your studio today.
2. Drying vs. Curing: The Key Difference
Before going further, it helps to clear up a common misunderstanding. Many beginners assume that oil paint dries the same way water-based paint does, through evaporation. That is not the case at all. Oil paint dries through a chemical process called oxidation, where the oil binder reacts with oxygen in the air and gradually hardens into a solid film.
This is why oil paint has two very different stages of “dry.” The first is touch-dry, which means the surface no longer feels tacky or wet when you gently touch it. The second, and far more important stage, is fully cured, which means the entire paint film, from the surface down to the layers underneath, has hardened completely. A painting can look and feel dry on top while still being soft and vulnerable underneath for months.
Knowing this difference is essential, because it changes how you handle, store, transport, and varnish your finished pieces.
3. Average Drying Timeline
So, how long does it take for oil paint to dry in real, practical terms? Here is a general timeline that applies to most standard oil paints under normal studio conditions.
| Stage | Typical Timeframe | What It Means |
|---|---|---|
| Touch-dry | 1–2 days | Surface feels dry to a light touch, but is still soft underneath |
| Recoatable | 2–3 days to 1 week | Safe to add another thin layer without disturbing the one below |
| Firm/handleable | 2–4 weeks | Can be handled carefully without smudging |
| Fully cured | 6 months to 1 year | Paint film has completely hardened all the way through |
These numbers are averages. Some paintings with very thin layers dry faster, while thickly applied impasto sections can take much longer, sometimes over a year, to fully harden.
4. Factors That Affect Drying Time
There is no single answer to how long oil paint takes to dry, because so many variables come into play. Understanding these factors will help you predict drying times more accurately for your own work.
Layer thickness is one of the biggest influences. Thin, glaze-like layers dry noticeably faster than thick, heavily loaded brushstrokes. This is simply because oxygen needs to reach the paint to trigger the drying reaction, and thick paint takes longer for that oxygen exchange to happen all the way through.
Pigment type also plays a surprisingly large role. Some pigments naturally speed up drying because of their chemical makeup, while others slow it down considerably. This is covered in more detail in the next section.
Oil binder matters too. Linseed oil, the most common binder, dries relatively quickly compared to walnut oil or safflower oil, which are often used because they yellow less over time but take longer to harden.
Humidity and temperature in your workspace have a direct effect. Warm, dry conditions speed up oxidation, while cold or humid environments slow it down significantly. This is why paintings often dry faster in summer studios than in damp basements.
Ventilation helps because oxygen exposure is what drives the drying process. A well-ventilated room allows fresh air to circulate around the painting, supporting faster oxidation.
Canvas or surface absorbency can also make a difference. A canvas with an absorbent ground pulls some oil out of the paint, which can slightly accelerate surface drying compared to a non-absorbent panel.
5. Drying Times by Pigment/Color
This is one of the most overlooked factors, and it genuinely surprises a lot of beginner painters. Certain pigments are naturally “fast driers” because of trace metals in their composition, while others are notoriously slow.
| Fast-Drying Pigments | Slow-Drying Pigments |
|---|---|
| Umbers (raw and burnt) | Titanium White |
| Siennas | Cadmium Red |
| Cobalt Blue | Cadmium Yellow |
| Lead White (where available) | Ivory Black |
| Manganese Blue/Violet | Alizarin Crimson |
This is why some artists mix a small amount of a fast-drying pigment, like burnt umber, into slower colors when they need a passage to set up more quickly. It is also why a painting with heavy white highlights might feel stickier for longer than the darker background areas.
6. Fat Over Lean Rule
Anyone serious about working in oils eventually runs into the phrase “fat over lean,” and it directly relates to drying time. This rule means that each successive layer of paint should contain more oil (be “fatter”) than the layer beneath it. Leaner layers, meaning those with less oil and more solvent, dry faster and more rigidly.
If you apply a fat, oil-rich layer first and then a lean layer on top, the bottom layer will still be moving and expanding as it slowly cures, while the top layer has already hardened. This mismatch often causes cracking, sometimes months or even years after the painting was finished. Following the fat over lean approach keeps your layers drying at compatible rates, reducing the risk of long-term damage.
7. How to Speed Up Drying
There are times when waiting isn’t practical, especially if you are working toward a deadline or want to varnish sooner. Fortunately, there are several reliable ways to shorten the wait.
- Use alkyd-based mediums, such as Liquin, which can cut drying time down to as little as a day for a thin layer.
- Add a small amount of cobalt or manganese-based drier to your paint, but use it sparingly since too much can cause brittleness.
- Apply paint in thin layers rather than thick, heavy strokes.
- Work in a warm, dry room with good air circulation.
- Choose fast-drying pigments for underpainting or early layers.
- Consider alkyd paints instead of traditional oils, since they are formulated to dry within 24 hours.
8. How to Slow Down Drying (Wet-on-Wet Technique)
On the other hand, some painting styles depend on keeping the paint workable for as long as possible. Wet-on-wet blending, common in portrait and landscape work, requires paint that stays soft enough to manipulate over several painting sessions.
To slow drying, you can add a retarder medium formulated specifically to extend working time. Storing your palette in a cool space, or even in a refrigerator between sessions, also helps preserve wetness. Keeping humidity slightly higher in your studio and avoiding fast-drying pigments in your primary mixing colors will further extend your working window.
9. Signs Your Painting Is Dry
It is not always obvious when a painting has crossed from touch-dry into something safe to handle or varnish. A few simple checks can help.
The touch test is the most basic: lightly press a clean, dry finger against an inconspicuous area. If it feels tacky or leaves a mark, it needs more time. The sheen test involves observing how light reflects off the surface; wet oil paint often looks glossy and slightly wet, while dry paint develops a more matte, settled appearance. Some experienced painters also rely on a faint smell test, since fresh oil paint carries a distinct linseed oil odor that fades noticeably as the painting cures.
10. Common Mistakes to Avoid
Even careful painters run into avoidable problems when they misjudge drying time. Varnishing too early is one of the most common issues, since sealing in moisture and uncured oil can trap solvents and cause cloudiness or cracking later on. Stacking wet paintings on top of each other, even briefly, almost always results in smudged or transferred paint. Using too much commercial drier is another frequent mistake; while it speeds up surface drying, it can leave the paint film brittle and prone to cracking over time.
11. When Can You Varnish or Frame?
Most conservators and professional painters recommend waiting at least six months to a year before applying a final varnish, since varnish should only go over a fully cured surface. Framing behind glass can typically happen sooner, often within a few weeks, as long as the painting is fully touch-dry and handled carefully. If you need to transport or display a painting sooner, using spacers to keep glass from touching the paint surface is a smart precaution.
12. FAQs
Can I use a hairdryer to speed up drying? It is not recommended. Direct heat can cause uneven drying, cracking, or bubbling, especially on thicker paint layers. Gentle airflow at room temperature is a safer approach.
Does oil paint dry darker or lighter than it looks when wet? Oil paint generally dries slightly darker, particularly in areas with more oil content, though the shift is usually subtle compared to acrylics.
Is it normal for a painting to still smell like oil after a week? Yes, a mild linseed oil scent is normal for several weeks and will fade gradually as the painting continues to cure.
Can I speed up drying with sunlight? Indirect sunlight or UV exposure can help oxidation, but direct, intense sunlight risks fading certain pigments and should be used cautiously.
13. Conclusion
So, how long does it take for oil paint to dry? In practical terms, expect touch-dry results within a day or two, safe recoating within about a week, and full curing anywhere from six months to a year. The exact timeline depends on layer thickness, pigment choice, oil binder, and your studio’s temperature and humidity.
Patience really is part of the craft when working with oils. Rushing the process by varnishing too soon or stacking paintings before they are ready almost always leads to disappointing results down the line. By understanding the science behind drying and curing, and by using the right techniques to speed up or slow down the process as needed, you can protect your work and enjoy the rich, buttery qualities that make oil paint such a beloved medium in the first place.
Related Articles
How to Remove Chalk Paint: 5 Easy Methods That Actually Work
Does Rubbing Alcohol Damage Car Paint? The Complete Guide
Can You Use Latex Paint Over Oil-Based Primer? A Complete Guide