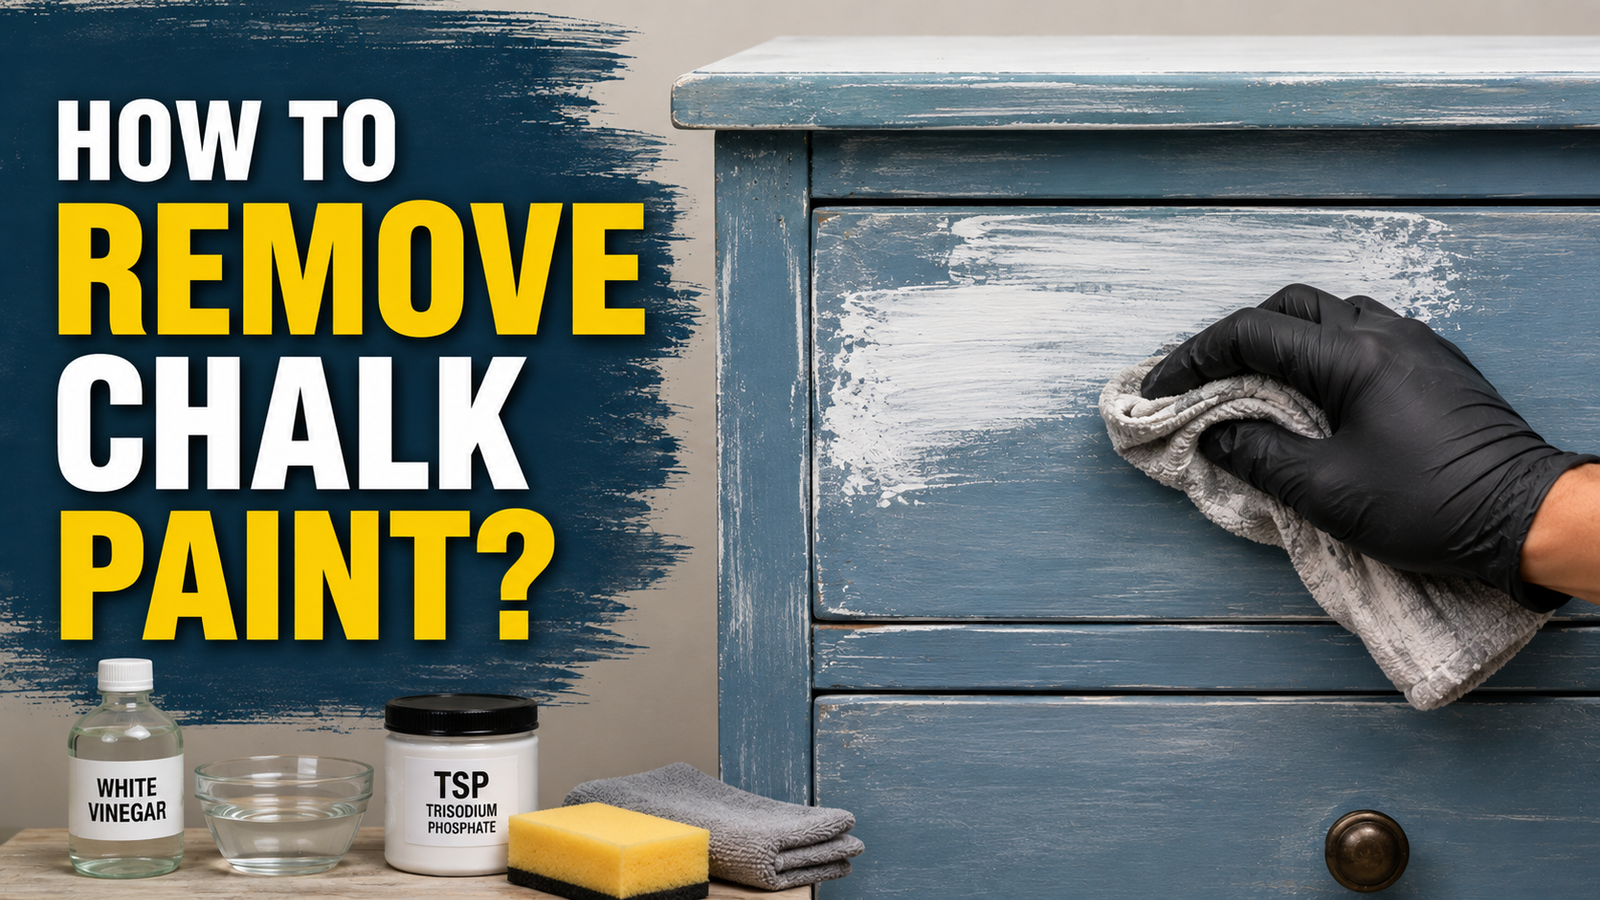

Chalk paint has become one of the most popular choices for furniture makeovers because of its matte, vintage finish and the fact that it doesn’t require much prep work to apply. But that same quality that makes it so easy to put on can make it a little tricky to take off. If you’ve ever tried to strip a chalky finish only to find it clinging stubbornly to the wood, you already know the frustration.
- What Is Chalk Paint and Why It Needs Special Removal Methods?
- When You Should Remove Chalk Paint? (vs. Just Repainting Over It)
- Before You Start: Preparation
- Method 1: Sanding
- Method 2: Chemical Paint Stripper
- Method 3: Heat Gun
- Method 4: Soap, Water & Vinegar Solution
- Method 5: Denatured Alcohol
- Removing Chalk Paint from Different Surfaces
- Post-Removal: Cleaning and Finishing
- Common Mistakes to Avoid
- Tips for Faster and Easier Removal
- Frequently Asked Questions (FAQ)
- Conclusion
- Related Articles
The good news is that learning how to remove chalk paint doesn’t have to be a nightmare. With the right method and a bit of patience, you can bring a piece back to bare wood or prep it for a brand-new look.
This guide walks you through everything you need to know, from picking the right tools to avoiding common mistakes that can damage your furniture or walls.
What Is Chalk Paint and Why It Needs Special Removal Methods?
Chalk paint is a water-based paint known for its ultra-matte, powdery texture, similar to the look of, well, chalk. Unlike regular latex or oil-based paints, chalk paint bonds tightly to surfaces without much sanding or priming beforehand, which is exactly why so many DIYers love it. However, this strong bond is also what makes removal more involved than simply wiping it away.
Many chalk-painted pieces are also sealed with a layer of wax or polyurethane to protect the finish. That extra sealant adds another layer you’ll need to break through before the paint itself can be removed, which is why a single method doesn’t always do the trick on its own.
When You Should Remove Chalk Paint? (vs. Just Repainting Over It)
Before grabbing your sandpaper or stripper, it’s worth asking whether removal is even necessary. In many cases, chalk paint can simply be painted over, since it accepts new coats of paint exceptionally well. However, there are situations where full removal makes more sense:
- You want to restore the piece to its natural wood grain and finish.
- The existing paint is chipped, uneven, or applied in multiple sloppy layers.
- You’re switching from chalk paint to a stained or varnished look, which requires a bare surface.
- The piece has water damage, mold, or other issues hidden beneath the paint that need to be addressed.
If none of these apply, repainting over the existing layer might save you a significant amount of time and effort.
Before You Start: Preparation
Rushing into paint removal without prepping properly is one of the most common reasons people end up with damaged furniture or a messier job than necessary. Taking a few minutes to prepare will save you time and frustration later.
Assessing the Surface
Start by identifying what you’re working with. Wood furniture, metal fixtures, laminate surfaces, and painted walls all react differently to stripping methods.
Solid wood can generally handle sanding and chemical strippers well, while laminate and veneer are far more delicate and can be damaged easily by aggressive scraping or heat.
Walls, on the other hand, are usually better suited to gentler methods like soap and water, since sanding drywall can create a lot of dust and potential damage.
Tools and Materials Checklist
Having everything on hand before you begin makes the process much smoother. Here’s a general list of supplies you might need, depending on which method you choose:
| Method | Key Tools Needed |
|---|---|
| Sanding | Sandpaper (120–220 grit), sanding block or electric sander, dust mask |
| Chemical Stripper | Paint stripper, plastic scraper or putty knife, old rags, disposable gloves |
| Heat Gun | Heat gun, metal scraper, heat-resistant gloves |
| Soap & Vinegar | Warm water, dish soap or white vinegar, scrub brush or sponge |
| Denatured Alcohol | Denatured alcohol, clean cloths, gloves |
Safety Gear
Regardless of which method you pick, basic safety gear is non-negotiable. Gloves protect your hands from chemicals and rough sanding, a dust mask keeps you from inhaling fine paint particles, and safety glasses shield your eyes from debris or splashes.
If you’re using chemical strippers or a heat gun, make sure the space is well-ventilated, ideally with open windows or a fan running.
Protecting Your Work Area
Lay down a drop cloth or old newspapers to catch dust, scrapings, and drips. If you’re working indoors, moving the piece to a garage or covered patio can make cleanup significantly easier and protect your floors from chemical spills.
Method 1: Sanding
Sanding is one of the most straightforward ways to remove chalk paint, especially on smaller pieces of furniture like side tables, chairs, or picture frames.
Best for: Furniture and small wood surfaces with a single or thin layer of paint.
To get started, you’ll want a medium grit sandpaper, somewhere around 120, to break through the bulk of the paint, followed by a finer grit like 220 to smooth the surface afterward. An electric sander speeds things up considerably on larger, flat areas, while a sanding block or folded sandpaper gives you more control on edges, corners, and detailed woodwork.
Begin sanding in the direction of the wood grain, applying steady, even pressure. Work in small sections, checking your progress often so you don’t accidentally sand through the wood veneer or create uneven patches. Once the majority of the paint has been removed, switch to a finer grit to smooth out any rough spots and prepare the surface for refinishing.
Pros: No harsh chemicals involved, works well on solid wood, gives you full control over the process.
Cons: Time-consuming for larger pieces, creates a lot of dust, not ideal for detailed carvings or delicate veneer.
Method 2: Chemical Paint Stripper
When you’re dealing with several layers of chalk paint or a particularly stubborn finish, a chemical stripper often gets the job done faster than sanding alone.
Best for: Thick or multiple layers of chalk paint, especially on furniture with intricate details.
Paint strippers come in both gel and liquid forms. Gel strippers tend to cling better to vertical or detailed surfaces, making them a solid choice for furniture with carvings or moldings, while liquid strippers work well on flat, horizontal surfaces. If you’d prefer to avoid harsh fumes, look for citrus-based or soy-based strippers, which are gentler while still being effective.
Apply a generous, even coat of the stripper using a paintbrush, then let it sit for the amount of time recommended on the product label, usually somewhere between 15 and 30 minutes. You’ll start to see the paint bubble and soften. Once it does, use a plastic scraper or putty knife to gently lift the paint away, working in the direction of the wood grain to avoid gouging the surface.
Pros: Effective on thick, multi-layered paint jobs, faster than sanding on larger surfaces.
Cons: Strong fumes require good ventilation, chemicals can be harsh on skin, not ideal for use around children or pets.
Method 3: Heat Gun
For furniture with detailed carvings, moldings, or turned legs, a heat gun offers a level of precision that sanding and chemical strippers sometimes can’t match.
Best for: Detailed or carved furniture where getting into grooves and crevices is important.
Hold the heat gun a few inches away from the surface and move it slowly and steadily, avoiding lingering too long in one spot. As the paint begins to bubble and soften, follow closely behind with a metal scraper to lift it away while it’s still warm and pliable.
Because heat guns work quickly, they also carry more risk than other methods. Scorching the wood is a real possibility if you hold the heat too close or in one place for too long, and older paint layers can occasionally release fumes when heated, so ventilation is important here too.
Pros: Fast, precise, excellent for detailed woodwork.
Cons: Risk of scorching wood, requires careful technique, not suitable for laminate or veneer surfaces.
Method 4: Soap, Water & Vinegar Solution
If the chalk paint layer is fresh or relatively thin, you might not need anything stronger than a simple household solution.
Best for: Light or freshly applied chalk paint that hasn’t fully cured or been sealed with wax.
Mix warm water with a few drops of dish soap, or substitute white vinegar for the soap if you prefer a more natural approach. Vinegar’s mild acidity helps break down the paint’s bond with the surface. Dip a scrub brush or sponge into the solution and work it into the paint using small circular motions, reapplying as needed to keep the area damp.
This method works gradually, so patience is key. It’s particularly handy for cleaning paint off surfaces where you want to avoid chemicals or heat altogether, such as walls or surfaces near food-prep areas.
Pros: Gentle, inexpensive, no harsh chemicals or fumes.
Cons: Only effective on thin or fresh paint, requires more time and elbow grease, less effective on sealed or waxed finishes.
Method 5: Denatured Alcohol
Many chalk-painted pieces are finished with a wax topcoat, which can make other removal methods less effective until that layer is dealt with first.
Best for: Wax-finished chalk paint pieces where the sealant is blocking other removal methods.
Denatured alcohol is particularly good at breaking down both wax and chalk paint, making it a smart first step if you know your piece has been waxed. Soak a clean cloth in the alcohol and rub it over the surface using firm, steady strokes. You’ll notice the paint and wax starting to soften and lift onto the cloth. For larger pieces, you may need to switch to a fresh cloth several times as the paint transfers off the surface.
Pros: Cuts through wax sealants effectively, works well as a pre-step before sanding or stripping.
Cons: Can be time-consuming on large surfaces, requires good ventilation, not as effective on unsealed, non-waxed paint.
Removing Chalk Paint from Different Surfaces
Not every method works equally well on every material, so it helps to match your approach to the surface you’re working with.
Wood furniture is the most forgiving surface and can typically handle any of the five methods above, either alone or in combination.
Walls are best treated gently, since sanding drywall creates excessive dust and can damage the surface. A soap-and-water or vinegar solution, applied with a sponge, is usually the safest bet.
Metal surfaces respond well to chemical strippers and heat guns, but sanding should be done carefully to avoid scratching the underlying material.
Laminate or veneer requires the lightest touch of all. Aggressive sanding or high heat can easily damage the thin surface layer, so a chemical stripper used sparingly, or the vinegar solution for lighter jobs, tends to be the safer choice.
Post-Removal: Cleaning and Finishing
Once the bulk of the chalk paint has been removed, the surface still needs a bit of attention before it’s ready for its next chapter.
Start by rinsing the area with a clean, damp cloth to remove any leftover residue from strippers, alcohol, or soap. Let the surface dry completely, which can take anywhere from a few hours to overnight depending on the method used and the material involved.
After drying, a final light sanding with fine-grit sandpaper (around 220 grit) will smooth out any rough patches and prepare the wood for staining, painting, or sealing. If you’re planning to stain the piece, make sure all traces of paint and stripper residue are gone, since leftover chemicals can interfere with stain absorption and lead to blotchy results.
Common Mistakes to Avoid
Even with the best intentions, a few missteps can turn a simple project into a bigger headache. Skipping proper surface prep, for instance, often leads to uneven results and wasted effort. Using an aggressive method like heavy sanding or a heat gun on delicate laminate or veneer can cause irreversible damage, so always match your method to your material.
Working in a poorly ventilated space while using chemical strippers or denatured alcohol is another common issue, and one that can pose real health risks. Finally, over-sanding or holding a heat gun too long in one spot are easy mistakes to make when you’re eager to finish the job quickly, but both can leave permanent marks on the wood.
Tips for Faster and Easier Removal
Combining methods often produces the best results. For example, using denatured alcohol to break down a wax topcoat first, then following up with sanding or a chemical stripper for the remaining paint, tends to be more efficient than relying on a single method alone.
Working in smaller sections rather than tackling the whole piece at once also helps you maintain control and catch mistakes early. And if you’re dealing with an antique, a highly detailed piece, or simply don’t have the time or tools to do it yourself, hiring a professional furniture refinisher is always a reasonable option worth considering.
Frequently Asked Questions (FAQ)
Does vinegar really remove chalk paint? Yes, vinegar can help remove chalk paint, particularly if the layer is thin or hasn’t been sealed with wax. Its mild acidity breaks down the paint’s bond with the surface, though it works more slowly than chemical strippers and is best suited for lighter jobs.
Can you remove chalk paint without sanding? Absolutely. Chemical strippers, heat guns, denatured alcohol, and the soap-and-vinegar solution can all remove chalk paint without any sanding involved, though a light final sanding is often still recommended for smoothness before refinishing.
How long does chemical stripping take? Most chemical strippers need to sit on the surface for 15 to 30 minutes before the paint softens enough to scrape away, though thicker or older layers may require a second application.
Is chalk paint removal different from regular paint removal? Not drastically, but chalk paint’s porous, matte texture and the wax topcoats often used with it mean it can absorb strippers differently than glossy latex or oil-based paints, and wax layers usually need to be addressed separately before the paint itself will come off cleanly.
Conclusion
Learning how to remove chalk paint really comes down to matching the right method to your surface and the condition of the paint.
Sanding works well for light jobs on solid wood, chemical strippers tackle thicker or multiple layers efficiently, a heat gun is ideal for detailed carvings, and gentler options like soap-and-vinegar or denatured alcohol are perfect for lighter or wax-sealed finishes.
In many cases, combining two methods, such as alcohol to break down wax followed by light sanding, will give you the smoothest, most complete results.
Whichever method you choose, take your time, protect your workspace, and prioritize safety with proper ventilation and protective gear. With a bit of patience, you’ll have your furniture or wall surface stripped clean and ready for its next transformation.
Related Articles
Does Rubbing Alcohol Damage Car Paint? The Complete Guide
Can You Use Latex Paint Over Oil-Based Primer? A Complete Guide