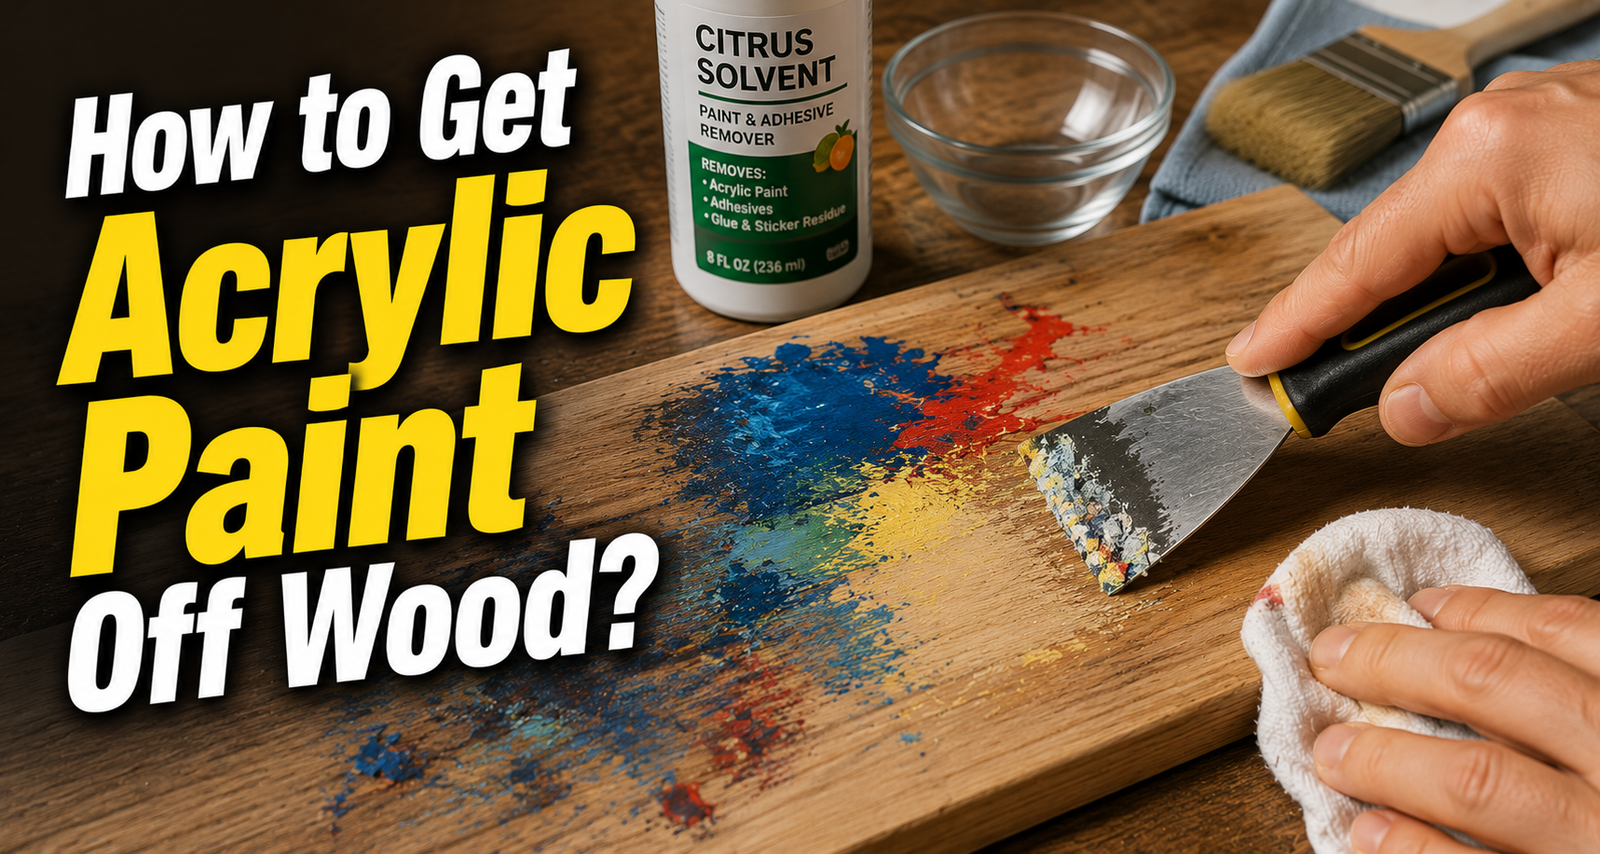

Acrylic paint is loved by artists, DIY enthusiasts, and homeowners because it is water-based, quick-drying, and easy to work with. But that same fast-drying nature is exactly what makes it tricky to remove once it lands somewhere unintended, like a wooden table, floor, or furniture piece. Once acrylic paint dries, it forms a flexible plastic-like film that clings to the surface, making simple wiping ineffective.
- Understanding Acrylic Paint and Wood
- Safety Precautions Before You Start
- Tools and Materials Needed
- Removing Wet Acrylic Paint
- Removing Dried Acrylic Paint
- Step 1: Softening the Paint
- Step 2: Gentle Scraping Techniques
- Step 3: Using Rubbing Alcohol or Acetone
- Step 4: Sanding Leftover Residue
- Step 5: Cleaning and Drying the Surface
- Special Cases
- Unfinished or Raw Wood
- Finished or Varnished Wood
- Painted Wood Furniture
- Outdoor Wood Surfaces
- Wood Floors
- Natural and Non-Toxic Removal Methods
- What NOT to Do
- Restoring the Wood After Paint Removal
- Preventing Future Paint Stains
- Frequently Asked Questions
- Does acrylic paint permanently stain wood?
- Can I use nail polish remover on all wood types?
- How long does dried acrylic paint take to remove?
- Is sanding always necessary?
- Conclusion
- Related Articles
The good news is that with the right approach, acrylic paint can be removed from almost any wood surface without ruining the finish underneath. This article breaks down the entire process into clear, easy-to-follow sections, covering everything from basic tools to special cases like painted furniture, wood floors, and outdoor surfaces. Whether you are dealing with a small splash or a larger accidental spill, you will find a suitable method here.
Understanding Acrylic Paint and Wood
Before removing acrylic paint, it helps to understand why it behaves the way it does on wood. This knowledge makes it easier to choose the right removal method instead of guessing and potentially damaging the surface.
What Makes Acrylic Paint Different?
Acrylic paint starts as a water-based liquid, which is why it is simple to wipe away while still wet. As it dries, the water evaporates and the paint particles bind together into a durable, semi-plastic layer. This is why dried acrylic paint feels rubbery or slightly stretchy and resists plain water once it has fully cured.
Types of Wood Surfaces
Wood surfaces generally fall into two categories: raw or unfinished wood, and sealed or finished wood such as varnished, painted, or polyurethane-coated pieces.
Raw wood absorbs moisture and paint more deeply, making removal harder without light sanding. Finished wood has a protective layer, so paint mostly sits on top and can often be removed without damaging the wood itself.
Why Removal Method Depends on Wood Type?
Choosing the wrong method for the wrong wood type can cause discoloration, warping, or a damaged finish. Sealed wood can usually tolerate alcohol-based solvents, while raw wood needs gentler, water-based approaches with minimal soaking. Matching the method to the surface protects the wood while still effectively lifting the paint.
Safety Precautions Before You Start
A few basic safety steps can prevent skin irritation, fumes, or accidental damage to your furniture. Taking two minutes to prepare properly makes the entire process smoother and safer.
Ventilation Tips
If you plan to use rubbing alcohol, acetone, or a commercial paint remover, work in a well-ventilated room with open windows or a fan running. These products release fumes that can cause dizziness or headaches in enclosed spaces. Never use strong chemical removers in a small, closed bathroom or closet.
Protective Gear
Wearing gloves protects your skin from solvents and repeated water exposure, which can dry out or irritate hands. Safety glasses are recommended if you are scraping paint near eye level or sanding, since small particles can fly off the surface. This small step reduces the risk of irritation during longer cleaning sessions.
Testing on a Hidden Area First
Before applying any solvent or cleaner to the visible part of the wood, test it on a hidden spot, such as the underside of a table or the back of a shelf. This helps you confirm the product will not strip the finish, cause discoloration, or leave a mark. Waiting a few minutes after testing gives you a clear idea of how the wood will react.
Tools and Materials Needed
Having the right supplies ready before you begin saves time and prevents you from switching between methods mid-process. Most of what you need is already available at home.
| Category | Items |
| Basic household items | Warm water, mild dish soap, soft cloths, sponges |
| Optional tools | Plastic scraper, soft-bristle brush, fine-grit sandpaper |
| Chemical options | Rubbing alcohol, acetone-based nail polish remover, denatured alcohol, commercial paint remover |
Having these items grouped and ready means you can move from softening to scraping to finishing without pausing halfway through the job.
Removing Wet Acrylic Paint
Wet acrylic paint is by far the easiest to deal with, since it has not yet formed its tough, dried layer. Acting within the first few minutes gives you the best results with minimal effort.
Acting Quickly Matters
Acrylic paint can start drying within 10 to 20 minutes depending on room temperature and humidity, so speed is important. The sooner you address a spill, the less likely the paint is to seep into the wood grain. Keeping a damp cloth nearby while painting is a smart habit for quick accidents.
Step-by-Step Wet Paint Removal
Start by blotting the paint gently with a paper towel to lift as much excess as possible without spreading it further. Next, dampen a clean cloth with warm water and mild soap, then wipe the area in gentle circular motions until the paint lifts. Finish by drying the wood immediately with a dry cloth to prevent moisture from soaking into the grain.
Common Mistakes to Avoid
Many people rub too hard or use excessive water, which can push paint deeper into the wood grain instead of lifting it out. Others wait too long before cleaning, allowing the paint to partially dry and become harder to remove. Avoiding these two habits alone significantly improves your results.
Removing Dried Acrylic Paint
Once acrylic paint has fully dried, it requires a more structured approach. The process below is one of the most reliable ways to handle how to get acrylic paint off wood once it has hardened.
Step 1: Softening the Paint
Soak a cloth in warm, soapy water and press it against the dried paint for several minutes to loosen its bond with the wood. This softening stage is essential because scraping dry paint without softening it first increases the risk of scratching the surface. Reapply the damp cloth if the paint still feels firm after the first attempt.
Step 2: Gentle Scraping Techniques
Using a plastic scraper or an old credit card, gently lift the softened paint at a low angle, working with the wood grain rather than against it. Metal tools should be avoided, as they can easily gouge or scratch the wood surface. Patience here prevents unnecessary damage that chemical cleaning cannot undo.
Step 3: Using Rubbing Alcohol or Acetone
For paint that resists scraping, dab rubbing alcohol or acetone-based nail polish remover onto a cloth and hold it against the stain for a minute before wiping. These solvents break down the plastic-like bond of dried acrylic paint effectively on sealed or finished wood. Always test first, since acetone can dull certain varnishes.
Step 4: Sanding Leftover Residue
If small traces of paint remain after solvent use, fine-grit sandpaper (220 grit or higher) can smooth away the last bits without harming the wood. Sand lightly and in the direction of the grain to avoid visible scratch marks. This step is optional and only needed for stubborn leftover spots.
Step 5: Cleaning and Drying the Surface
Once the paint is gone, wipe the area with a clean, slightly damp cloth to remove any soap or solvent residue. Dry the wood thoroughly with a towel to prevent moisture from sitting on the surface. This final wipe-down leaves the wood ready for any refinishing you plan to do.
Special Cases
Not every wood surface behaves the same way, so a few situations deserve extra attention. Matching your approach to the specific surface type gives better, safer results.
Unfinished or Raw Wood
Raw wood absorbs both moisture and paint quickly, so it is best to avoid soaking it for long periods. Light dabbing with soapy water, followed by gentle scraping and minimal sanding, works best here. Chemical solvents should be used sparingly, if at all, since raw wood can absorb and hold onto strong odors.
Finished or Varnished Wood
Varnished or sealed wood can generally handle rubbing alcohol and mild solvents without damage, since the coating protects the wood underneath. Still, always test on a hidden spot first to confirm the varnish will not lift along with the paint. This surface is usually the easiest to clean fully.
Painted Wood Furniture
On furniture that already has a painted finish, be extra cautious with acetone, as it can strip both the acrylic stain and the underlying paint layer. Soapy water and gentle scraping are safer first choices for this surface. Reserve stronger solvents only for small, stubborn spots.
Outdoor Wood Surfaces
Decks and fences are often rougher and more weathered, so a slightly firmer scrubbing with a soft-bristle brush works well. Because outdoor wood is frequently unsealed or partially worn, avoid harsh chemicals that might further dry out the wood. A soapy water soak followed by brushing usually handles most outdoor paint spills.
Wood Floors
For wood floors, work in small sections to avoid oversaturating a large area with water or solvent at once. A plastic scraper combined with a soft cloth dipped in warm soapy water is typically enough for most floor finishes. Always dry the floor immediately after cleaning to prevent water stains.
Natural and Non-Toxic Removal Methods
For those who prefer to avoid chemical solvents entirely, a few household alternatives can still get the job done effectively.
Vinegar and Warm Water Solution
Mixing equal parts white vinegar and warm water creates a mild, natural solution that can help loosen dried acrylic paint. Apply it with a cloth, let it sit for a few minutes, then wipe and scrape gently. This method is gentle enough for most finished wood surfaces.
Baking Soda Paste Method
A thick paste made from baking soda and a small amount of water can be applied directly to stubborn paint spots. After letting it sit for several minutes, use a soft cloth to rub the area in circular motions until the paint lifts. This method works particularly well on small, concentrated stains.
Natural vs Chemical Methods
Natural methods are safer for indoor air quality and gentler on both skin and wood, but they often require more time and repeated applications. Chemical solvents work faster on stubborn, fully cured paint but carry a higher risk of damaging delicate finishes. Choosing between them usually comes down to how old the paint stain is and how sensitive the wood surface is.
What NOT to Do
A few common habits can turn a simple paint removal task into a bigger repair job, so it is worth listing them clearly.
| Mistake | Why It’s a Problem |
| Using metal scrapers or knives | Can scratch or gouge the wood surface permanently |
| Soaking unsealed wood in water | Can cause warping, swelling, or discoloration |
| Skipping the spot test | Risk of stripping finish or causing visible damage |
| Applying too much pressure | Can push paint deeper into the wood grain |
Avoiding these four mistakes alone prevents most of the accidental damage people experience while removing acrylic paint.
Restoring the Wood After Paint Removal
Once the paint is fully removed, a little extra care can bring the wood back to its original look. This final stage is optional but recommended for a polished result.
Sanding for a Smooth Finish
If the surface feels uneven after cleaning, a light pass with fine-grit sandpaper smooths out any remaining texture. Always sand in the direction of the wood grain for an even result. This step prepares the wood nicely for any stain or sealant application.
Reapplying Wood Stain or Sealant
If the original finish was disturbed during cleaning, applying a matching wood stain or clear sealant restores both the look and protection of the surface. Allow the wood to dry completely before applying any new coating. This step is especially useful for furniture and floors.
Final Polishing Tips
A soft cloth with a small amount of furniture polish or wood conditioner can bring back shine once everything has dried. Buff gently in circular motions for an even, natural-looking finish. This final touch makes the repaired area blend seamlessly with the rest of the wood.
Preventing Future Paint Stains
Prevention is always easier than cleanup, so a few simple habits can save time on future projects.
Using Drop Cloths or Protective Covers
Laying down a drop cloth, old newspaper, or plastic sheet before painting protects wood surfaces from accidental drips and spills. This is one of the simplest and most effective prevention methods available.
Sealing Wood Before Painting Projects
Applying a temporary protective coat or masking tape on wood surfaces near your painting area reduces the chance of stains soaking in if paint does land there. This is especially useful for raw, unfinished wood.
Quick Cleanup Habits
Keeping a damp cloth within reach while painting allows you to catch spills within seconds rather than minutes. Building this habit into your painting routine makes future accidents far easier to manage.
Frequently Asked Questions
Does acrylic paint permanently stain wood?
Not usually, especially if cleaned promptly; dried paint on raw wood may need sanding for full removal.
Can I use nail polish remover on all wood types?
No, it works best on sealed or varnished wood and should be tested first on painted or delicate finishes.
How long does dried acrylic paint take to remove?
Most spots can be cleaned within 15 to 30 minutes using the softening and scraping method described above.
Is sanding always necessary?
No, sanding is only needed if solvent and scraping leave behind minor residue or texture.
Conclusion
Knowing how to get acrylic paint off wood comes down to identifying whether the paint is wet or dried, then choosing a method suited to your specific wood surface.
Wet paint responds well to a simple damp cloth, while dried paint benefits from softening, gentle scraping, and mild solvents when needed. With the right tools and a little patience, most wood surfaces can be fully restored without lasting damage.
Related Articles
Can You Paint Air Dry Clay Before It Dries? Full Guide
How to Remove Paint from Plastic: 7 Easy & Safe Methods That Work