
Air dry clay has become one of the most loved materials for beginners, kids, and even experienced hobbyists because it does not need an oven or a kiln. You simply shape it and let it sit out to harden on its own.
- Understanding Air Dry Clay
- Why You Shouldn’t Paint Wet Clay?
- What Happens If You Paint Too Early?
- How to Tell If Your Clay Is Fully Dry?
- Factors Affecting Drying Time
- How to Speed Up Drying Safely?
- Preparing Clay for Painting Once Dry
- Best Practices for Painting Air Dry Clay
- Common Mistakes to Avoid
- Frequently Asked Questions
- Can you speed-dry clay in the oven?
- How long should I wait before painting?
- Can you paint air dry clay while slightly damp?
- What paint works best on air dry clay?
- Do you need to seal painted clay?
- Conclusion
- Related Articles
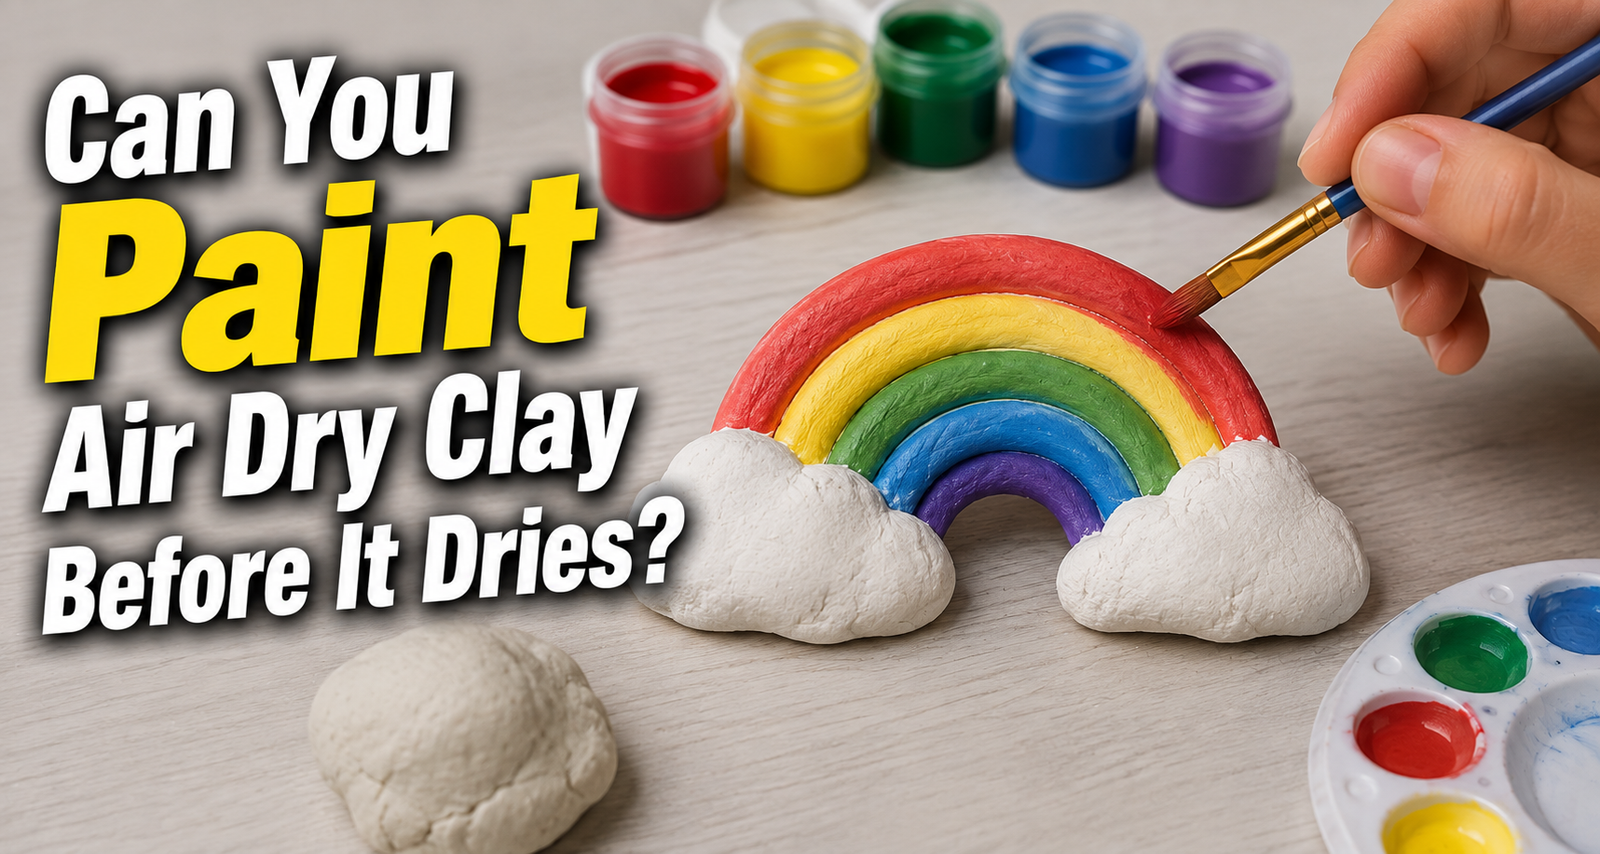
But this simplicity often brings up one common question among makers: can you paint air dry clay before it dries, just to save some time? It feels like a shortcut that should work, especially when a project looks almost finished and the excitement to add color takes over.
The truth is that patience plays a bigger role in clay crafting than most people expect. Skipping the drying stage might seem harmless, but it usually leads to disappointing results that ruin hours of careful shaping and detailing.
This guide walks through everything you need to know about drying and painting air dry clay the right way, so your finished piece looks smooth, colorful, and long lasting.
Understanding Air Dry Clay
Air dry clay is a mixture of natural or synthetic materials that hardens simply through exposure to air, without any baking or firing. Unlike polymer clay, which needs an oven, or ceramic clay, which requires a kiln, air dry clay relies purely on evaporation to become solid.
Because the hardening process depends on moisture leaving the clay, the material stays soft and workable for as long as water remains trapped inside it.
Depending on the brand and the thickness of the piece, drying can take anywhere from a single day to several days. Thin, flat pieces dry faster than thick sculptures because moisture has a shorter distance to travel out of the clay.
Why You Shouldn’t Paint Wet Clay?
Painting before the clay has fully hardened creates more problems than it solves. Even though the surface might feel dry to a light touch, the inside could still be holding moisture, and that hidden dampness is exactly what causes trouble later.
Structural Issues
Wet clay is naturally soft, so pressing a paintbrush against it can leave dents, smudges, or fingerprints that are hard to fix. Delicate details like edges, textures, or thin decorations can lose their shape completely under light pressure while the clay is still pliable.
Paint Adhesion Problems
When paint is applied to a damp surface, it does not bond properly with the clay. As the clay continues drying underneath the paint layer, the surface shrinks slightly, which causes the paint to crack, flake, or peel away in patches instead of forming a smooth, even coat.
Moisture Trapping
A layer of paint can act like a seal, blocking the natural evaporation process. This traps moisture inside the clay, and that trapped dampness creates the perfect environment for mold or mildew to grow, especially in humid rooms or thicker projects.
Color Bleeding Into Wet Clay
Wet clay absorbs liquid paint unevenly, causing colors to blend, spread, or turn patchy instead of staying crisp and defined. This is especially frustrating for detailed designs, where clean lines and separate colors are important to the final look.
What Happens If You Paint Too Early?
Many beginners learn this lesson the hard way. A common example is a painted clay ornament that looked perfect on day one, only for the paint to crack into a spiderweb pattern once the piece dried out completely a few days later.
Another frequent case is a figurine where fingerprints from painting session got permanently pressed into the still-soft clay, ruining the smooth finish.
In more severe cases, especially with thick clay pieces, sealed-in moisture has led to a musty smell and visible mold spots appearing under the paint layer weeks after the project was considered finished. These outcomes are avoidable simply by respecting the natural drying timeline of the clay.
How to Tell If Your Clay Is Fully Dry?
Before reaching for paint, it helps to confirm dryness using a few simple checks rather than guessing based on how many hours have passed.
| Test Type | What to Look For | What It Means |
| Visual Check | Clay turns lighter, matte, and loses its shiny wet look | Surface moisture has evaporated |
| Touch Test | Clay feels room temperature, not cool or damp | No lingering surface moisture |
| Weight Test | Piece feels noticeably lighter than when freshly shaped | Internal water content has reduced |
| Sound Test | Tapping produces a solid, slightly hollow sound | Indicates a firm, hardened interior |
Visual and Touch Cues
Freshly shaped clay often has a slightly darker tone and a faint sheen because of surface moisture. As it dries, the color turns lighter and more matte, and touching it should feel like touching regular room-temperature material rather than something cool or slightly damp.
Weight and Sound Cues
Since drying is essentially the process of water leaving the clay, a fully dried piece will always feel lighter than it did right after shaping. Gently tapping the piece can also help, as dry clay tends to produce a firmer, more solid sound compared to the dull thud of a still-wet piece.
Factors Affecting Drying Time
Not every clay project dries at the same speed, and understanding why can help set realistic expectations instead of rushing the process.
Thickness and Shape
Thin, flat items such as coasters or simple charms dry much faster than bulky, three-dimensional sculptures. Thicker areas hold more internal moisture, which needs extra time to travel outward and evaporate completely, sometimes taking several extra days compared to thinner sections of the same project.
Environment and Clay Type
Humidity and room temperature directly influence how quickly moisture evaporates, with dry, warm rooms speeding up the process and humid spaces slowing it down considerably. The type of clay also matters, since paper-based clays generally dry faster and lighter than dense, mineral-heavy clays, which tend to retain moisture longer.
How to Speed Up Drying Safely?
While patience is important, there are safe ways to help the process along without damaging the piece or compromising its final strength.
Placing the clay in a well-ventilated area with good air circulation allows moisture to escape more evenly from all sides. Turning the piece periodically, especially for rounder or sculptural shapes, prevents one side from drying faster than the other, which can otherwise lead to warping or uneven cracking.
It is important to avoid direct sunlight or artificial heat sources like hair dryers or ovens, since rapid surface drying can cause the outer layer to harden while the inside remains wet, leading to cracks. Natural, gradual air drying almost always produces stronger and more even results than forced heat methods.
Preparing Clay for Painting Once Dry
Once the clay has fully hardened, a little preparation goes a long way toward achieving a smooth, professional-looking painted finish. Lightly sanding the surface with fine grit sandpaper helps remove rough edges, bumps, or uneven texture left over from shaping.
After sanding, it is essential to wipe away any dust with a slightly damp cloth or soft brush, since leftover particles can interfere with paint adhesion and leave a gritty texture. Some crafters also choose to apply a thin primer or base coat, which helps the final paint color appear more vibrant and consistent across the entire surface.
Best Practices for Painting Air Dry Clay
Acrylic paint is widely considered the best option for air dry clay because it adheres well, dries quickly, and offers strong, vibrant color coverage. Watercolor and gouache can also work for softer, more blended effects, though they may require an additional sealant for durability.
Applying paint in thin, even layers rather than one thick coat allows better control and reduces the risk of drips or uneven texture. Once the painting is complete and fully dry, sealing the piece with a varnish or clear coat adds protection against scratches, moisture, and everyday wear, extending the life of the finished project significantly.
Common Mistakes to Avoid
Many painting failures trace back to a handful of avoidable errors rather than any flaw in the clay itself.
- Rushing the drying stage instead of waiting the full recommended time
- Skipping the sanding and dust-cleaning step before painting
- Choosing paint types that do not bond well with dried clay
- Leaving the finished piece unsealed, making it vulnerable to damage
Avoiding these simple mistakes makes a noticeable difference in how professional and durable the final painted piece turns out.
Frequently Asked Questions
Can you speed-dry clay in the oven?
It is generally not recommended, since ovens can cause uneven drying, cracking, or warping compared to natural air drying.
How long should I wait before painting?
Most projects need at least twenty-four to seventy-two hours, though thicker pieces may need longer depending on size and humidity.
Can you paint air dry clay while slightly damp?
No, even slight dampness can cause cracking, peeling, or color bleeding once the clay finishes drying underneath the paint.
What paint works best on air dry clay?
Acrylic paint is the most reliable choice due to its strong adhesion, quick drying time, and rich color payoff.
Do you need to seal painted clay?
Yes, sealing with varnish protects the paint from scratches and moisture, helping the piece last much longer.
Conclusion
The answer to can you paint air dry clay before it dries will always be no, since doing so risks cracked paint, lost details, and even hidden mold.
Waiting for the clay to fully harden, checking dryness carefully, and preparing the surface properly are simple steps that make a huge difference in the final result. A little patience during the drying stage ultimately rewards you with a smoother, more colorful, and longer lasting finished piece.
Related Articles
How to Remove Paint from Plastic: 7 Easy & Safe Methods That Work
Will WD-40 Harm Auto Paint? The Complete Truth Explained