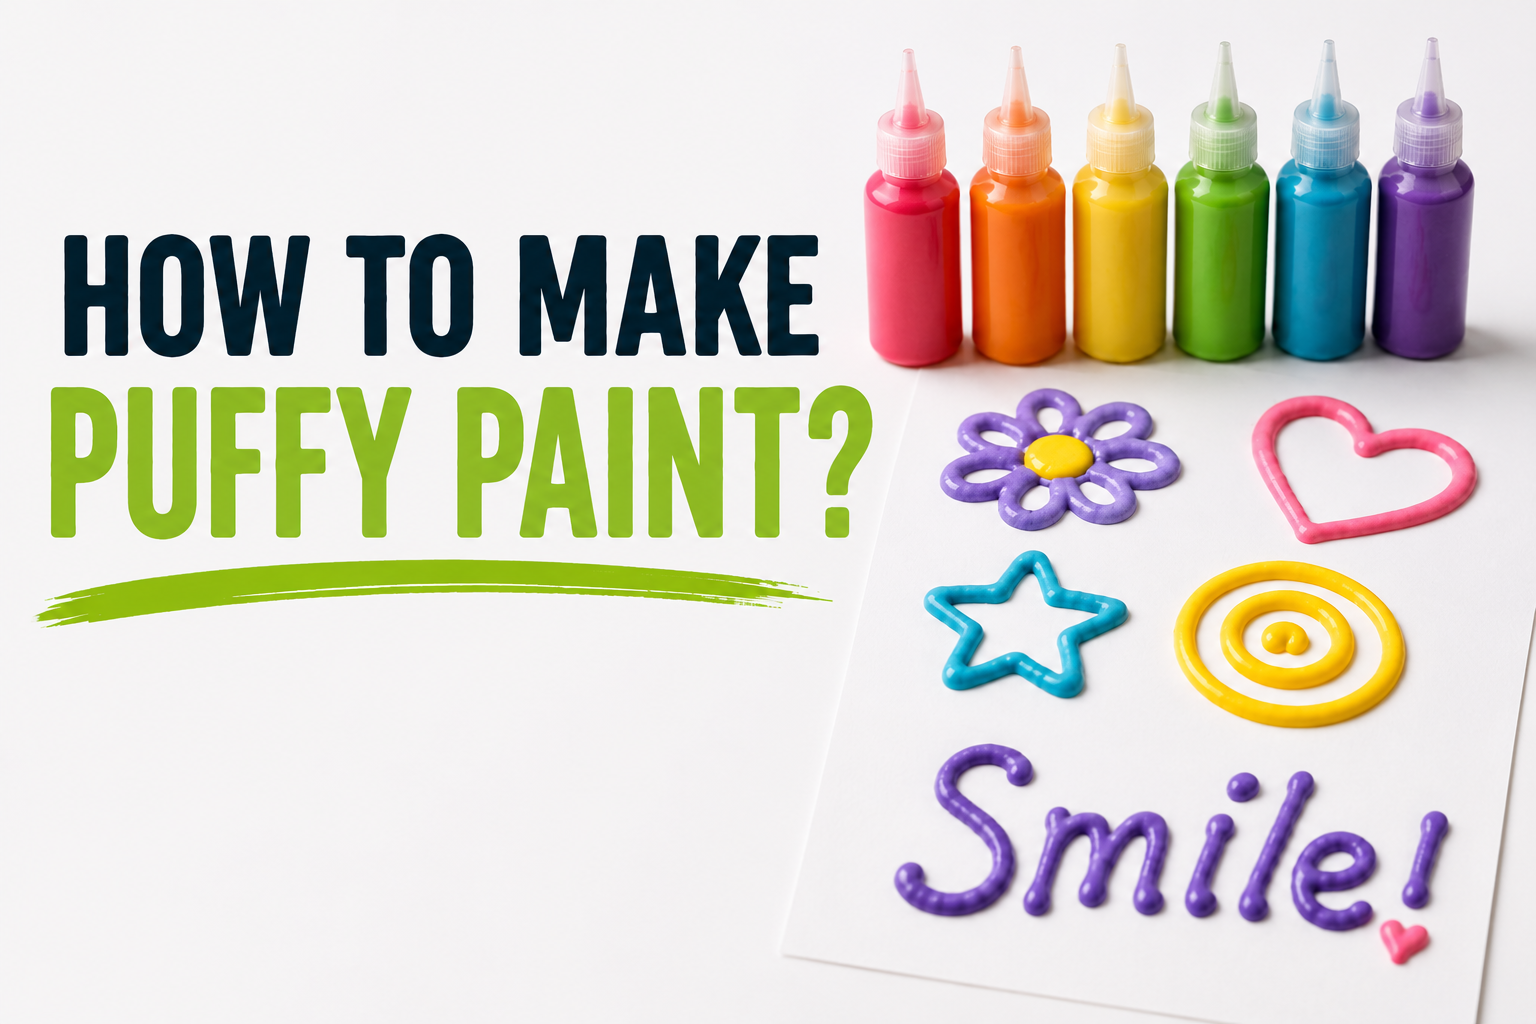

If you have ever wondered how to make puffy paint, you will be happy to know that it is one of the simplest and most rewarding craft projects you can try at home. Puffy paint is a thick, textured paint that rises and expands when heated, creating a raised, bubbly effect on paper or fabric. It has a soft, foam-like finish once it dries, which makes it a favorite among kids, parents, teachers, and craft lovers everywhere.
- What You’ll Need?
- Different Puffy Paint Recipes
- Classic Flour-Salt-Water Recipe
- Shaving Cream and Glue Recipe
- Cornstarch-Based Recipe
- No-Cook Puffy Paint Variations
- Step-by-Step Instructions
- Measuring and Mixing Dry Ingredients
- Adding Water and Achieving the Right Consistency
- Coloring the Mixture
- Transferring to Squeeze Bottles or Piping Bags
- How to Activate the Puff Effect?
- Application Techniques
- Tips for Best Results
- Avoiding Lumps in the Mixture
- Getting Vibrant Colors
- Storage and Shelf Life
- Troubleshooting Common Issues
- Safety Considerations
- Creative Project Ideas
- Puffy Paint Greeting Cards
- Custom T-Shirt Designs
- Sensory Art Projects for Children
- Seasonal and Holiday Crafts
- Conclusion
- Related Articles
This colorful paint is commonly used for greeting cards, t-shirt designs, school projects, sensory play, and holiday decorations. While you can buy puffy paint from a craft store, making it at home is far more affordable, and it allows you to control the color, texture, and quantity based on your project needs. Plus, learning how to make puffy paint from scratch is a fun activity in itself, especially when done together with children.
In this guide, we will walk you through everything you need to know, from ingredients and tools to step-by-step instructions, activation techniques, and creative ways to use your homemade puffy paint.
What You’ll Need?
Before you start, it helps to gather everything in one place so the process goes smoothly. Making puffy paint does not require any fancy equipment, and most of the ingredients are probably already sitting in your kitchen cabinet.
Basic Ingredients
The classic recipe for puffy paint relies on just a few pantry staples. You will need all-purpose flour, table salt, water, and food coloring. These four ingredients combine to form a thick paste that puffs up beautifully when exposed to heat.
Tools Required
You do not need specialized tools to figure out how to make puffy paint. A mixing bowl, a spoon or whisk, measuring cups and spoons, and small squeeze bottles or piping bags are all you need to prepare and apply the paint neatly.
Optional Add-Ons
If you want to take your homemade paint a step further, consider adding a few extras. Glitter adds sparkle, scented extracts like vanilla or peppermint give it a pleasant smell, and glow-in-the-dark powder makes the artwork shine in low light. These additions are optional but can make your project more exciting.
| Category | Items Needed |
|---|---|
| Basic Ingredients | Flour, salt, water, food coloring |
| Tools | Mixing bowl, spoon, measuring cups, squeeze bottles |
| Optional Add-Ons | Glitter, scented extracts, glow-in-the-dark powder |
Different Puffy Paint Recipes
There is more than one way to make puffy paint, and the recipe you choose depends on the texture and finish you want. Below are four popular variations.
Classic Flour-Salt-Water Recipe
This is the most traditional and widely used method. It uses equal parts flour and salt mixed with water and a few drops of food coloring. This version is best for paper crafts because it puffs up nicely in the microwave.
Shaving Cream and Glue Recipe
For a lighter, fluffier texture, mix equal parts shaving cream and white glue, then add food coloring. This version does not require heating and air-dries into a soft, foamy texture, making it a great no-cook option for younger children.
Cornstarch-Based Recipe
Cornstarch can be used instead of flour for a smoother, glossier finish. Combine cornstarch, water, and food coloring, then heat gently on the stove while stirring until it thickens into a paste.
No-Cook Puffy Paint Variations
If you prefer to skip the stove or microwave entirely, a mixture of glue, shaving cream, and a small amount of baking soda can create a similar puffed texture simply by air-drying over a day or two.
| Recipe Type | Main Ingredients | Best For |
|---|---|---|
| Classic Flour-Salt-Water | Flour, salt, water, food coloring | Paper crafts, microwave puffing |
| Shaving Cream and Glue | Shaving cream, glue, food coloring | Soft, fluffy texture, no heating |
| Cornstarch-Based | Cornstarch, water, food coloring | Smooth, glossy finish |
| No-Cook Variation | Glue, shaving cream, baking soda | Air-drying, no equipment needed |
Step-by-Step Instructions
Now that you know the different recipes, let’s go through the general process of how to make puffy paint using the classic method, which is the easiest for beginners.
Measuring and Mixing Dry Ingredients
Start by measuring equal parts flour and salt into a mixing bowl. A common ratio is one cup of flour to one cup of salt, though you can adjust based on how much paint you need. Stir the dry ingredients together until they are evenly combined.
Adding Water and Achieving the Right Consistency
Slowly pour in water while stirring continuously. Add the water a little at a time until the mixture reaches a smooth, thick consistency similar to pancake batter. It should be pourable but not watery.
Coloring the Mixture
Divide the mixture into separate small bowls if you want multiple colors. Add a few drops of food coloring to each bowl and stir until the color is fully blended and even.
Transferring to Squeeze Bottles or Piping Bags
Once the paint is mixed and colored, transfer it into squeeze bottles or piping bags. This makes it much easier to control the flow when applying the paint to your surface and helps create cleaner lines and designs.
How to Activate the Puff Effect?
The most exciting part of learning how to make puffy paint is watching it rise and expand. There are a few different ways to activate this effect, depending on the surface you are working with.
Microwave Method
After applying the paint to paper, place it in the microwave for about 20 to 30 seconds. Watch closely, as microwave strengths vary, and the paint can puff up quickly. Remove it as soon as it rises to avoid burning.
Air-Drying Method
For no-cook recipes like the shaving cream and glue version, simply let the artwork sit out at room temperature for 24 to 48 hours. The mixture will naturally rise and firm up as it dries.
Oven-Baking Method
For fabric projects, such as t-shirt designs, applying gentle heat with an iron or a low-temperature oven can help set the paint permanently onto the fabric, making it more durable through washing.
Application Techniques
Once your puffy paint is ready, how you apply it matters just as much as how you make it.
Painting on Paper
Paper is the easiest surface to start with. Use the squeeze bottle to draw outlines, shapes, or letters, then activate the puff effect in the microwave for a raised, textured look.
Painting on Fabric or T-Shirts
When working on fabric, apply the paint in thin, even lines to avoid cracking once dry. Allow it to air-dry fully before wearing or washing the garment, and consider heat-setting it for added durability.
Creating Textured Designs and Patterns
Puffy paint works beautifully for dots, swirls, and layered patterns. Experiment with different nozzle sizes on your squeeze bottle to create fine details or bold, chunky textures.
Tips for Best Results
Getting the perfect texture and finish takes a little practice. Here are some helpful tips to keep in mind.
Avoiding Lumps in the Mixture
Sift the flour before mixing, and add water gradually while stirring constantly. This helps prevent clumps and ensures a smooth, pourable paint.
Getting Vibrant Colors
Gel-based food coloring tends to produce more vivid results than liquid drops, especially when you want bold, saturated shades.
Storage and Shelf Life
Store any unused puffy paint in an airtight container in the refrigerator. It typically stays usable for about a week, though it is best used fresh for the smoothest application.
Troubleshooting Common Issues
| Problem | Likely Cause | Solution |
|---|---|---|
| Paint not puffing | Mixture too thin or microwave time too short | Thicken mixture slightly and increase time in small increments |
| Paint too runny | Too much water added | Add a bit more flour and salt to thicken |
| Uneven color | Food coloring not fully mixed | Stir longer or use gel-based coloring |
| Paint cracks on fabric | Applied too thick | Use thinner, even lines |
Safety Considerations
While making puffy paint is a safe and fun activity, a few precautions are worth keeping in mind.
Adult Supervision for Microwave or Oven Steps
Any step involving heat should be supervised by an adult, especially when children are participating in the craft.
Ingredient Allergies
Since the classic recipe uses flour, it is not suitable for anyone with a gluten allergy. Similarly, check food coloring labels if allergies or sensitivities are a concern.
Safe for Kids’ Use
Overall, homemade puffy paint is a kid-friendly project when adults handle the heating steps, making it a great choice for classrooms, birthday parties, and family craft days.
Creative Project Ideas
Once you have mastered how to make puffy paint, the possibilities for using it are nearly endless.
Puffy Paint Greeting Cards
Add raised, textured details like flowers, hearts, or lettering to handmade cards for birthdays, holidays, or thank-you notes.
Custom T-Shirt Designs
Create one-of-a-kind shirts with names, patterns, or artwork that stands out with a soft, dimensional texture.
Sensory Art Projects for Children
The squeezable texture and vibrant colors make puffy paint an excellent sensory activity for young children exploring textures and colors.
Seasonal and Holiday Crafts
Use puffy paint to decorate ornaments, pumpkins, gift tags, or seasonal artwork that adds a festive, tactile element to your décor.
Conclusion
Learning how to make puffy paint at home is an easy, budget-friendly way to enjoy a classic craft activity with minimal ingredients and equipment. Whether you choose the traditional flour-salt-water recipe or a no-cook alternative like shaving cream and glue, the process is simple enough for beginners while still leaving plenty of room for creativity.
From greeting cards and t-shirt designs to sensory play and holiday decorations, homemade puffy paint opens the door to countless fun projects. Don’t be afraid to experiment with colors, textures, and add-ons like glitter or scented extracts to make your creations truly your own.
Related Articles
How Long to Wait Between Coats of Paint: A Complete Guide
Is Acrylic Paint Washable? Complete Guide to Removing It From Any Surface