
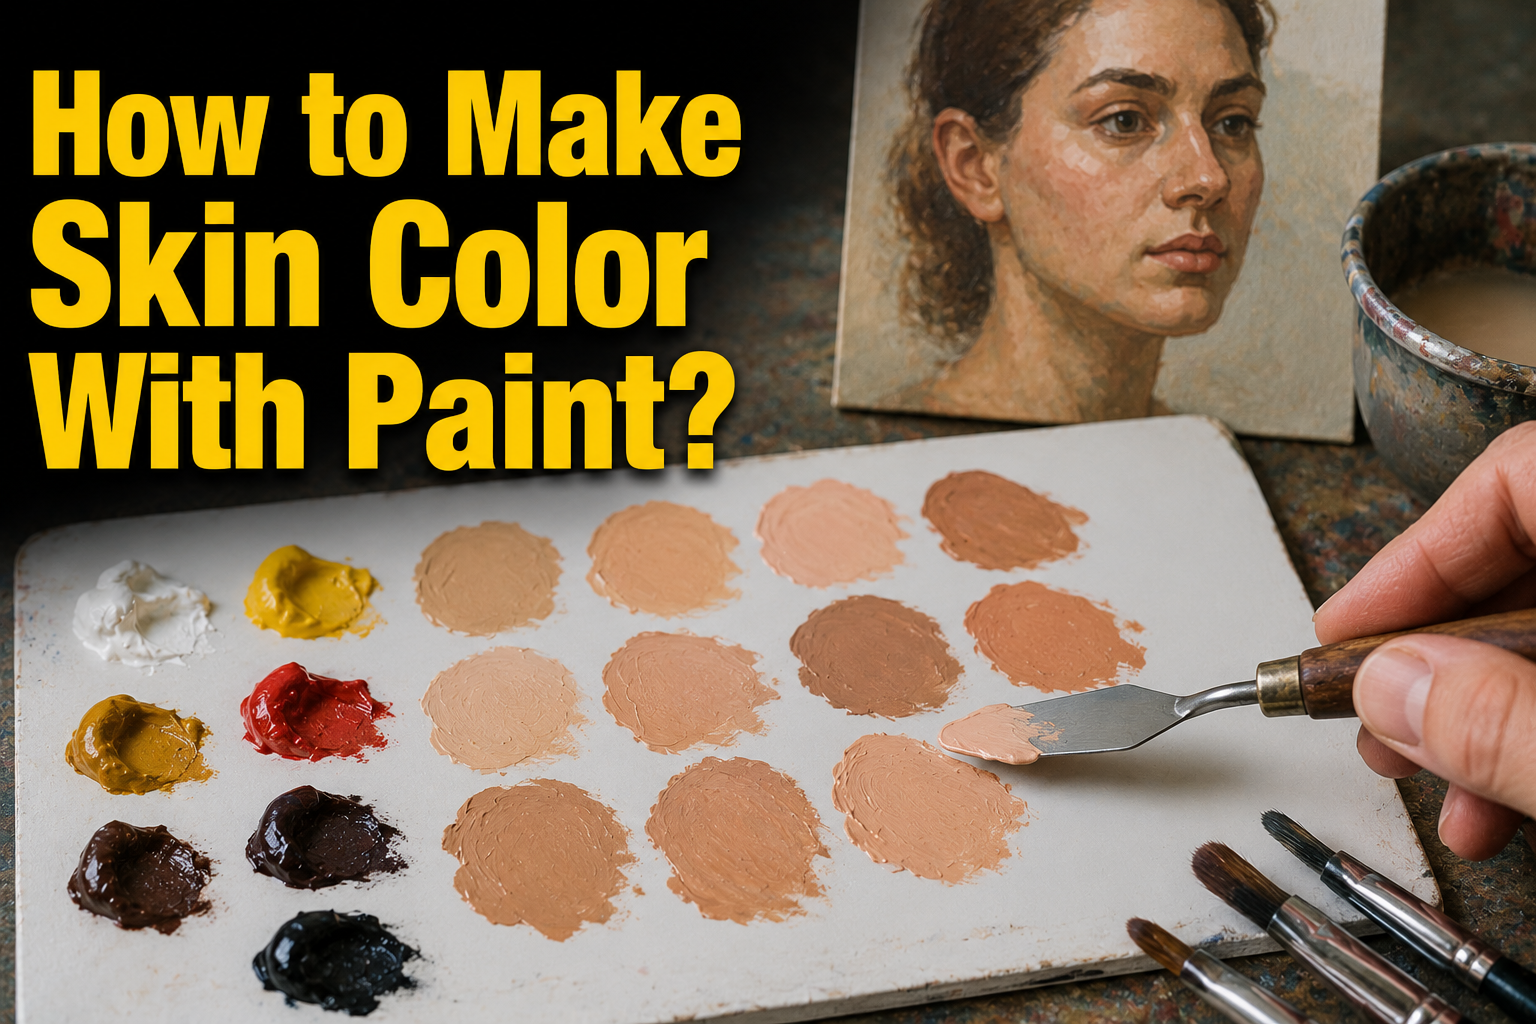

To make skin color with paint, start with a warm brown or a soft orange, then add white until it reaches the right lightness. From there you nudge it a little warmer or cooler, and lighter or darker, until it matches the skin in front of you. There is no single “skin” color. Every complexion is a small range of tones that shifts with light, shadow, and the person, so you mix it rather than squeeze it from one tube.
The good news is that you only need a handful of paints and one simple habit: change the color in small steps and keep checking it against a reference as you go. This guide gives you the colors to use, a step-by-step base mix, and how to adjust it for light, medium, and dark skin, plus the undertone and shadow tricks that make it look real.
Do you need a special flesh-colored paint?
No. A tube labeled “flesh” or “portrait pink” is mixed for one narrow range, usually a pale pink-beige, and it tends to look flat or chalky once it hits the canvas. Real skin covers warm, cool, and olive tones across a huge span of lightness, and one pre-made color cannot stretch that far. Mixing your own puts you in control of every part of the color.
It helps to know where skin color comes from. The main pigment in skin is melanin. Everyone has about the same number of the cells that make it, and the difference between the palest and the deepest skin is mostly how much melanin those cells produce. That is why the same few paints, in different amounts, can build every tone you will ever need to paint.
The colors to put on your palette
You can mix almost any skin tone from a small set of paints. A reliable starter palette is:
- Titanium white, to lighten mixes and to build highlights.
- Yellow ochre, a soft earthy yellow that already sits close to skin.
- A warm red such as cadmium red, for warmth in cheeks, lips, and mid-tones.
- A blue such as ultramarine, to cool a mix and deepen shadows.
- Burnt sienna and burnt umber (optional but handy) as ready-made warm browns for medium and deep tones.
If that feels like a lot, there is an even simpler option that portrait painters have leaned on for over a hundred years: a limited four-color set called the Zorn palette, made of yellow ochre, cadmium red, black, and titanium white.
With black quietly standing in for blue, those four colors mix a surprisingly wide range of natural skin tones. Working with fewer paints also keeps your colors clean, since combining too many pigments is the main reason a mix turns muddy.
A quick word on reds. A warm red like cadmium red is your workhorse for most skin. If you often paint fair or rosy complexions, a cooler red such as alizarin crimson is a useful second red, because it gives a soft pink flush without the orange push that cadmium can add.
Whatever set you choose, keep a reference photo or a real subject nearby. Skin is never one flat color, and your eyes will fool you if you try to mix it from memory.
How to mix a basic skin tone, step by step?
Start with a base, then adjust. This order keeps you out of trouble:
- Make a warm base. Mix a little red with a little yellow to get a soft orange, or use burnt sienna straight from the tube. This is your starting flesh color.
- Set the lightness. Add white a bit at a time until the tone is close to the skin you are matching. Go slowly, because it is easy to overshoot and end up too pale. Getting the lightness right matters even more than nailing the exact hue.
- Check it against your reference. Hold the mix next to the photo or subject and ask two questions: is it light enough, and is it warm or cool enough?
- Nudge, do not dump. Adjust with tiny amounts. A touch more yellow warms it, a speck of blue cools it, more white lightens it. Small steps keep you in control.
- Mix enough. If you need a lot of one tone, mix a big batch, because matching the exact color again later is hard. Jot down rough amounts if you want to repeat it.
Use this as a rough starting point for the three broad ranges, then adjust to your actual subject:
| Skin tone | Starting mix | Then adjust with |
| Light | Titanium white, a little yellow ochre, a tiny touch of red | A speck of blue for cooler skin, or more red for a rosier look |
| Medium | Yellow ochre, burnt sienna, and white | A little red for warmth, or a touch of blue to calm it down |
| Deep | Burnt umber, burnt sienna, and a little red | Yellow ochre or raw sienna for warmth, a little blue for shadow depth |
To make any tone darker, add a small, equal amount of each primary (red, yellow, and blue) rather than reaching for black. Black tends to deaden skin and can push it toward grey or green.
Before you commit a mix to the painting, brush a small swatch onto scrap paper of the same type you are working on, and in acrylic let it dry first. Wet paint and dry paint are not quite the same color, and a ten-second test saves a lot of repainting later.
Getting the undertone right
Undertone is the quiet color under the surface, and getting it right is what separates a believable skin tone from a plastic one. Most skin leans one of three ways.
Warm or golden skin has a yellow or peachy undertone. Add a little more yellow ochre to push the mix that way.
Cool or pink skin has a rosy, slightly blue undertone. Add a tiny bit of red for the flush, or the smallest touch of blue in shadow areas where the skin is thin.
Olive skin has a soft green or ashy undertone. It is really a warm, muted brown-green, so work a small amount of blue and yellow into your brown base and keep it subtle.
To spot which way a skin tone leans, hold it against a plain white surface. The undertone that was hard to see on its own usually jumps out once it has something neutral to sit next to.
The amounts here are tiny. An undertone is a whisper, not a shout, so add color in specks and check often against your reference.
Handling shadows and highlights
Shadows and highlights are where skin gains its shape, and the trick is to shift the color, not just the darkness. For shadows, skip plain black. Deepen the tone with a bit of blue, some burnt umber, or a small amount of the color sitting opposite your skin tone on the color wheel. This keeps shadows rich instead of muddy.
For highlights, add white, but go easy. White also cools a color, so highlights naturally read a little cooler than the mid-tones. A common slip is piling on white until the light areas look chalky and dead. Use just enough to lift them.
Quick tip: mix your mid-tone first, then make a slightly lighter, cooler version for highlights and a slightly darker version for shadows. Three related mixes built from one base will always look more natural than three separate guesses.
Skin also picks up color from whatever surrounds it. A blue shirt or a green wall can throw a faint tint onto the nearby skin. Adding a hint of that reflected color in the right spot makes a portrait feel alive and grounded in its scene.
Why your skin tone looks muddy or chalky, and how to fix it?
Two problems come up again and again, and both are easy to fix once you know the cause.
Muddy skin usually means too many pigments in one mix. Every extra color knocks back brightness, and past a point the mix goes dull and grey. Fix it by starting fresh with fewer colors and building up slowly. This is exactly why a limited palette works so well.
Chalky skin usually means too much white, especially in highlights. White lightens, but it also flattens and cools, so a tone loaded with it looks powdery. Fix it by adding a little of your base color back in to warm it up and bring it back to life.
One more trap: mixing black with the yellow already in skin can turn the color green. If you need to go darker, use your primaries or a brown instead. And if you paint in acrylic, remember the color dries a shade darker than it looks when wet, so mix it slightly lighter than your target.
Does the type of paint change things?
The colors and the method stay the same across paints, but the feel is different. Acrylic dries fast and a touch darker, so work quickly and mix slightly light.
Oil paint stays wet for a long time, which makes it easier to blend soft transitions between light and shadow, and the color stays close to what you mixed.
Watercolor has no white paint in the usual sense; you lighten a tone by adding water and letting the white paper show through, and you build skin up in thin layers from light to dark. Whatever you use, the plan holds: a warm base, the right lightness, then careful nudges for undertone, shadow, and light.
Conclusion
Mixing skin color comes down to a simple routine. Start with a warm brown or orange base, set the lightness with white, then make small adjustments for undertone, shadow, and highlight while checking against a real reference.
Skip the pre-made flesh tube, keep your palette small so colors stay clean, and darken with primaries or brown instead of black. Work in tiny steps, and a natural, believable skin tone is well within reach.
Frequently asked questions
What two colors make skin color?
No two colors alone make a full skin tone, but red and yellow mixed into orange is the usual base. Add white to lighten it and a touch of blue to cool it, then adjust to match your subject.
How do you make skin color without white paint?
In watercolor you lighten skin by adding water and letting the white paper show through, building the tone in thin layers. In other paints, a very pale yellow like Naples yellow lightens a mix a little, though white gives the most control.
Why does my skin tone look orange or too pink?
It usually has too much red or yellow with nothing to balance it. Add a tiny amount of blue to calm an orange mix, or a little yellow ochre to settle a pink one, then lighten with white in small steps.
How do I darken skin tone without making it muddy?
Add a small, equal amount of red, yellow, and blue, or use a warm brown like burnt umber. Avoid black, which can flatten skin and turn it grey or greenish.
What is the easiest palette for beginners?
The four-color Zorn palette (yellow ochre, cadmium red, black, and white) is a great start. With so few colors it is hard to make mud, and it still mixes a wide range of realistic skin tones.
Related Articles
How to Clean Oil Paint Brushes (Solvent & Oil-Free)
How to Get Paint Off Concrete (Wet, Dried & Stubborn)
How to Remove Gold Leaf From Paper and Paintings?