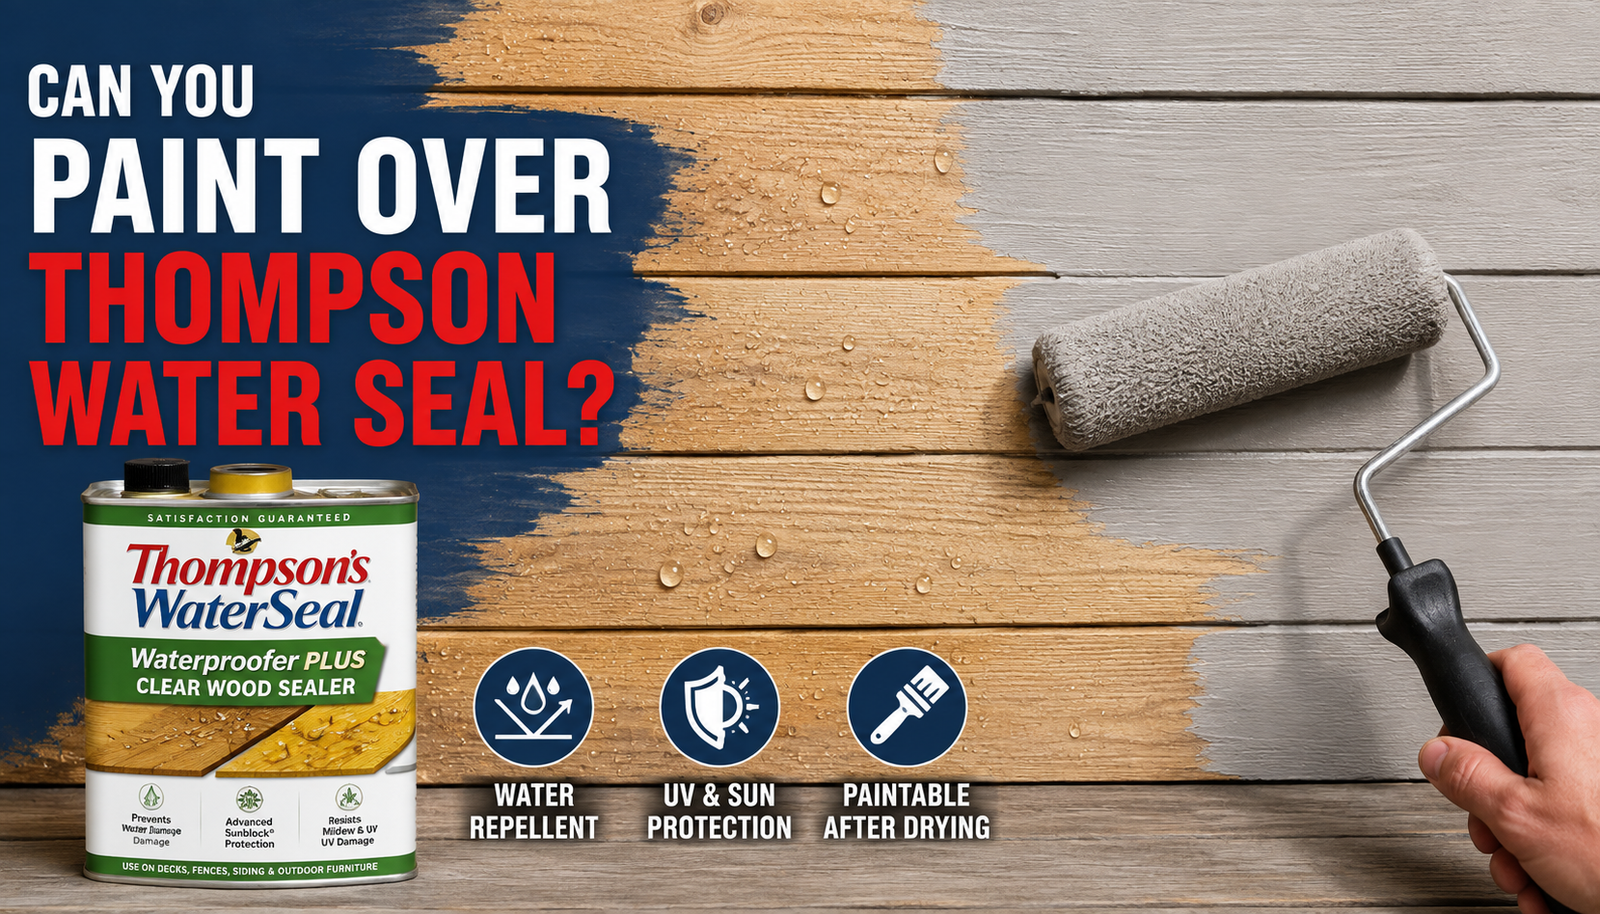

If you’ve sealed a deck, fence, or piece of outdoor furniture with Thompson’s Water Seal and now want to change its look with paint, you’ve probably run into one big question: can you paint over Thompson’s Water Seal?
- Understanding Thompson’s Water Seal
- Why Painting Over It Is Tricky?
- How Long to Wait Before Painting?
- Step-by-Step: How to Paint Over Thompson’s Water Seal
- Step 1: Clean the Surface Thoroughly
- Step 2: Lightly Sand the Surface
- Step 3: Apply an Oil-Based or Bonding Primer
- Step 4: Let the Primer Dry Completely
- Step 5: Apply Your Paint
- Step 6: Allow Proper Drying Time Between Coats
- Best Products to Use
- Common Mistakes to Avoid
- Troubleshooting Existing Problems
- Alternatives to Consider
- Frequently Asked Questions (FAQ)
- Conclusion
- Related Articles
The short answer is yes, but it isn’t as simple as grabbing a brush and getting started. Because this product is designed specifically to repel water and moisture, it also tends to repel paint if you don’t prepare the surface the right way. Skip the prep work, and you’ll likely end up with paint that peels, bubbles, or never fully bonds to the wood underneath.
This guide walks through everything you need to know, from understanding how the sealant works to the exact steps for getting a smooth, long-lasting paint job over it. Whether you’re refreshing an old deck or repainting a fence that was sealed years ago, this article will help you avoid the common pitfalls and get a finish that actually sticks.
Understanding Thompson’s Water Seal
Thompson’s Water Seal is a well-known brand of wood sealer that homeowners use to protect outdoor surfaces from rain, humidity, and general weather damage. It’s sold in a few different varieties, including clear formulas, tinted or semi-transparent options, and newer advanced formulas that offer added UV protection or a longer-lasting seal.
The product typically gets applied to wood decks, fences, outdoor furniture, siding, and sometimes concrete or masonry surfaces. Once it soaks into the material, it creates a barrier that keeps water from penetrating the surface, which helps prevent rot, warping, and mildew growth over time.
That protective quality is exactly what makes painting over it a bit more complicated than painting bare or untreated wood.
Why Painting Over It Is Tricky?
The core issue comes down to chemistry. Thompson’s Water Seal is built to repel liquids, and paint is, after all, a liquid when you apply it. If the sealant hasn’t fully cured, or if you use the wrong type of primer or paint, the surface will resist proper adhesion. This often shows up later as peeling, flaking, or an uneven, blotchy finish.
There’s also a difference between oil-based and water-based versions of the sealant, and this matters for your prep work. Oil-based sealers tend to be more resistant to standard water-based (latex) paints, which is why an oil-based primer is usually recommended as a bridge between the two. Water-based sealants may be slightly more forgiving, but they still require careful cleaning and priming before paint will hold properly.
If you paint too soon after applying the sealant, or if you skip primer altogether, you’re essentially asking paint to stick to a surface that was engineered to reject moisture. That mismatch is the root cause of most paint failures on sealed wood.
How Long to Wait Before Painting?
Patience matters here more than almost anything else. As a general guideline, it’s best to wait at least two to four weeks after applying Thompson’s Water Seal before attempting to paint over it. This gives the sealant enough time to fully cure and settle into the wood fibers.
That said, the exact curing time can vary based on a few factors:
- Weather conditions – Warm, dry weather speeds up curing, while cold or damp conditions slow it down.
- Humidity levels – High humidity can extend the drying and curing process significantly.
- Sun exposure – Surfaces exposed to direct sunlight often cure faster than shaded areas.
- Type of sealant used – Advanced or heavy-duty formulas may take longer to fully cure than basic clear sealers.
A simple way to check whether the sealant has cured enough is the water bead test. Splash a small amount of water onto the treated surface. If the water beads up and rolls off, the sealant is still active and repelling moisture, which means it’s not yet ready for paint. If the water soaks in or spreads out instead of beading, that’s usually a sign the sealant has broken down enough for painting prep to begin.
Step-by-Step: How to Paint Over Thompson’s Water Seal
Once you’ve confirmed the surface is ready, follow these steps for the best results.
Step 1: Clean the Surface Thoroughly
Start by removing all dirt, dust, mildew, and any leftover residue from the sealant application. A mild detergent mixed with water, applied with a stiff brush, works well for this. Rinse thoroughly and allow the surface to dry completely before moving forward.
Step 2: Lightly Sand the Surface
Sanding helps rough up the sealed surface just enough to give primer and paint something to grip onto. Use a medium-grit sandpaper (around 120–150 grit) and sand evenly across the entire area. Wipe away all dust with a tack cloth or damp rag afterward.
Step 3: Apply an Oil-Based or Bonding Primer
This is one of the most important steps in the entire process. An oil-based primer, or a specialized bonding primer designed for tricky surfaces, creates the necessary layer between the water-repellent sealant and your paint. Apply it evenly with a brush or roller, following the manufacturer’s instructions for coverage.
Step 4: Let the Primer Dry Completely
Don’t rush this part. Most primers need at least 24 hours to dry fully, though this can vary by brand and weather conditions. Check the product label for specific drying times.
Step 5: Apply Your Paint
Once the primer has dried, apply your chosen exterior paint. Two coats are generally recommended for full coverage and durability, especially on surfaces that will be exposed to the elements.
Step 6: Allow Proper Drying Time Between Coats
Give each coat of paint enough time to dry before applying the next one, and avoid exposing the freshly painted surface to rain or heavy moisture until it has fully cured.
Best Products to Use
Choosing the right products makes a noticeable difference in how well your paint job holds up over time.
| Product Type | Recommendation | Why It Works |
|---|---|---|
| Primer | Oil-based bonding primer | Creates adhesion between sealant and paint |
| Paint | Exterior acrylic or latex paint | Durable, flexible, weather-resistant |
| Sandpaper | 120–150 grit | Roughens surface without damaging wood |
| Brushes/Rollers | Synthetic bristle brushes, medium-nap rollers | Even application on textured wood |
| Cleaner | Mild detergent + water, or deck cleaner | Removes residue without damaging wood |
Sticking to quality, exterior-grade products will help ensure the paint holds up against sun, rain, and temperature changes over time.
Common Mistakes to Avoid
Even with good intentions, it’s easy to make a few missteps during this process. Here are the most common ones:
- Painting too soon – Not allowing enough cure time is the number one reason paint fails on sealed wood.
- Skipping primer entirely – Paint alone rarely bonds well to a water-repellent surface.
- Not cleaning or sanding first – Dirt, mildew, or a glossy sealed finish can prevent proper adhesion.
- Using the wrong paint type – Interior paints or paints not rated for exterior use won’t hold up outdoors.
Avoiding these mistakes from the start will save you time, money, and frustration down the road.
Troubleshooting Existing Problems
If you’ve already painted over Thompson’s Water Seal and you’re noticing peeling or bubbling, don’t worry, this is a fixable problem. Start by scraping away any loose or flaking paint. Sand the affected area smooth, clean it thoroughly, and reapply a proper bonding primer before repainting.
In cases where the peeling is widespread, it may be worth stripping the sealant entirely using a wood stripper or sealant remover before starting fresh. If the damage is extensive or the wood underneath shows signs of rot or serious wear, it may be time to consider replacing the affected boards or panels rather than continuing to patch the same area repeatedly.
Alternatives to Consider
Painting isn’t the only option if you’re looking to refresh a sealed surface. Staining is a popular alternative that can work well over certain sealants, particularly if you want to maintain a natural wood look rather than a solid paint color.
Another option is removing the sealant entirely before refinishing, which gives you a clean slate and eliminates any adhesion concerns altogether. This takes more time and effort but can produce the most reliable long-term results.
If the project feels overwhelming, especially for large decks or structural surfaces, calling a professional painter or contractor is always a reasonable choice. They’ll have the tools and experience to handle prep work efficiently and ensure a lasting finish.
Frequently Asked Questions (FAQ)
Can you paint over Thompson’s Water Seal without primer? It’s not recommended. Skipping primer significantly increases the chance of peeling or poor adhesion, since the sealant actively resists most paints without a bonding layer in between.
How do you know if the sealant has fully cured? The water bead test is the simplest method. If water still beads up on the surface, the sealant hasn’t cured enough for painting yet.
Does this apply to all wood types, like decks, fences, and furniture? Yes, the same general principles apply across different wood surfaces, though smaller items like furniture may cure faster due to easier sun and air exposure.
Can you use spray paint over sealed wood? Spray paint can work, but it still requires the same prep steps, cleaning, sanding, and priming, to ensure proper adhesion.
Conclusion
So, can you paint over Thompson’s Water Seal? Absolutely, as long as you’re willing to put in the prep work first. Waiting for the sealant to fully cure, cleaning and sanding the surface, and applying a proper bonding primer are the keys to a paint job that actually lasts. Skip these steps, and you’re likely to be redoing the work sooner than you’d like.
With a little patience and the right materials, you can successfully transform a sealed wood surface into a freshly painted one that holds up beautifully against the elements for years to come.
Related Articles
Will Goo Gone Damage Auto Paint? The Complete Safety Guide
How to Get Acrylic Paint Off Wood: Easy Step-by-Step Guide
Can You Paint Air Dry Clay Before It Dries? Full Guide
How to Remove Paint from Plastic: 7 Easy & Safe Methods That Work