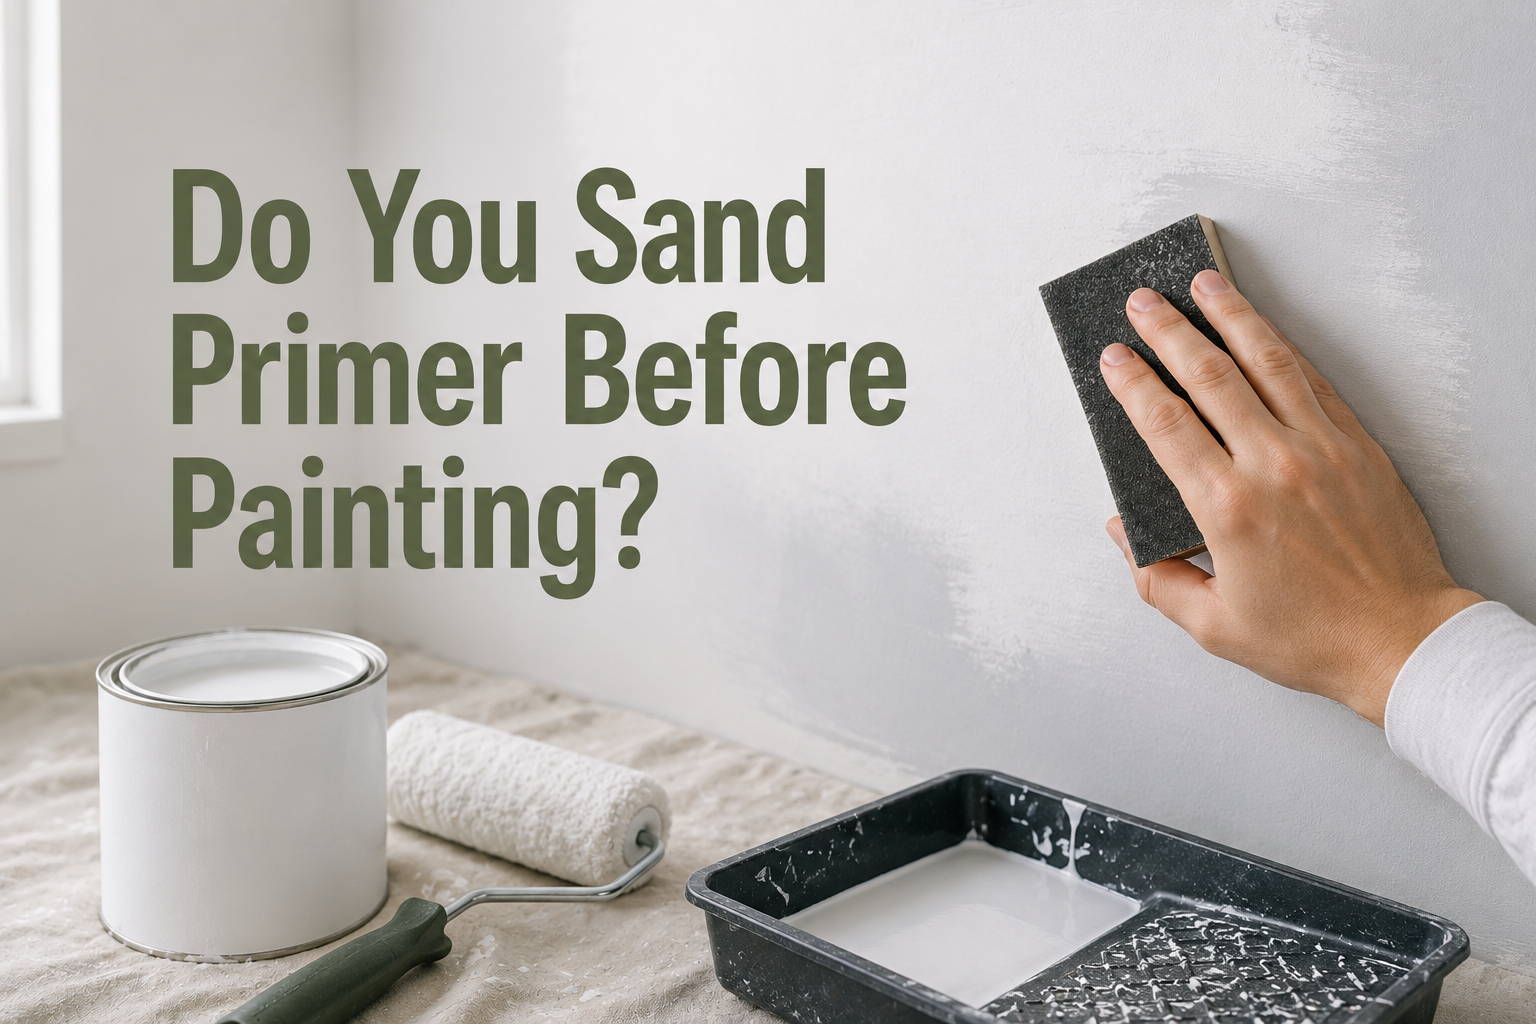

If you’ve ever stood in front of a freshly primed wall, roller in hand, and paused to ask yourself, “do you sand primer before painting?” — you’re not alone. This is one of the most common questions among first-time DIYers and even some seasoned painters. The short answer is yes, sanding primer before painting is usually recommended, but the full answer depends on the surface you’re working with, the type of primer you used, and the finish you’re hoping to achieve.
- What Is Primer and Why It’s Used
- Why Sanding Primer Matters
- When You Should Sand Primer
- When You Might Skip Sanding
- How to Sand Primer Correctly (Step-by-Step)
- Tools and Materials Needed
- Common Mistakes to Avoid
- Sanding Primer for Different Surfaces
- Primer Sanding vs. Paint Sanding (Key Differences)
- Pro Tips for a Flawless Finish
- Frequently Asked Questions (FAQ)
- Conclusion
- Related Articles
In this guide, we’ll walk through everything you need to know about sanding primer, from the basic purpose of primer itself to a complete step-by-step process for sanding it correctly. By the end, you’ll have a clear, practical understanding of when sanding is necessary, when it can be skipped, and how to do it without damaging your work.
What Is Primer and Why It’s Used
Primer is a preparatory coating applied to a surface before paint. Think of it as the foundation of a house — the topcoat paint is only as good as the layer underneath it. Primer serves several important functions: it helps paint stick better to the surface, it seals porous materials like bare wood or drywall, it blocks stains from bleeding through, and it creates a more uniform base so your final paint color looks even and true.
There are a few common types of primer, each suited to different jobs. Oil-based primers are excellent for blocking stains and sealing wood, though they take longer to dry and have a stronger odor.
Water-based (latex) primers dry quickly, are easy to clean up, and work well on drywall and previously painted surfaces. Shellac-based primers are the strongest at blocking stains, odors, and even smoke damage, making them a go-to for tricky repair jobs. There are also specialty primers designed for metal, masonry, or glossy surfaces that need extra adhesion help.
Why Sanding Primer Matters
So, why does sanding primer make such a difference? Once primer dries, it rarely dries perfectly smooth. Brush strokes, roller texture, small drips, and tiny bits of dust or lint can get trapped in the surface as it cures. If you paint directly over this uneven texture, all of those imperfections will often show through the topcoat, especially once the paint dries and light hits it at certain angles.
Sanding solves this in a few ways. It knocks down brush and roller marks, smooths out any texture inconsistencies, and removes small dust particles or nibs that settled into the wet primer.
It also creates what painters call “tooth” — a slightly roughened surface that gives the topcoat something to grip onto, which improves adhesion and reduces the chances of peeling or chipping down the road. In short, sanding primer is what separates an average paint job from a genuinely smooth, professional-looking one.
When You Should Sand Primer
Not every project requires the same level of care, but there are situations where sanding primer is especially important:
- New drywall or bare wood surfaces, where the primer tends to raise the wood grain or highlight seams and joints.
- Surfaces with visible texture, such as brush strokes, roller stipple, or small drips left behind after the primer dried.
- Glossy or semi-gloss topcoats, since shinier finishes reflect more light and make surface flaws far more noticeable.
- Furniture, cabinets, and trim, where a flawless, hand-smooth finish is usually the goal.
If your project falls into any of these categories, sanding is well worth the extra time.
When You Might Skip Sanding
On the other hand, sanding isn’t always necessary. If you sprayed on your primer using a fine-mist sprayer, the finish is often smooth enough on its own. Similarly, many modern paint-and-primer-in-one products are formulated to self-level, reducing the need for extra sanding between coats.
Textured surfaces like stucco, popcorn ceilings, or decorative masonry aren’t meant to be perfectly smooth in the first place, so sanding would actually work against the desired look. And if you’re working on a low-visibility area — the inside of a closet, for example — you may reasonably decide the extra step isn’t worth the time.
How to Sand Primer Correctly (Step-by-Step)
If you’ve decided sanding is the right move, here’s how to do it properly.
- Let the primer fully dry or cure. Sanding wet or tacky primer will gum up your sandpaper and ruin the surface. Most primers need at least one to a few hours to dry to the touch, though full curing can take longer — always check the product label.
- Choose the correct sandpaper grit. For most primed surfaces, a fine grit between 220 and 320 works well. Coarser grits can gouge the primer and leave visible scratches under the topcoat.
- Sand with light, even pressure. Use gentle circular motions or long straight strokes, depending on the surface, and avoid pressing hard enough to sand through the primer down to the bare material.
- Decide between wet or dry sanding. Wet sanding, using a damp sponge with fine-grit paper, reduces airborne dust and is popular for cabinets and trim. Dry sanding is faster and more common for walls and larger surfaces.
- Remove all dust before painting. Use a tack cloth, a slightly damp rag, or a vacuum with a brush attachment to clear away sanding residue. Any leftover dust will get trapped under your topcoat.
Tools and Materials Needed
Having the right tools on hand makes the process faster and gives better results. Here’s a quick reference table:
| Tool/Material | Purpose |
|---|---|
| Fine-grit sandpaper (220–320) | Smooths primer without damaging the surface |
| Sanding block or sponge | Provides even pressure and control |
| Orbital sander | Speeds up sanding on large, flat surfaces |
| Tack cloth | Picks up fine dust before painting |
| Dust mask or respirator | Protects lungs from fine particles |
| Safety goggles | Protects eyes from dust and debris |
For small trim or furniture pieces, a simple sanding sponge is usually enough. For entire walls or large flat panels, an orbital sander can save significant time and effort.
Common Mistakes to Avoid
Even a simple step like sanding primer can go wrong if you’re not careful. One common mistake is sanding too aggressively, which can strip away the primer entirely and expose the bare surface underneath, forcing you to reprime. Another is skipping the dust removal step, which traps grit under the topcoat and creates a gritty, uneven finish.
Using the wrong grit — either too coarse or unnecessarily fine — can also lead to visible scratches or wasted effort. Finally, sanding primer before it has fully dried is a frequent error that leads to clumping, smearing, and a ruined surface that needs to be redone.
Sanding Primer for Different Surfaces
The approach to sanding can shift slightly depending on what you’re working on.
For walls and ceilings, a light sanding with a pole sander or sanding sponge is usually sufficient, focusing mainly on drips and rough patches rather than the entire surface. For wood and trim, sanding is especially important because primer often raises the wood grain, so a thorough pass with fine-grit paper helps achieve that smooth, furniture-quality finish.
For metal surfaces, sanding helps remove any rust bloom or texture from the primer and improves adhesion for enamel or specialty metal paints. For cabinets and furniture, many professionals sand between every coat — primer and paint alike — to build up that ultra-smooth, factory-like finish that shows no brush marks at all.
Primer Sanding vs. Paint Sanding (Key Differences)
It’s worth noting that sanding primer and sanding paint aren’t quite the same task, even though the technique is similar. Primer sanding is mainly about correcting texture and creating adhesion before any color goes on, so it tends to be a bit more forgiving.
Sanding between paint coats, by contrast, is usually lighter — often called “scuff sanding” — and is meant to knock down dust nibs or minor imperfections without removing much of the color coat itself. Understanding this distinction helps you apply the right amount of pressure and the right grit at each stage of the project.
Pro Tips for a Flawless Finish
Professional painters often apply primer in multiple thin coats rather than a single thick one, since thin coats dry more evenly and are easier to sand smooth. On detailed work like cabinets or furniture, many pros will sand lightly between each primer coat, wiping away dust before adding the next layer. If, after sanding, you notice the primer looks thin or patchy in spots, it’s usually a good idea to apply a second light coat before moving on to your topcoat — this ensures full coverage and a more even final result.
Frequently Asked Questions (FAQ)
Do you have to sand primer before painting? It’s not strictly required in every case, but it’s highly recommended for a smooth, professional-looking finish, especially on wood, drywall repairs, or glossy topcoats.
What grit sandpaper is best for primer? A fine grit in the 220–320 range is ideal for most primed surfaces, as it smooths the texture without cutting too deeply into the primer layer.
Can you paint over primer without sanding? Yes, particularly if the primer was sprayed on smoothly or you’re using a paint-and-primer combo product. Just inspect the surface first for drips, texture, or debris.
How long should primer dry before sanding? This varies by product, but most primers are safe to sand within one to a few hours of application. Always check the manufacturer’s label for exact drying and curing times.
Conclusion
So, do you sand primer before painting? In most cases, yes — a light sanding pass removes texture, drips, and dust, and gives your topcoat something to properly grip onto. It’s a small step that takes relatively little time but has an outsized impact on how smooth and professional your final paint job looks.
Whether you’re refreshing a bedroom wall, refinishing kitchen cabinets, or repainting an old piece of furniture, taking a few extra minutes to sand your primer is one of the simplest ways to guarantee a flawless, long-lasting finish.
Related Articles
How to Remove Paint from Plastic: 7 Easy & Safe Methods That Work