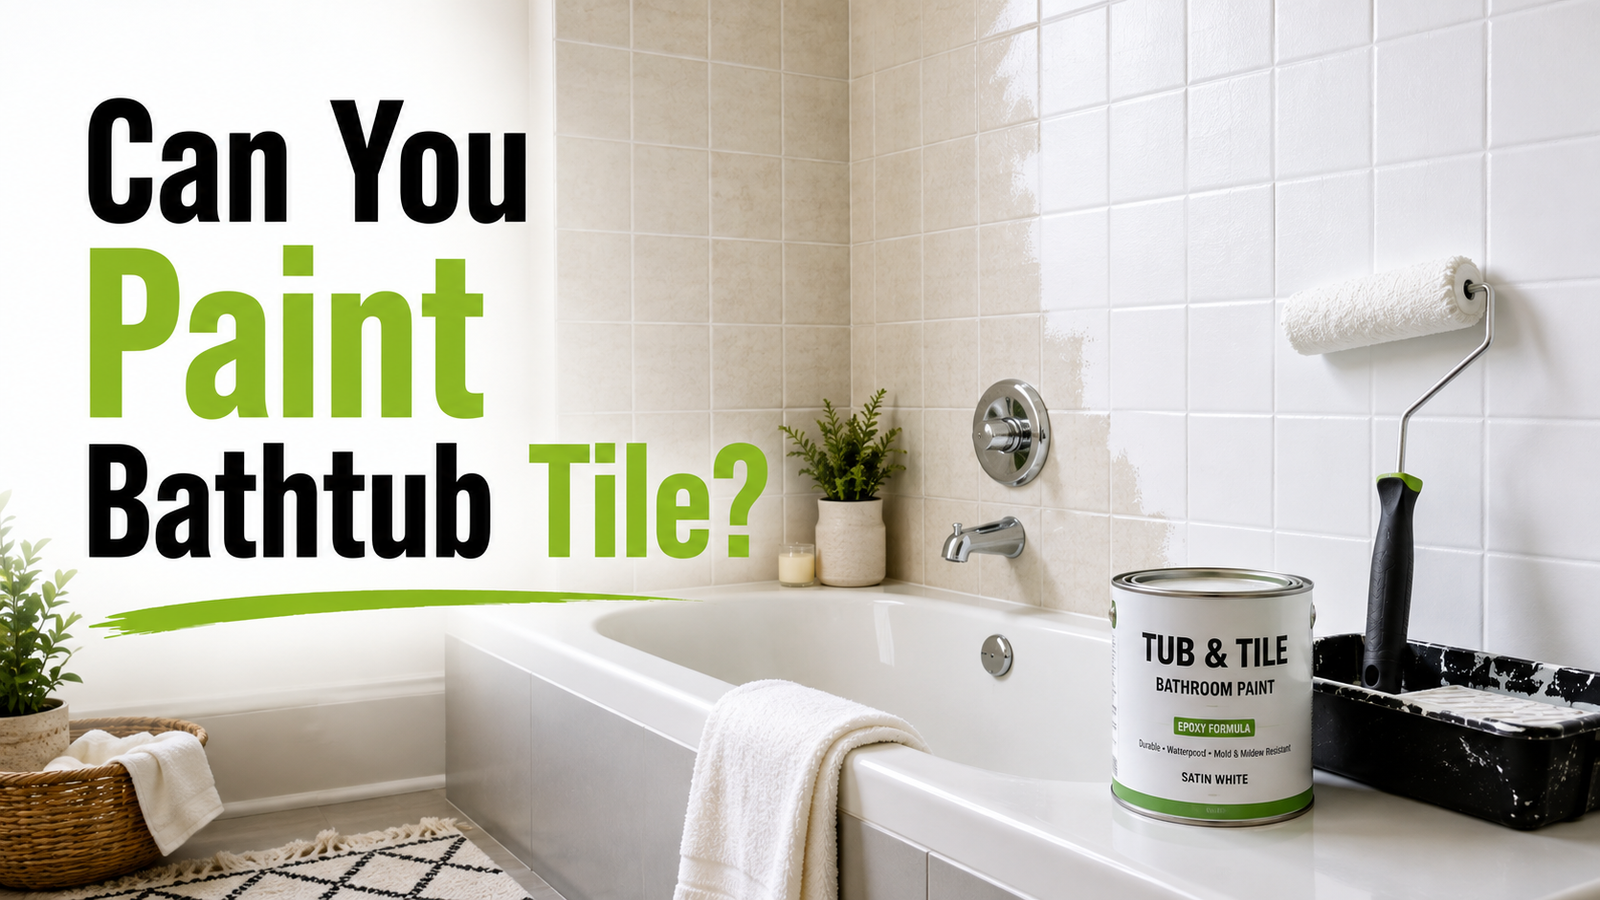

Yes, you can paint bathtub tile, and it is one of the most affordable ways to refresh a worn-out bathroom without tearing anything out. The process involves cleaning, lightly sanding, priming, and applying a specialized epoxy or tile paint designed to handle moisture and daily use.
- Understanding Tile Painting Basics
- What Painting Tile Actually Means
- Difference Between Painting and Full Refinishing
- Types of Tile This Works Best On
- Pros and Cons of Painting Bathtub Tile
- Materials and Tools You Will Need
- Step-by-Step Painting Process
- Step 1: Clean and Degrease the Tile
- Step 2: Sand the Surface for Adhesion
- Step 3: Repair Cracks, Chips, or Grout Gaps
- Step 4: Apply Primer or Bonding Agent
- Step 5: Apply Epoxy Paint
- Step 6: Cure Time Before Use
- How Long Does Painted Tile Last?
- Maintenance Tips for Painted Tile
- Common Mistakes to Avoid
- Cost Comparison
- Frequently Asked Questions
- Conclusion
- Related Articles
Regular wall paint will not work here because it cannot survive water exposure or scrubbing. When done correctly, painted tile can look clean and updated for several years. However, the results depend heavily on preparation, product quality, and how well you follow the curing instructions.
Understanding Tile Painting Basics
Before picking up a brush, it helps to understand what “painting tile” really means and how it differs from other bathroom update methods. This section breaks down the terminology and the types of surfaces that respond best to this technique.
What Painting Tile Actually Means
Painting bathtub tile does not mean using leftover wall paint from your garage. It refers to applying a two-part epoxy coating or a purpose-built tile and tub paint that chemically bonds to glazed surfaces. These products are formulated to resist water, humidity, and frequent contact, which ordinary paint cannot handle. The coating essentially creates a new, durable surface layer over the existing tile.
Difference Between Painting and Full Refinishing
Painting is generally a DIY-friendly, lighter-duty process using a kit purchased from a hardware store. Refinishing, on the other hand, is usually done by professionals using industrial-grade materials, spray equipment, and sometimes acid etching for stronger adhesion. Refinishing tends to last longer and produces a smoother factory-like finish, while painting is faster and cheaper but may need to be redone sooner.
Types of Tile This Works Best On
Painting works best on ceramic and porcelain tile, which are the most common materials used in bathtub surrounds. These surfaces are non-porous and glazed, allowing the primer and epoxy to adhere properly after sanding. Natural stone or heavily textured tile can be trickier, since uneven surfaces make it harder to achieve even coverage and long-lasting adhesion.
Pros and Cons of Painting Bathtub Tile
Like any home improvement shortcut, painting tile comes with clear benefits as well as limitations. Understanding both sides helps you decide if this is the right project for your bathroom.
Advantages
Painting bathtub tile is significantly cheaper than tile replacement, often costing a fraction of what a full renovation would require. It is also a fast project, typically completed within one to two days including drying time. Because it does not require demolition, plumbing changes, or professional labor in most cases, it appeals strongly to homeowners who want a quick, low-disruption upgrade.
Disadvantages
The biggest downside is durability. Painted tile is not as tough as original glazed tile or a professionally refinished surface, so it can chip or wear faster with heavy use. The preparation stage also matters a lot; skipping steps like sanding or degreasing can cause peeling within months. Additionally, epoxy products often produce strong fumes, so proper ventilation is necessary during application.
When Painting Makes Sense vs. When to Replace
Painting makes sense when the tile itself is structurally sound but simply looks dated or discolored, and you are working with a limited budget or timeline. Replacement becomes the better option when tiles are cracked, loose, or showing signs of water damage behind the surface, since paint cannot fix underlying structural issues.
Materials and Tools You Will Need
Having the right supplies ready before you start prevents mid-project delays and ensures a smoother application process. Below is a breakdown of what is typically required.
Types of Paint and Epoxy Kits
Most home improvement stores carry two-part epoxy tub and tile kits, which combine a hardener and resin for maximum durability. Some brands also offer one-step tile paints that are easier to apply but generally less long-lasting. Choosing a kit specifically labeled for tubs, tile, or showers is essential, since general-purpose paints are not built to handle constant moisture.
Preparation Tools
Preparation tools include fine-grit sandpaper, a degreasing cleaner, painter’s tape, and drop cloths to protect surrounding surfaces. A tack cloth is also useful for removing dust after sanding, ensuring the primer bonds evenly across the entire tile surface without trapped debris.
Application Tools
For application, you will need a small foam roller for flat areas, an angled brush for edges and grout lines, and possibly a fine-tip sprayer if you want a smoother, more professional finish. Having both a roller and brush on hand allows better control around corners and fixtures.
Safety Gear
Because epoxy products release strong fumes, safety gear is non-negotiable. This includes a respirator mask rated for chemical vapors, nitrile gloves, and safety goggles. Proper ventilation, such as an open window and a fan, should be arranged before opening any paint or primer containers.
Step-by-Step Painting Process
Once materials are ready, the actual painting process follows a specific sequence that should not be skipped or rushed. Each stage plays a role in how long the final finish will last.
| Step | Task | Approximate Time |
| 1 | Clean and degrease tile | 30–45 minutes |
| 2 | Sand the surface | 45–60 minutes |
| 3 | Repair cracks or grout gaps | 1–2 hours (plus drying) |
| 4 | Apply primer/bonding agent | 30 minutes + drying |
| 5 | Apply epoxy paint (2 coats) | 1–2 hours + drying between coats |
| 6 | Allow full cure before use | 48–72 hours |
Step 1: Clean and Degrease the Tile
Start by thoroughly cleaning the tile with a strong degreasing cleaner to remove soap scum, oils, and mildew. Any residue left behind will prevent the primer from bonding properly. Rinse well and allow the surface to dry completely before moving to the next step.
Step 2: Sand the Surface for Adhesion
Lightly sand the entire tile surface using fine-grit sandpaper to remove the glossy glaze. This step creates a slightly rough texture that helps the primer and paint grip the tile instead of sliding off over time. Wipe away all dust afterward using a damp cloth or tack cloth.
Step 3: Repair Cracks, Chips, or Grout Gaps
Inspect the tile closely for any cracks, chips, or damaged grout lines, and repair these using appropriate filler or caulk before painting. Painting over damaged areas without repairing them first will only highlight the flaws once the coating dries, and it can also weaken adhesion in those spots.
Step 4: Apply Primer or Bonding Agent
Apply a bonding primer designed for tile or ceramic surfaces using thin, even strokes. This layer acts as the foundation that allows the epoxy paint to stick properly. Skipping primer is one of the most common reasons DIY tile paint jobs fail early.
Step 5: Apply Epoxy Paint
Once the primer has fully dried, apply the epoxy paint in two thin coats rather than one thick layer, allowing proper drying time between each coat. Thin coats reduce the risk of drips, bubbles, and uneven texture, resulting in a smoother and more professional-looking finish.
Step 6: Cure Time Before Use
After the final coat is applied, the tile needs time to cure fully before any water contact. Most epoxy products require 48 to 72 hours of curing, and using the tub too early can ruin the entire finish. Patience during this stage directly affects how long the paint job will last.
How Long Does Painted Tile Last?
Understanding realistic durability expectations helps you plan for future maintenance or touch-ups. The lifespan of painted tile depends largely on the product used and how it was applied.
DIY Kit Lifespan
A standard DIY epoxy kit typically lasts between two and five years, depending on usage frequency and how well the surface is maintained. Heavy daily use in a family bathroom will wear the coating faster than a lightly used guest bathroom.
Professional Refinishing Lifespan
Professional refinishing generally lasts longer, often ranging from five to ten years or more, because contractors use industrial-grade materials and equipment such as spray guns for even application. The higher cost reflects this added durability and smoother finish quality.
Factors That Affect Durability
Durability is influenced by factors such as cleaning habits, humidity levels, and how much direct scrubbing the surface receives. Bathrooms with poor ventilation or frequent use of harsh cleaning chemicals tend to see faster wear on painted tile compared to well-ventilated, gently maintained spaces.
Maintenance Tips for Painted Tile
Once your tile is painted, proper maintenance becomes essential to protecting your investment and extending the life of the finish. Simple daily habits can make a noticeable difference over time.
Cleaning Dos and Don’ts
Use mild, non-abrasive cleaners and soft cloths or sponges when cleaning painted tile, avoiding anything with bleach or ammonia unless the product label specifically allows it. Wiping down the surface after each use also prevents soap scum buildup, which can dull the finish over time.
Avoiding Abrasive Products
Steer clear of steel wool, scouring pads, or gritty powder cleansers, since these can scratch through the epoxy layer and expose the tile underneath. Even small scratches can become entry points for water damage or peeling if left unaddressed.
Touch-Up Tips
Keep a small amount of leftover epoxy paint on hand for minor touch-ups if chips or scratches appear. Addressing small damage early prevents it from spreading and helps maintain a consistent, uniform appearance across the entire tile surface.
Common Mistakes to Avoid
Many DIY tile painting projects fail not because of the product itself, but due to avoidable application errors. Skipping the sanding step is one of the most frequent mistakes, since it directly affects how well the paint adheres to the glazed surface.
Using a paint type not specifically designed for tubs or tile is another common issue, often leading to peeling within weeks.
Poor ventilation during application can also be dangerous due to strong fumes, and rushing the cure time before using the tub is a mistake that ruins otherwise well-applied coatings.
Cost Comparison
Cost is often the deciding factor between painting, professional refinishing, and full replacement. The table below offers a general comparison to help with budgeting decisions.
| Option | Estimated Cost Range | Typical Lifespan |
| DIY Painting | $30–$150 | 2–5 years |
| Professional Refinishing | $300–$600 | 5–10 years |
| Full Tile Replacement | $1,500–$5,000+ | 15–20+ years |
Frequently Asked Questions
Can you paint over old paint? Yes, but the old paint layer should be lightly sanded and cleaned first to ensure the new coat bonds properly and does not peel prematurely.
Is it safe once cured? Once fully cured, epoxy tile paint is generally safe and non-toxic for regular bathing use, though it should not come into contact with water before curing is complete.
Can you paint tile without sanding? Sanding is strongly recommended, as skipping it significantly increases the risk of peeling since the glossy glaze prevents proper paint adhesion.
How soon can you shower after painting? Most products require 48 to 72 hours of curing before any water exposure, so it is best to avoid showering during this window.
Conclusion
So, can you paint bathtub tile? Absolutely, and for many homeowners it offers a practical, budget-friendly way to refresh a tired bathroom without a full renovation.
Success depends on proper preparation, choosing the right epoxy or tile paint product, and respecting cure times before use.
While it may not last as long as professional refinishing or full replacement, it remains one of the most accessible bathroom upgrade projects available today.
Related Articles
Can You Use Latex Paint Over Oil-Based Primer? A Complete Guide
Will Goo Gone Damage Auto Paint? The Complete Safety Guide