

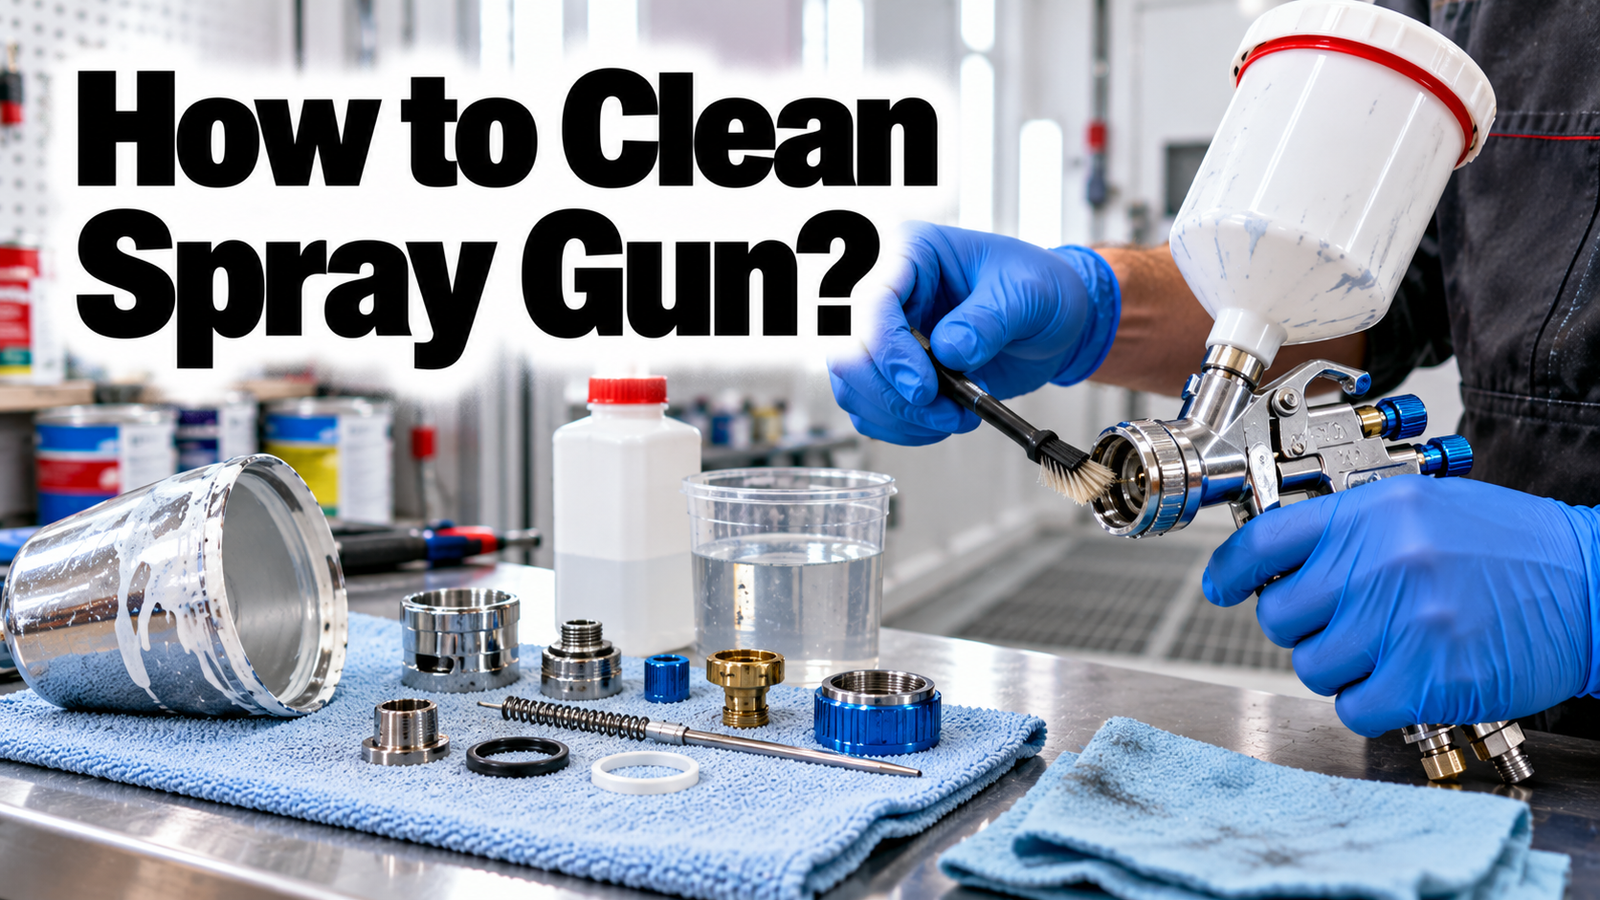

The fastest way to clean a spray gun is to do it the moment you finish spraying, before the paint sets. Empty any leftover paint, flush the cup and passages with the right cleaner, then take off the air cap, fluid tip, and needle and clean each one with a soft brush. Wipe the body, add a drop of lubricant to the moving parts, and put it back together. A clean gun lays down an even coat and lasts for years. A neglected one spits, clogs, and ends up in the bin. Here is the full routine, step by step.
- Why clean a spray gun right after you spray?
- Know which spray gun you have
- What you will need
- How to clean a spray gun step by step
- Picking the right cleaner for your paint
- What to do when paint has already dried
- Signs your spray gun needs attention
- Mistakes that wreck a spray gun
- How often should you clean it? Quick clean vs deep clean
- Store the gun clean and dry
- Staying safe with cleaning solvents
- Conclusion
- Frequently asked questions
- Related Articles
Why clean a spray gun right after you spray?
Clean the gun right after every job, because paint starts drying inside the passages within minutes. Once it hardens, it blocks the tiny holes that shape your spray pattern, and from then on the gun sprays crooked or spits. Water-based paint is the sneaky one. It feels easy to wash off while wet, but after it cures it turns into a tough film that cleaner struggles to shift. Solvent-based paint, and anything mixed with hardener, sets even faster. Walk away for an hour and you have turned a two-minute rinse into a soaking job. So treat cleaning as the last step of spraying, not a separate chore for later.
Know which spray gun you have
Cleaning is broadly the same across spray guns, but a few details change with the type. A gravity-feed HVLP gun carries the cup on top and is the most common for car panels and furniture, so most of the steps below are written for it. A suction or siphon gun hangs the cup underneath, so you flush it the same way but give extra attention to the pickup tube that runs down into the cup. An airless sprayer has no air cap and uses high pressure instead, so you relieve the pressure first, then flush the pump, hose, and reversible tip and clean the tip filter. Pressure-fed setups add a separate paint pot and a fluid hose, and both of those need flushing through as well. Whatever the type, the goal is the same: clear every path the paint traveled through.
What you will need
A few basics make this quick and safe:
- The right cleaner for your paint: warm water for water-based, or lacquer thinner or a dedicated gun cleaner for solvent-based.
- A set of soft spray gun brushes, plus an old toothbrush and some cotton swabs.
- Two or three clean, lint-free rags.
- Spray gun lubricant, which is a light non-silicone oil.
- Nitrile gloves and eye protection, plus a respirator if you use solvent.
- A small sealable container for used cleaner.
How to clean a spray gun step by step
- Empty the leftover paint. Pour any paint left in the cup back where it belongs. Plain basecoat with nothing added can go back in its can for next time. Paint you mixed with hardener or catalyst cannot, because it keeps curing and will ruin the whole tin, so pour that into your waste container instead.
- Flush the cup and passages. Pour a little cleaner into the cup. Swirl it around, hold a folded rag over the air cap, and pull the trigger in short bursts. The air backs up through the fluid path and loosens the paint inside, so short firm pulls clear the channels better than one long squeeze. Tip the dirty cleaner into your container and repeat with fresh cleaner until what comes out runs clear.
- Take the gun apart. Turn the air cap counterclockwise and lift it off. Unscrew the fluid tip, which is the nozzle the paint sprays through. Then back out the needle and slide it straight out from the rear, slowly, so you do not bend the fine point. Keep track of any small washers or seals, and lay the parts on a clean rag in the order they came off.
- Clean the air cap and its tiny holes. The air cap and its little horns have small holes that set the shape of your spray fan. Soak the cap in cleaner for a minute, then clear each hole with a soft brush, a toothpick, or a pipe cleaner. Never poke them with wire, a drill bit, or anything metal, because widening a hole even slightly changes your pattern for good. Hold the cap up to the light to check every hole is open. Guns differ a little by brand, so for model-specific notes it is worth a look at Fuji Spray’s HVLP cleaning guide.
- Clean the fluid tip and needle. Wipe the fluid tip inside and out and clear its opening the same gentle way. Run a cleaner-dampened rag along the needle until no color comes off, paying attention to the tapered end that seats into the tip. Dry both parts fully. A clean, undamaged tip and needle are what give you a sharp, even spray, so handle them with care.
- Wipe the body, do not dunk it. Clean the outside of the gun and the cup threads with a damp rag. Do not drop the whole gun into a bucket of solvent. A long soak strips the grease from the air valve and swells the internal seals, which leads to leaks and a sticky trigger. Only the removed metal parts should sit in cleaner, and only for a minute or two.
- Lubricate and reassemble. Put a small drop of gun lubricant on the needle shaft, the trigger pivot, and the air valve spring, then wipe away any extra. Use an oil made for spray guns, not a silicone spray, since silicone can cause fisheye craters in your next finish. Reassemble in reverse order and seat the cap and tip snugly by hand, without forcing them.
- Test it. Load a little clean water or cleaner into the cup and spray a short burst onto scrap or cardboard. An even fan means you are done. A split or fluttering pattern means a hole or the tip still holds paint, so go back to that part and clean it again. It is a quick check that saves you from finding a half-clogged cap in the middle of your next coat.
Picking the right cleaner for your paint
Match the cleaner to the paint you sprayed. The wrong one either leaves paint behind or just wastes product. If you are not sure which paint you used, check the can: anything that says to thin or clean up with water is water-based, and anything that lists mineral spirits or thinner is solvent-based.
| Paint type | What to clean with | Notes |
| Water-based (latex, acrylic, waterborne) | Warm water, with a drop of mild dish soap for stubborn bits | Clean while wet; dried waterborne paint may need a dedicated waterborne gun cleaner |
| Solvent-based (enamel, lacquer, 2K, automotive) | Lacquer thinner or a dedicated spray gun cleaner | Standard hardware-store paint thinner is often too weak for enamels and primers |
Dedicated gun cleaner costs a bit more than generic thinner, but it cuts tough coatings faster, and many types can be strained and reused, which saves money over time. Do not mix cleaner types in the same waste jar, since some combinations react.
What to do when paint has already dried
If paint has already dried inside, do not force it. Fill the cup with the correct cleaner and let the gun sit for fifteen to thirty minutes so the cleaner can soften the film, then flush and take it apart as usual. For a badly clogged air cap or tip, soak just those parts in cleaner for up to an hour, then work them with a soft brush. Dried water-based paint is the most stubborn, and a dedicated waterborne gun cleaner will shift film that plain water cannot. Avoid scraping with anything metal, which scratches the precision surfaces and leaves the gun spraying worse than before.
Signs your spray gun needs attention
A gun usually tells you when it is dirty. Watch for a spray fan that comes out lopsided or in a crescent shape, which points to a blocked air cap horn. Spitting or a pulsing spray often means dried paint around the fluid tip or a worn needle seal. Paint dripping from the front when you release the trigger usually means the needle and tip are not seating, often from dried paint or a bent needle. If a thorough clean does not fix these, the tip, needle, or seals may need replacing, since those are wear parts and do not last forever.
Mistakes that wreck a spray gun
A few habits do real, often permanent, damage. Steer clear of these:
- Letting paint dry inside. This is the number one killer. Clean within minutes, not hours.
- Poking the air cap holes with wire or a drill bit. It enlarges them and ruins your spray pattern for good.
- Soaking the whole gun. Solvent swells the seals and washes out the grease the gun needs to work.
- Yanking the needle out. A bent needle tip will not seal and causes drips and a poor fan.
- Using weak solvent or silicone lube. Weak thinner leaves residue, and silicone causes fisheyes in your paint.
Quick tip: keep a jar of clean solvent just for the final rinse. Flushing with dirty solvent leaves a thin film that dries inside the passages and shows up as problems on your next job.
How often should you clean it? Quick clean vs deep clean
Do a full clean after every spraying session, and a deeper strip-down every so often. For a quick same-day color change, you can often get away with flushing the cup and passages and wiping the cap, which takes a couple of minutes. At the end of the day, or any time you switch between water-based and solvent-based paint, take the gun fully apart as above. Once a month, or after heavy use, remove the air valve and fluid packings, check the seals, and relubricate, so nothing stiffens up or starts to leak. Matching the depth of the clean to the job keeps the routine fast without letting problems build up.
Store the gun clean and dry
Once the gun is clean, store it dry and assembled, with the cup off and the trigger relaxed. A drop of lube on the needle and a loose, not tight, air cap keep the moving parts free. Stand it upright or hang it somewhere dust-free, away from damp. Leaving a gun with the needle under spring tension, or with solvent still sitting inside, shortens the life of the seals. A minute of care here means the gun is ready to go the next time you need it.
Staying safe with cleaning solvents
Treat cleaning solvents with care. Work in a well-ventilated space or a spray booth, away from any flame or spark, because thinner fumes are flammable. Wear nitrile gloves and eye protection, and a proper respirator if you use lacquer thinner or gun cleaner for more than a quick wipe. Never pour used solvent down a drain. Let the solids settle, pour off the clear liquid to reuse, and take the leftover sludge to a hazardous waste drop-off. Solvent-soaked rags can heat up on their own, so lay them flat to dry outdoors or seal them in a metal can rather than balling them up in a bin.
Conclusion
Cleaning a spray gun comes down to timing and a gentle touch. Flush it right after you spray, take off the air cap, tip, and needle, and clean each part with a soft brush and the right cleaner for your paint. Keep metal out of the tiny holes, keep the whole gun out of the solvent bucket, and add a light drop of lube before you reassemble. Do that every time and the gun will spray like new for years.
Frequently asked questions
Can I clean a spray gun with just water?
Only if you sprayed water-based paint, and only while it is still wet. Warm water, sometimes with a drop of dish soap, handles latex and acrylic. Solvent-based paint needs lacquer thinner or a dedicated gun cleaner.
What happens if I do not clean my spray gun?
Dried paint blocks the air cap and fluid tip, which splits the spray pattern and causes spitting. Left long enough, it clogs the gun completely and can mean replacing the cap, tip, and needle.
Can I soak my whole spray gun in solvent overnight?
No. A long soak strips the internal grease and swells the seals, leading to leaks and a stiff trigger. Only soak the removed metal parts, like the air cap and tip, and only for a few minutes.
How do I clean the tiny holes in the air cap?
Soak the cap, then use a soft brush, toothpick, or pipe cleaner. Never use wire, a drill bit, or anything metal, as it widens the holes and ruins the spray pattern for good.
What is the best solvent for cleaning a spray gun?
For solvent-based paint, a dedicated spray gun cleaner or automotive lacquer thinner works best and can often be reused. For water-based paint, warm water does the job if you clean before it dries.
Related Articles
Does Acrylic Paint Stain Sinks?
Does Paint Have an Expiry Date?

