

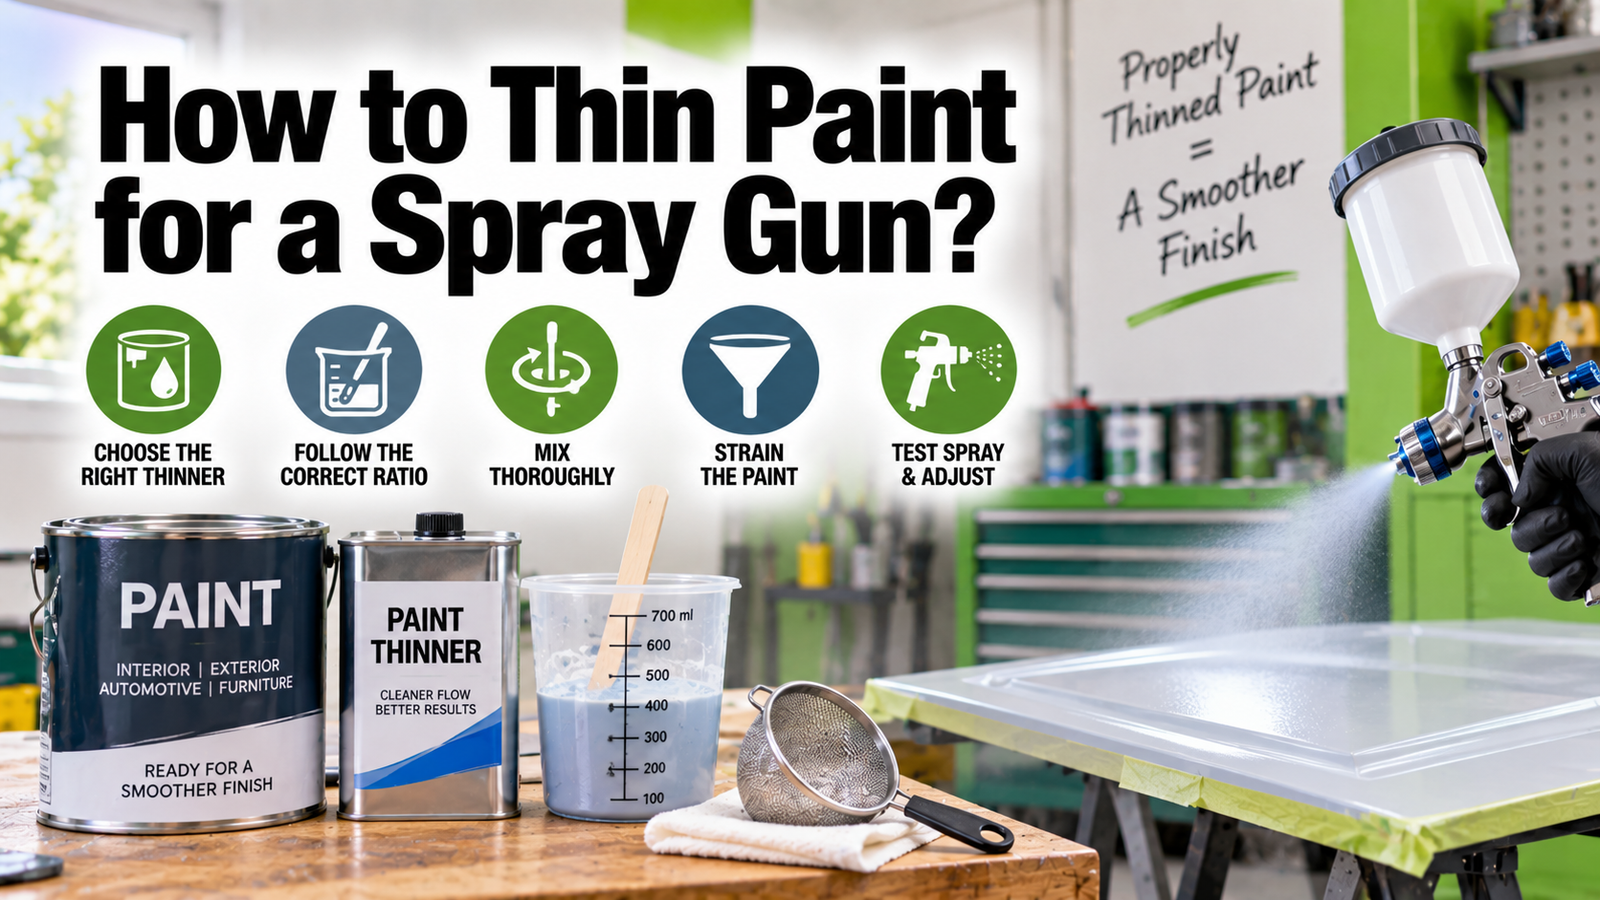

To thin paint for a spray gun, strain the paint into a clean bucket, add the right thinner in 5 to 10 percent steps (water for water-based paints, mineral spirits for oil-based), stir thoroughly, and test: through a viscosity cup or funnel first, then with a spray pass on cardboard. Most paints spray well somewhere between 5 and 20 percent thinning, and you should never exceed the maximum the paint manufacturer prints on the can.
- Do you need to thin at all?
- Match the thinner to the paint
- Thinning paint step by step
- Using a viscosity cup
- Nozzles, tips, and pressure: the other half of viscosity
- Conditioners: the better half of thinning latex
- What thinning costs you?
- Reading the spray pattern: troubleshooting
- Conclusion
- Frequently asked questions
- How much water do I add to latex paint for a spray gun?
- Can I spray paint straight from the can without thinning?
- What do you thin oil-based paint with for spraying?
- What happens if I thin the paint too much?
- Do I really need a viscosity cup?
- Related Articles
Whether you need to thin at all depends on the sprayer: airless units usually shoot latex straight from the can, while HVLP guns, especially with fine-finish nozzles, want latex thinned. Here is the full method, the right thinner for each paint, the viscosity test, and the fixes when the spray pattern misbehaves.
Do you need to thin at all?
Start with whether the job needs thinning at all, because the sprayer decides more than the paint does. Airless sprayers pump paint at high pressure through a small tip and handle unthinned latex routinely; if yours is a full-size airless unit, try the paint straight, and only thin (modestly) if it’s a compact model that struggles.
HVLP sprayers atomize with a high volume of low-pressure air, which is gentler and produces a finer finish but has far less muscle, so thick latex wall paint often needs help, particularly through small fine-finish nozzles, while wide wall nozzles on stronger turbine units can spray many latex paints as-is.
Compressor-fed gravity and siphon cup guns sit in the same boat as HVLP. The paint tells you too: if the gun won’t spray, spits and splatters, or lays down a coarse, pebbly texture, the material is too thick for the setup.
Match the thinner to the paint
The thinner must match the paint’s base, and the can tells you which family you’re in (if cleanup is soap and water, it’s water-based):
| Paint type | Thinner | Notes |
| Latex / acrylic (water-based) | Water | Distilled is safest; a latex conditioner can replace part of the water |
| Oil-based / alkyd | Mineral spirits (paint thinner) | Start around 5 to 10%; never use water |
| Lacquer | Lacquer thinner | Follow the lacquer maker’s ratio exactly |
| Shellac | Denatured alcohol | Sold in ‘cut’ ratios; thin per the label |
| Stains and sealers | Usually none | Most are already spray-viscosity |
Thinning paint step by step
With the right thinner on the bench, the process is the same for every paint:
- Read two documents first: the paint can (many state a maximum thinning percentage and a spraying section) and your sprayer’s manual (which lists target viscosity or thinning guidance per material). Those two numbers outrank every rule of thumb.
- Bring the paint to room temperature. Cold paint runs thick and fools you into over-thinning; a can that spent the night in a cold garage needs a few hours indoors before judging it.
- Strain the paint through a mesh paint strainer (or clean pantyhose) into a clean bucket. Dried bits and debris cause half of all spitting problems, and no amount of thinning fixes a clogged nozzle.
- Add thinner at 5 to 10 percent of the paint’s volume, measured rather than splashed, and stir for a full two to three minutes, reaching the bottom and sides, until completely uniform.
- Test the viscosity. Use the viscosity cup that came with the sprayer if you have one (next section), or the funnel fallback: properly thinned paint pours through in a steady, even stream rather than glugging in clumps. Sprayer makers’ own finish guides aim for roughly a pancake-batter consistency for latex through HVLP.
- Spray a test pass on cardboard. You want an even, full fan with fine atomization: no spitting, no heavy stripes at the edges or center, no coarse droplets.
- Adjust in 5 percent steps, retesting each time, and stop by around 20 percent for most paints unless the can explicitly allows more. If the paint still won’t atomize at the limit, the fix is equipment, not more water: a larger nozzle or tip, more air power, or a stronger sprayer.
- Write down the winning recipe (paint, thinner, percentage, nozzle, settings) on the lid or in your phone, because the next room or the next project will thank you.
Quick rule: measure, add small, stir long, test often. Nobody ever ruined paint with 5 percent; plenty have with a free pour.
Using a viscosity cup
The viscosity cup deserves a minute, since it turns guessing into measuring. It’s a small cup with a precisely sized hole in the bottom; you dip it full of paint, lift it out, and time in seconds how long the paint flows in an unbroken stream. Thicker paint takes longer, so viscosity is expressed as seconds for a given cup, and your sprayer’s manual states the target range for each material type.
Two habits keep the measurement honest: test at room temperature, since viscosity swings noticeably with heat and cold, and time from the moment the cup clears the surface to the first break in the stream. If your gun didn’t include a cup, inexpensive standard cups work the same way, or you can rely on the funnel-and-test-spray routine, which is cruder but has painted plenty of respectable cabinets.
Nozzles, tips, and pressure: the other half of viscosity
Viscosity is only half of the equation; the hardware is the other half, and swapping it often beats adding more water. On HVLP and cup guns, the nozzle (needle) size sets how thick a material the gun can atomize: small nozzles around 1.3 mm suit thin finishes like lacquer and stain, while latex wants the large end of the range, commonly 1.8 to 2.2 mm and up, and many sprayers sell a dedicated large nozzle exactly for this.
On airless sprayers, the tip number encodes the setup: the last two digits are the orifice in thousandths of an inch and the first digit doubles into the fan width, so a 515 tip sprays a 10-inch fan through a 0.015-inch hole, a common choice for latex on walls.
If your paint only behaves at the far edge of the thinning limit, the honest fix is a bigger nozzle or tip, more air power, or a stronger unit, because hardware sized to the material keeps the film strong instead of watered. Conditions matter at the margin too: on a hot, dry day paint flashes faster and sprays as if thicker, so work shaded and expect the recipe to want an extra small step of thinner.
Conditioners: the better half of thinning latex
Water isn’t the only tool for water-based paint, and often it isn’t the best one. Latex paint conditioners (flow agents sold under names like Floetrol, or sprayer brands’ own versions) improve how the paint flows and atomizes without diluting the binder the way water does, which matters because every percent of water you add is a percent less glue and pigment landing on the surface.
For fine-finish work on cabinets, doors, and furniture, a common approach is to do part of the job with conditioner and only the remainder with water, getting the sprayable consistency while keeping the film strong and the leveling beautiful. Conditioners are additives rather than thinners, so they follow their own label dosage, and they’re for water-based paints only; oil-based paints have their own conditioners if needed.
What thinning costs you?
Thinning has a bill, and knowing it prevents the classic mistakes. Every added percent of thinner reduces the solids in each pass, so thinned paint covers less per coat: plan on three or four lighter coats where unthinned paint took one or two, with drying time between. Thinner paint also runs and sags more easily on vertical surfaces, so keep passes light and moving.
Push far past the manufacturer’s limit and you damage the paint itself: an over-watered latex film dries weak and adhesion suffers. That’s the reasoning behind the cap that sprayer makers publish in their own guidance on thinning materials: small additions of 5 percent make a real difference, up to about 20 percent is fine for most materials, and the paint manufacturer’s stated maximum is the wall you never spray past.
Reading the spray pattern: troubleshooting
When the test pattern misbehaves, the pattern itself names the problem:
- Spitting and sputtering: paint too thick for the setup, a clog forming, or debris that straining would have caught. Thin another 5 percent or clean and re-strain.
- Heavy stripes at the fan’s edges (tails) or a fat center: material still too thick for the air power, or pressure set wrong. Thin slightly or increase air; on airless, a worn tip does the same thing.
- Runs and sags: over-thinned paint, passes too slow, or the gun too close. Add unthinned paint back to stiffen the mix, speed up, and keep 6 to 10 inches of distance.
- Orange-peel texture: paint too thick to level, gun too far away, or too little air. Thin a step, move closer, and let each pass land wet enough to flow out.
- Fog and dry spray: too much air or too far away, drying before it lands; ease the air down and close the distance.
Conclusion
Thinning for a spray gun is a measuring job, not a guessing one: strain the paint, add the matching thinner in 5 to 10 percent steps, stir fully, check with a viscosity cup or funnel, and prove it on cardboard before the workpiece. Water serves the water-based family (with conditioner doing the finesse work), mineral spirits serves the oils, and roughly 20 percent is the practical ceiling unless the can says otherwise. Get the consistency right once, write the recipe down, and every project after this one starts at the answer.
Frequently asked questions
How much water do I add to latex paint for a spray gun?
Start at 10 percent of the paint’s volume, stir thoroughly, and test spray; adjust upward in 5 percent steps as needed. Most HVLP setups spray latex well by 20 percent, and you should never exceed the maximum thinning printed on the paint can.
Can I spray paint straight from the can without thinning?
Often, yes. Full-size airless sprayers handle unthinned latex routinely, and strong HVLP units with wide wall nozzles spray many latex paints as-is. Fine-finish nozzles, compact sprayers, and thick exterior paints are the cases that usually need thinning.
What do you thin oil-based paint with for spraying?
Mineral spirits (paint thinner), starting around 5 to 10 percent and adjusting in small steps. Never add water to oil-based paint. Lacquers take lacquer thinner and shellac takes denatured alcohol, each at the ratio its manufacturer specifies.
What happens if I thin the paint too much?
It runs on vertical surfaces, covers poorly, and past the manufacturer’s limit the film itself dries weak. The fix is simple: stir unthinned paint back into the mix until the viscosity recovers, then plan on an extra light coat to rebuild coverage.
Do I really need a viscosity cup?
It’s the precise way: time how many seconds paint streams from the cup and match your sprayer manual’s target. But the funnel test (a steady, even pour) plus a spray pass on cardboard gets most DIY jobs to the right consistency without one.
Related Articles
Is Acrylic Paint Poisonous? The Real Risks
Can You Use Interior Paint Outside? What Really Happens