
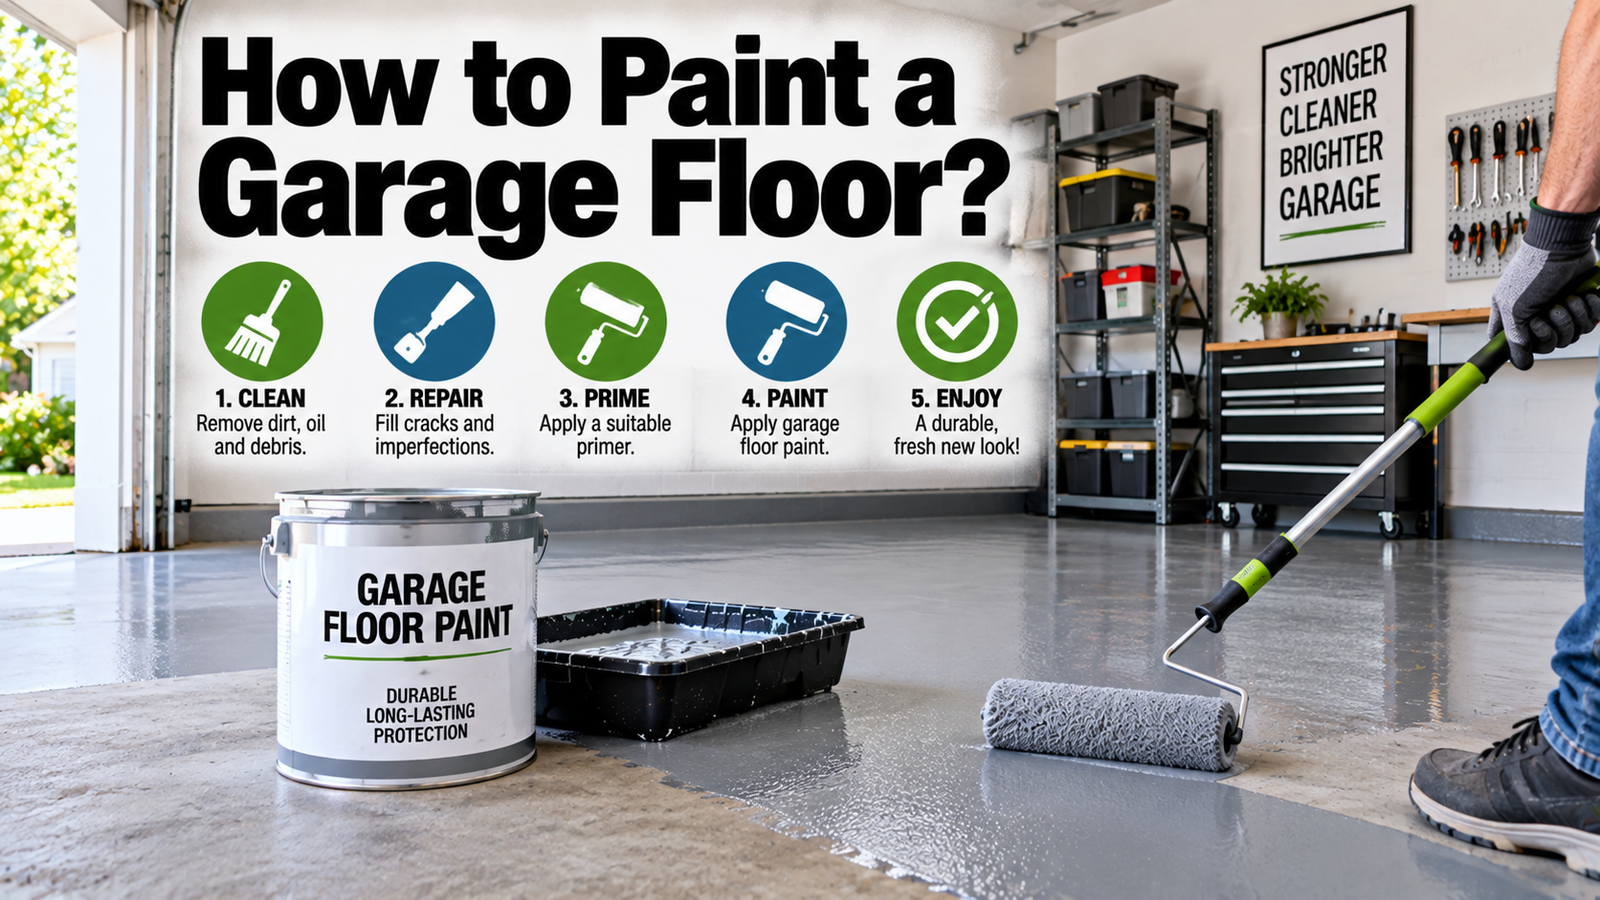

To paint a garage floor, clear it out, test the concrete for moisture, clean and etch the surface, then roll on a primer and two coats of a garage floor coating, and let it fully cure before you park on it. The painting is the easy part. The prep and the patience are what separate a floor that lasts years from one that peels in months. Here’s the full process, plus honest notes on coating choice, cost, and cure time.
- How do you paint a garage floor? The short version
- First, test for moisture (don’t skip this)
- Which coating should you use?
- What you need
- Step 1: Clear the garage
- Step 2: Clean and degrease
- Step 3: Etch the concrete
- Step 4: Prime and repair
- Step 5: Apply the coating
- Let it cure (and avoid hot tire pickup)
- Cost and how long it lasts
- Conclusion
- Frequently asked questions
- Related Articles
How do you paint a garage floor? The short version
The whole job is prep, then paint, then wait. Around 80 percent of the work and nearly all of the outcome comes down to preparing the concrete: getting it clean, dry, and slightly rough so the coating can grip. Rolling the color on is quick and satisfying by comparison. And once it’s down, the coating needs time to cure and harden before it can take foot traffic and vehicle weight.
Rush any of those three stages and the coating fails, usually by bubbling, flaking, or peeling off with your tires. Respect them and a painted garage floor turns a stained, dusty slab into a clean, easy-to-wipe surface that resists oil, salt, and daily wear.
First, test for moisture (don’t skip this)
Before anything else, check whether moisture is rising through your slab, because this is the single most common reason DIY floors fail. Concrete is porous. If it sits on damp soil without a good vapor barrier, water vapor pushes up from below and lifts the coating off the floor weeks or months later, no matter how well you prepped the top.
The test is free and takes a day. Tape a two-foot square of clear plastic sheeting to the floor, sealing all four edges airtight, and leave it 24 to 48 hours. Lift it and look: if there’s condensation on the underside or the concrete beneath looks darker, you have a moisture problem. For a precise number, a calcium chloride moisture test kit (ASTM F1869) measures the actual vapor emission rate. If moisture is present, you’ll need a moisture-tolerant coating or a mitigation primer, or the project isn’t worth starting.
The plastic-sheet test costs nothing and takes 24 hours. Skipping it is how homeowners end up watching three days of careful work bubble and peel a month later.
Which coating should you use?
Your coating choice sets your budget, your cure time, and how long the floor lasts, so pick it before you buy anything. There are three main options:
| Coating | Durability | Drive on it after | Best for |
| 1-part epoxy paint | 2 to 3 years | A few days | Budget refresh, light use |
| 2-part epoxy kit | 3 to 5 years DIY | 5 to 7 days | Most DIY garages |
| Polyaspartic | 15 to 20+ years | About 24 hours | Long-term, heavy use |
One-part epoxy paint is really an acrylic paint with a little epoxy in it. It’s the cheapest and easiest to apply, but it’s the least durable, lasting a couple of years and the most prone to peeling under hot tires.
Two-part epoxy kits mix a resin and a hardener just before you apply them. They bond far better to concrete and resist chips, which makes them the sweet spot for most DIY garages. The trade-off is a longer cure and some risk of hot tire pickup on thinner coats. Manufacturer instructions matter here, and a product guide like Behr’s garage floor coating how-to walks through the mixing and application specifics for a typical kit.
Polyaspartic coatings are the top tier: they cure in about a day, resist hot tire pickup and UV yellowing, and can last 15 to 20 years or more. The catch is they cost more and cure so fast they’re genuinely hard to apply yourself, so many people have them installed by a pro.
What you need
Gather everything first so you’re not stuck mid-coat:
- A concrete cleaner or degreaser and a stiff scrub brush.
- A pressure washer or a hose and buffing machine.
- An etching solution (often citric or muriatic acid based).
- Concrete crack filler and a putty knife.
- Your primer and coating, plus decorative flakes if you want them.
- A 3/8-inch nap roller, an extension pole, a nylon-polyester brush, and a paint tray or bucket grid.
- Painter’s tape, drop cloths, gloves, and eye protection.
Step 1: Clear the garage
Empty the garage completely. Move out cars, shelving, tools, and anything else on the floor, because you’ll need clear access to every square foot and a full stretch of drying time afterward. Sweep away all the loose dirt and debris. Tape off the base of the walls and any thresholds you want to keep clean.
Step 2: Clean and degrease
This is the hardest and most important step, so don’t cut it short. Concrete traps oil, grease, and grime deep in its pores, and coating over any of it guarantees peeling. Scrub the whole floor with a concrete cleaner or degreaser, working it in with a stiff brush. Hit oil stains directly with an oil and grease emulsifier.
Rinse thoroughly, ideally with a pressure washer, and let the floor dry completely. A clean floor is the foundation of the entire job, so treat it that way.
Step 3: Etch the concrete
Bare concrete is often too smooth and dense to grip a coating, so etching opens up the surface. Apply the etching solution, which is usually an acid, and scrub it in. It reacts with the concrete to create a slightly rough, porous profile, a bit like fine sandpaper, that the primer and coating can key into.
Wear gloves and eye protection, since these solutions are acidic. Rinse well when you’re done and let the floor dry fully. If your concrete was previously sealed or painted, etching alone may not be enough, and you may need to grind the surface instead.
Step 4: Prime and repair
Fix the flaws before you coat. Press crack filler into any cracks or chips and smooth it flush, then let it cure. Filling first gives you an even surface instead of a patched-looking one.
Then prime. A primer gives the coating a solid foundation and improves adhesion, which is cheap insurance against peeling. Cut in the edges with a brush, then roll or squeegee the primer across the floor, always working toward the garage door so you don’t paint yourself into a corner. Let it dry per the label before the color coat.
Step 5: Apply the coating
Now the satisfying part. If you’re using a two-part product, mix the resin and hardener thoroughly, and only mix what you can apply within its working time, since it starts to set once combined. Cut in the perimeter with a brush first, a 2 to 3 inch band around the edges.
Then load a 3/8-inch nap roller and work in sections, roughly four feet by two feet at a time, always moving toward the exit. If you want a flake finish, sprinkle the decorative chips onto each section right after you roll it, while the coating is still wet. Apply thin, even coats rather than one thick one. When a second coat is called for, run it in a criss-cross direction to the first for even coverage, and follow the recoat window on the label, often around 4 to 6 hours.
Let it cure (and avoid hot tire pickup)
This is where patience pays off, and where a lot of good work gets ruined. There’s a big difference between dry and cured. The floor may feel dry in hours, but it hasn’t reached full hardness yet. With most epoxy, you can walk on it after about 24 hours, but you should wait 5 to 7 days before parking a car on it. Polyaspartic is far faster, often ready to drive on in about a day.
Parking too soon causes hot tire pickup. When you drive, your tires get hot, and hot tires can soften an under-cured coating and peel it up as they cool and grip. Thin, single-coat epoxy is the most vulnerable. To avoid it, let the coating cure fully before parking, and if hot tire pickup is a real worry, choose a polyaspartic or add a polyaspartic topcoat over an epoxy base for a heat-resistant layer.
Cost and how long it lasts
Doing it yourself is affordable. Materials for a typical two-car garage run roughly $250 for a standard epoxy kit, though a premium high-solids kit with a grinder rental and extra topcoat pushes that toward $450 to $700. Hiring a pro for a full polyaspartic system, with diamond grinding and flakes, typically costs a few thousand dollars.
It helps to think in cost per year, not just the sticker. A budget DIY floor that lasts a few years is cheap up front but needs redoing sooner. A professional polyaspartic floor costs far more but can last 15 to 20 years with almost no fuss. Neither is wrong. The right call depends on how long you’ll stay in the home and how much you value not repeating the job. Whatever you choose, the durability comes back to prep: clean, dry, etched concrete and a full cure are what make any coating last.
Conclusion
Painting a garage floor is mostly about prep and patience. Test for moisture first, then clean, degrease, and etch the concrete until it’s ready to grip. Prime, fill cracks, and roll on two thin coats of the coating that fits your budget and timeline. Then let it cure fully, up to a week for epoxy, before you park. Do the boring steps properly and a stained slab becomes a clean, durable floor that holds up for years.
Frequently asked questions
Do I really need to etch a garage floor before painting?
Usually, yes. Bare concrete is often too smooth for a coating to grip, and etching roughens it so the paint bonds. If the floor was previously sealed, painted, or very smooth, etching may not be enough and grinding works better.
How long before I can park on a painted garage floor?
For most epoxy, wait 5 to 7 days before parking, even though you can walk on it after about a day. Polyaspartic coatings are ready far sooner, often around 24 hours. Parking too early causes hot tire pickup and peeling.
What’s the best paint for a garage floor?
For most DIY garages, a two-part epoxy kit is the sweet spot of durability and cost. One-part epoxy paint is cheaper but shorter-lived. Polyaspartic lasts longest and cures fastest, but costs more and is hard to apply yourself.
Why does garage floor paint peel?
The three big causes are moisture rising through the slab, poor surface prep, and parking before the coating fully cures. Test for moisture first, clean and etch thoroughly, and respect the full cure time to avoid peeling.
Can I paint a garage floor myself?
Yes. One and two-part epoxy kits are DIY-friendly and cost around $250 for a two-car garage. The work is manageable, but the prep takes real effort and the cure takes patience. Polyaspartic is best left to pros because it sets so fast.
Related Articles
How to Paint Glass Vases: Easy Steps for a Lasting Finish