
You can paint rusted metal successfully if you remove loose rust, clean the surface, use a primer made for the level of corrosion, and apply a suitable metal paint. You usually do not need to grind every rusty area down to shiny bare metal, but flaky rust and peeling paint must go. The right preparation helps the new coating stick and slows further corrosion.
- 1. Check the Metal Before You Start
- 2. Gather the Right Tools and Materials
- 3. Remove Loose Rust and Peeling Paint
- 4. Wash Away Dirt, Grease, and Salt
- 5. Choose the Correct Rust Primer
- 6. Apply Metal Paint in Thin, Even Coats
- 7. Let the Finish Cure and Protect the Item
- Common Mistakes to Avoid
- How Long Does Painting Rusted Metal Take?
- Choosing a Brush, Roller, or Spray Can
- What If Rust Comes Back After Painting?
- Conclusion
- Frequently asked questions
- Can you paint directly over rust?
- Do you have to remove all rust before painting metal?
- Should I use primer on rusty metal?
- How many coats of paint should I use on rusty metal?
- Can I paint rusty metal outdoors?
- Related Articles
1. Check the Metal Before You Start
First, decide whether the item is sound enough to paint. Rust on a garden chair, railing, mailbox, tool cabinet, or metal gate is often manageable when the metal underneath remains firm. If the surface has deep holes, cracked welds, loose joints, or sections that crumble when scraped, paint will not repair the damage. Replace or professionally repair badly weakened parts before coating them.
Identify the metal if you can. Iron and ordinary steel can rust and generally need a corrosion-resistant primer. Galvanized steel has a zinc coating and often needs a primer designed for galvanized surfaces. Aluminum also needs a compatible primer. A product labeled for rusty steel is not automatically suitable for every metal, so check the can before buying.
2. Gather the Right Tools and Materials
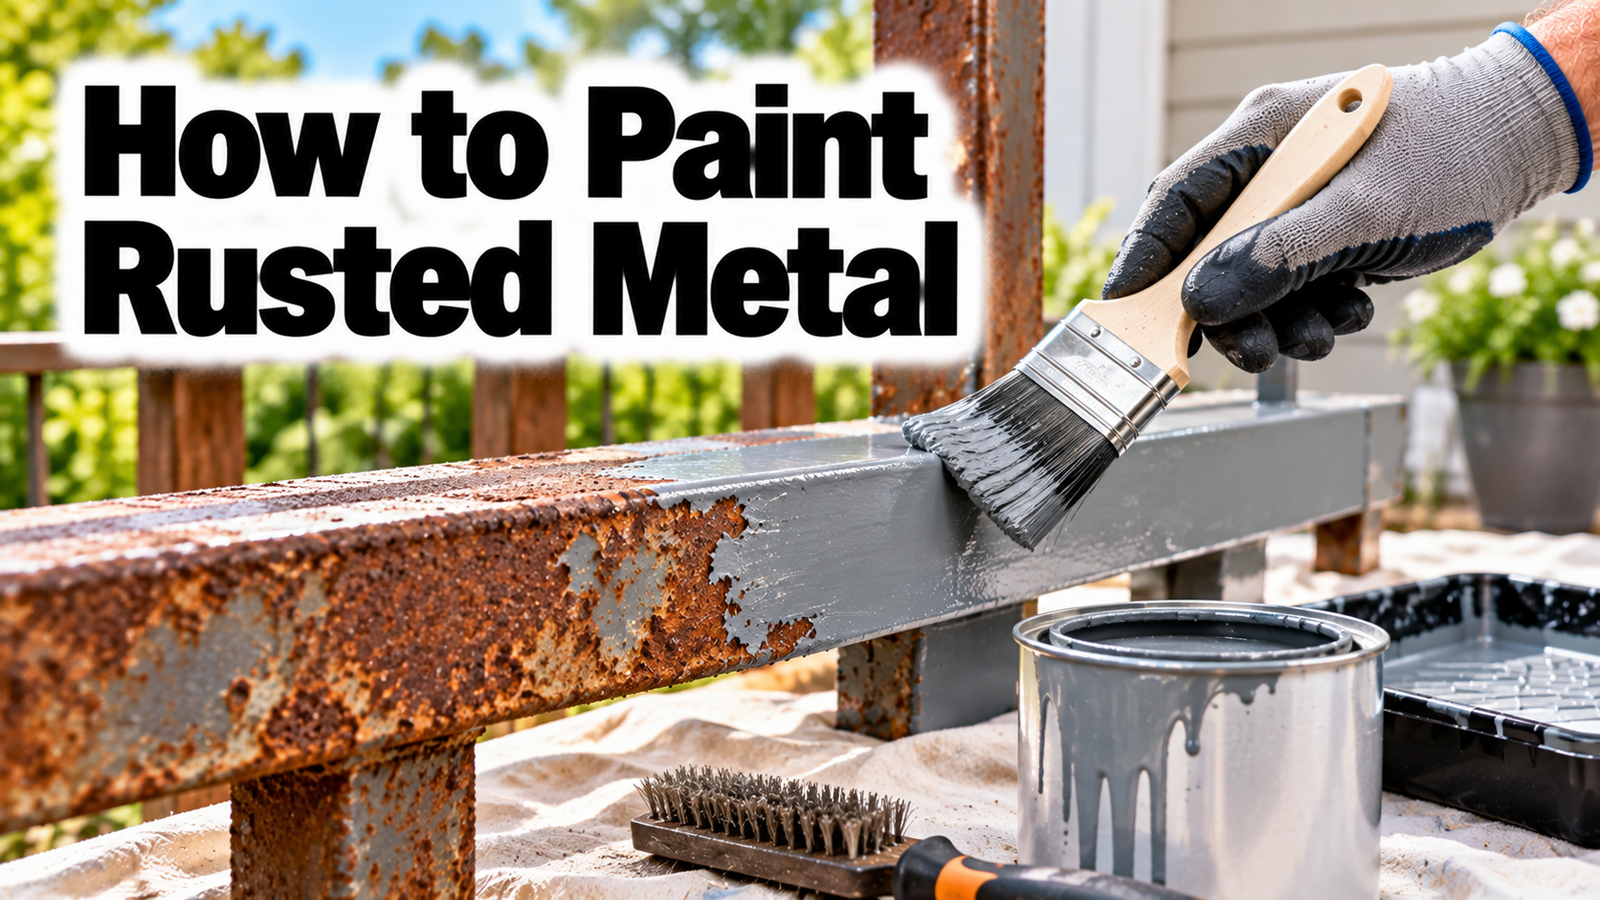
For a small project, you will usually need a stiff wire brush, paint scraper, sandpaper or sanding block, detergent, clean water, rags, a bucket, a suitable metal primer, and exterior- or interior-grade metal paint for the item’s location. A small angled brush helps reach corners, joints, and edges. A roller or spray paint can speed up larger, flatter surfaces.
Wear safety glasses, gloves, and a suitable dust mask or respirator for the work and coating you are using. Keep the area ventilated, protect nearby surfaces, and follow the label’s precautions. If you are spraying, cover plants, vehicles, and surrounding objects to prevent overspray. Keep spray products away from flames, sparks, and hot surfaces.
Take extra care with old paint. Sanding or scraping older coatings can release hazardous lead dust. If the item may have old lead-based paint, do not dry-sand it casually. Review the EPA’s lead-safe renovation guidance and use appropriate lead-safe methods or hire a qualified professional.
3. Remove Loose Rust and Peeling Paint
Brush and scrape away rust that is flaky, powdery, or lifting from the metal. Work until the remaining surface is firm. Use a hand wire brush for light rust and small objects. A scraper can lift loose paint, while sandpaper helps smooth rough edges. For a large steel gate or heavily corroded item, a suitable power tool may save time, but use it carefully and control dust.
You do not always have to remove every dark rust stain. Some rust primers are made to bond to sound, remaining rust after loose scale has been removed. However, thick crusts, loose flakes, and rust that keeps shedding will prevent a durable finish. Follow the primer’s instructions: some products are intended for heavily rusted metal, while others are for clean or lightly rusted surfaces.
Feather the edges where old paint remains, meaning sand the transition so it does not form a sharp ridge under the new coat. Lightly scuff glossy, firmly attached paint to help the new coating grip. If you expose bare metal, make sure the primer you choose is suitable for it as well as for any sound rust that remains.
4. Wash Away Dirt, Grease, and Salt
After brushing and sanding, wash the surface with a suitable detergent or metal-safe cleaner to remove dirt, oil, grease, and other contaminants. These can stop paint from sticking even when the surface looks clean. Rinse thoroughly if the cleaner requires it, and wipe away any remaining residue with clean water.
Let the metal dry completely, including seams, screw heads, joints, and the undersides of horizontal edges. Moisture trapped in these spots can encourage fresh rust under the coating. Do not rush this stage with a primer or paint that is not approved for damp surfaces. If rust returns while the item is drying, brush it off again and follow the coating maker’s preparation instructions.
5. Choose the Correct Rust Primer
Primer creates a surface that the topcoat can grip and adds another layer of protection against corrosion. For heavily rusted steel, choose a rusty-metal primer designed to bond to sound rust. For bare, clean, or lightly rusted metal, use a clean-metal or other compatible metal primer. A rust-converting product may also be suitable when its label matches the surface and intended use.
Read the label instead of choosing by color alone. Confirm that the primer is compatible with the metal, the existing coating, and the finish paint. Some rust primers are not intended for galvanized metal, and products designed for ordinary steel may not work on aluminum. If you are combining brands or coating an uncertain old finish, test a small, inconspicuous patch and check for lifting, wrinkling, or poor adhesion.
Apply primer in the temperature and humidity range stated on the container. Stir liquid primer as directed. Brush a thin, even coat into corners and around fasteners, or spray using steady, overlapping passes. Avoid heavy coats that sag or pool. If the label calls for two coats, follow that direction and observe its recoat window. The Rust-Oleum rusty-metal primer guidance explains its intended use on heavily rusted surfaces.
6. Apply Metal Paint in Thin, Even Coats
Once the primer has dried for the required time, apply a paint made for the metal item and its conditions. Exterior metal paint is the usual choice for gates, railings, outdoor furniture, and mailboxes. For objects exposed to frequent handling, rain, or sunlight, choose a coating whose label lists that type of use. For grills, exhaust parts, radiators, or other hot surfaces, use a product specifically rated for the operating temperature.
Stir the paint well and use a brush, roller, or spray can suited to the shape of the object. With a brush, work paint into corners first, then smooth it over the larger areas with steady strokes. With spray paint, keep the can moving and at the distance stated on the label. Overlap each pass slightly, and begin and end each pass beyond the edge where practical to reduce heavy spots.
Two light coats usually give a more even finish than one thick coat, but the product instructions determine the number of coats and timing. Let the first coat dry for the stated interval before applying the next. Recoating too soon can cause wrinkles or a soft finish; waiting longer than the allowed recoat window may mean you need to wait further or lightly sand first. Do not assume that dry to the touch means fully cured.
7. Let the Finish Cure and Protect the Item
Keep the freshly painted item in a clean, dry, well-ventilated place while it dries. Dust, rain, dew, and handling can mark a coating before it has hardened. Avoid putting hardware back under pressure, stacking parts, or using the item heavily until the label’s handling and curing times have passed. Cooler weather and high humidity can lengthen drying time.
For outdoor items, pay special attention to joints, cut edges, screw heads, and places where water collects. These are common starting points for corrosion. Once the finish has cured, inspect the item now and then. Touch up chips promptly, and clean off dirt or standing water so moisture does not remain against the coating.
Common Mistakes to Avoid
The most frequent mistake is painting over loose rust or peeling paint. The new finish may look good at first, but it is attached to a weak layer that can lift away. Skipping cleaning is another problem because oil and dust interfere with adhesion. Applying primer or paint over damp metal can trap moisture and encourage rust beneath the coating.
Avoid mixing products without checking compatibility, applying coats outside the recommended weather range, and ignoring recoat times. Do not use ordinary wall paint on metal unless the product is specifically suitable for that surface. Also, do not assume a rust converter replaces every preparation step: loose rust and contamination still need to be removed as its instructions require.
How Long Does Painting Rusted Metal Take?
A small item may take a few hours of hands-on preparation and painting, but the full project often takes a day or longer because cleaning, primer, paint, and curing all need time. The exact schedule depends on rust severity, the number of coats, temperature, humidity, and the products used. Read the can for dry-to-touch, recoat, handling, and full-cure times, since these describe different stages.
Choosing a Brush, Roller, or Spray Can
Use a brush when the object has narrow bars, corners, welds, or detailed shapes. A brush lets you work paint into joints and around fasteners, although it may leave light marks on a broad, flat panel. A small foam or short-nap roller can help on flat metal, provided the paint label allows roller application.
Spray paint can give a smooth finish on curved furniture or railings, but overspray is easy to spread. Work outdoors or in a well-ventilated area, protect nearby surfaces, and use several light passes instead of trying to cover everything at once. If wind carries the spray away from the item, wait for calmer conditions.
What If Rust Comes Back After Painting?
If orange spots appear soon after painting, check whether rust was left under a loose coating, whether the metal was damp, or whether water is entering through a chip or seam. Scrape the affected area back to a firm edge, clean it, let it dry, and re-prime and repaint according to the product directions. Simply brushing new paint over a growing rust spot often leaves the underlying problem in place.
For items that stay wet or sit outdoors year-round, regular checks are useful. Touch up scratches before they spread, keep drainage holes clear, and avoid leaving wet leaves or soil against the metal. Paint slows corrosion, but it cannot prevent damage indefinitely if the coating is repeatedly chipped or water remains trapped.
Conclusion
To paint rusted metal, remove all loose rust and failing paint, wash away contaminants, let the surface dry, and apply a compatible rust primer before the finish coat. Thin, even coats and proper drying time help create a cleaner, longer-lasting result. Choose products for the specific metal and its environment, and repair badly weakened metal rather than trying to hide structural damage with paint.
Frequently asked questions
Can you paint directly over rust?
Yes, if the rust is sound and you use a primer or coating specifically labeled for that condition. Remove loose flakes and scale first, clean the metal, and follow the product’s preparation instructions.
Do you have to remove all rust before painting metal?
No. Some primers bond to firm, remaining rust. You must still remove loose, flaky rust and peeling paint, because the coating cannot hold securely to a layer that is already coming away.
Should I use primer on rusty metal?
In most cases, yes. A compatible rust primer improves adhesion and adds corrosion protection. Choose a rusty-metal primer for heavily rusted steel, or a clean-metal primer for bare or lightly rusted metal.
How many coats of paint should I use on rusty metal?
Follow the paint label. Two thin finish coats are common, but coverage and recoat times vary by product. Allow each coat to dry as directed rather than applying one thick coat.
Can I paint rusty metal outdoors?
Yes, if the product is rated for outdoor use and weather conditions meet its label requirements. Avoid rain, dew, strong wind, and unsuitable temperatures, and allow the coating to cure before exposing it to heavy use.
Related Articles
Can You Remove Paint From Brick? Safe Methods
How to Fix Peeled Paint on a Motorcycle?