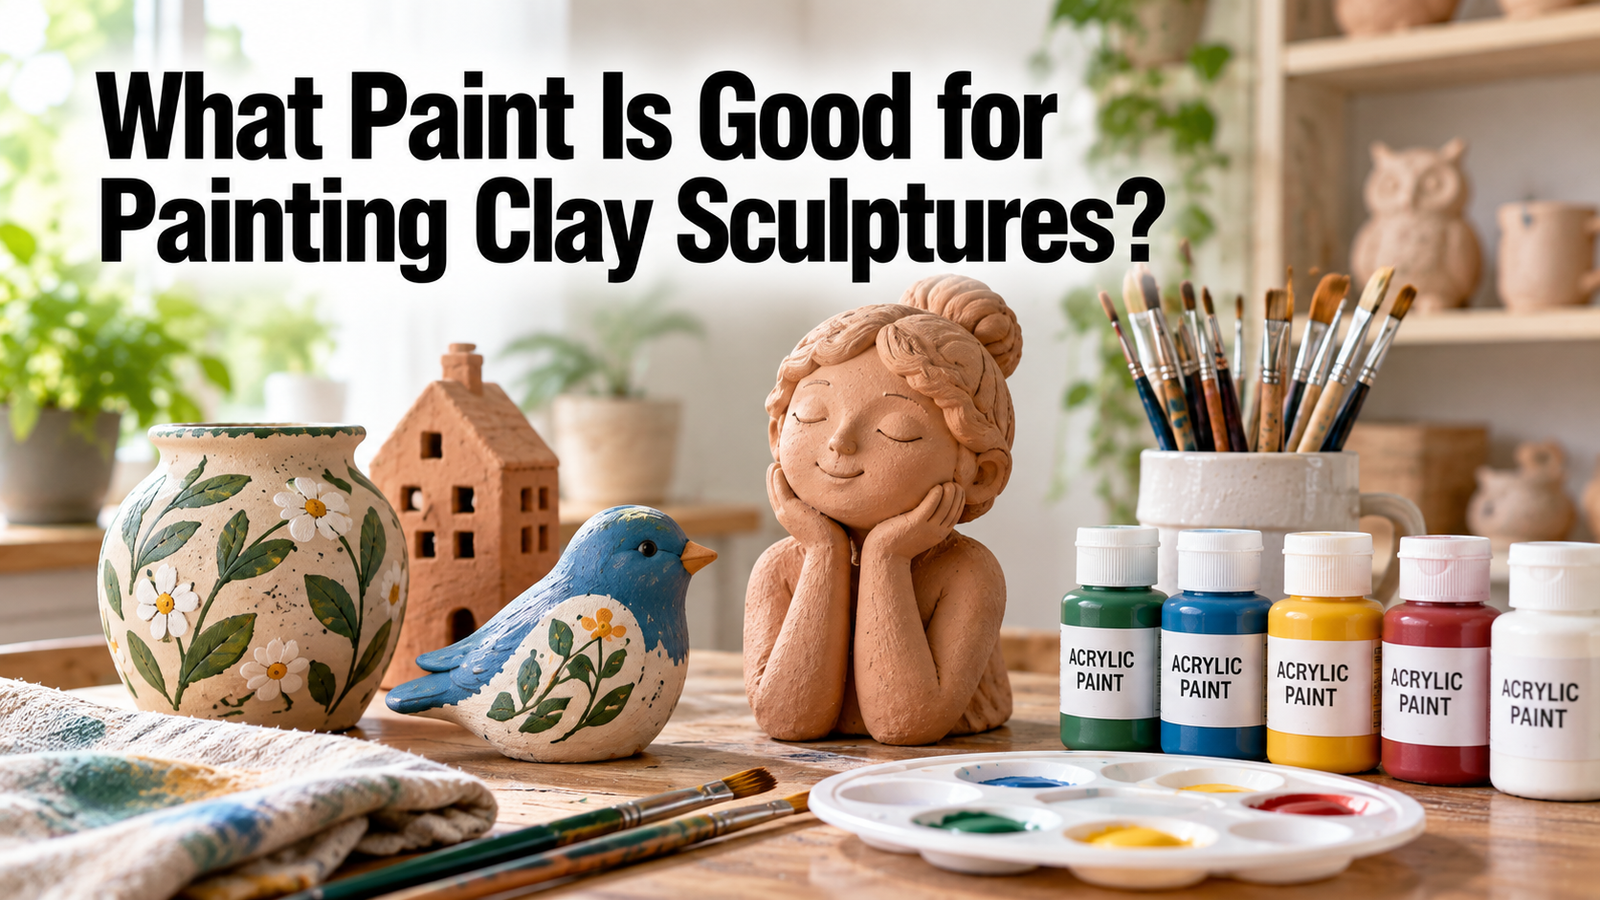

Acrylic, in almost every case. It bonds to porous and non-porous surfaces, dries into a flexible film that moves slightly with the piece, comes in every colour, and costs very little.
The useful answer is more specific than that, because “clay” covers three materials that behave nothing alike. Air-dry clay soaks paint up and stays water-soluble forever. Polymer clay is vinyl plastic that can chemically react with what you put on it. Kiln-fired ceramic has options the other two do not.
Work out which one you have first, because that decides the prep, the sealing, and whether acrylic is the right answer at all.
Start by identifying your clay
| Clay type | Best paint | Prep before painting | Sealing |
| Air-dry clay | Acrylic | Dry fully, then prime or gesso | Essential |
| Polymer clay | Artist acrylic or acrylic ink | Bake, then sand with 400 to 600 grit | Usually not needed |
| Kiln-fired bisque | Underglaze, then clear glaze | Clean and dust-free | The glaze firing does it |
| Bisque, no kiln access | Acrylic | Clean and dust-free | Varnish, decorative only |
Air-dry clay hardens as water evaporates out of it. Nothing chemically changes, which is why it stays vulnerable to water.
Polymer clay is a plasticised vinyl that cures in a domestic oven at around 130°C. It comes out as a solid plastic.
Kiln-fired clay is fired to well over 1,000°C, at which point the clay body fuses. That is the only one of the three that becomes genuinely waterproof and food-safe, and only once glazed.
Painting air-dry clay
Acrylic is the standard choice and works well, with two adjustments.
Wait until the piece is completely dry. Air-dry clay is usually touch dry within 24 hours but takes around 72 hours to dry all the way through, and painting a piece that is still damp inside traps moisture under the film.
Then deal with the absorbency. Air-dry clay drinks paint, so the first coat sinks in and looks muted and patchy. A coat of gesso, an acrylic primer, or simply a watered-down first coat solves it, and everything after that sits on top and stays bright.
Build up in thin layers rather than one thick one. Thick acrylic on a porous surface is more likely to crack as it dries.
The important part comes at the end. Air-dry clay stays porous and water-soluble no matter how long it sits, so an unsealed piece can soften, crumble, or grow mould in a humid room. Sealing is not optional here.
One paint to skip: watercolour. The water reactivates the clay surface and leaves it soft and sticky rather than colouring it.
Painting polymer clay
This is where most projects go wrong, and the reason is chemical rather than technical.
Polymer clay is plasticised vinyl, and the plasticiser that keeps it flexible can migrate into whatever you paint on top. Ginger Davis Allman of The Blue Bottle Tree, who has tested this extensively, explains that the plasticiser can soften the paint and leave it permanently tacky. Whether that happens depends on the specific combination: a paint that behaves perfectly on Sculpey III can be a sticky mess on Fimo.
Her advice is blunt and worth following. Test your paint on a baked scrap of the same brand of clay before you touch the finished piece. Water-based or oil-based makes no difference to whether it happens.
The second problem is adhesion. Paint cannot soak into vinyl, so it sits on the surface and chips and scratches off with handling. Sanding lightly with 400 or 600 grit first improves the grip considerably, and adhesion varies by brand, with Souffle and Sculpey III holding paint better than Kato Polyclay.
For paint choice, artist-grade acrylics beat craft acrylics here. Craft paints carry a low pigment load and need many coats on a non-absorbent surface, which ends up gloppy and uneven. Acrylic inks are excellent, and artists’ oils work well too if you have the patience for the drying time.
There is one trick worth knowing. Paint often bonds better if you apply it to raw clay and bake the two together. Sculpey’s own guidance confirms acrylic can go on before baking, provided the paint is fully dry before the piece goes in the oven.
Finally, the easiest technique on polymer clay is antiquing: rub a dark acrylic over a textured piece and wipe the excess off, leaving colour in the recesses. It looks good without much skill, and the paint sits in the low spots where nothing rubs against it.
Painting kiln-fired ceramic
If you have access to a kiln, the paint question changes entirely, because you have options the other clays do not.
Underglaze is applied to bisque-fired ware and then covered with a clear glaze and fired again. One coat gives a thin watercolour effect and three coats gives solid colour. The colours look dull and chalky before firing and only come alive in the kiln, which takes some getting used to.
Glaze itself carries colour as well as sealing the surface. Firing fuses it to the clay body, which is what makes fired ceramic durable, waterproof, and safe for food and drink.
If you do not have a kiln, acrylic on bisque works perfectly well. Bisque is porous and takes acrylic beautifully, and the piece will look good on a shelf indefinitely.
Understand the trade-off. A piece painted with acrylic and varnished is decorative. It is not waterproof, not dishwasher safe, and not food safe, whatever the varnish claims. Only a glaze firing gives you that.
When colouring the clay beats painting it
Worth saying plainly: painting is not always the best route, and experienced clay artists often skip it.
With polymer clay, colour is built into the material. Sculpting a piece from coloured clay gives a smooth, even finish that no amount of brushwork will match, and it cannot chip, scratch, or peel because there is no surface layer to fail. For flat cartoon-style pieces in particular, coloured clay is both easier and better.
The same logic applies to air-dry clay, though less completely. Mixing acrylic paint into the clay as you knead it tints the whole body, which means chips and scuffs show the same colour underneath rather than raw grey. The colour is muted compared with painting the surface, and the paint makes the clay dry faster, so mix in less than you think you need.
A hybrid usually works best. Build the piece in coloured clay for the broad areas, then paint only the details that need to be crisp: eyes, patterns, accents, and the antiqued shadows in the recesses. That gives you the durability of coloured clay with the precision of a brush, and it is how most of the sculptures you admire online were actually made.
Paints to avoid, and where
Tempera and poster paint sit on the surface, stay chalky, and rub off with handling. They are fine for a school project that will be thrown away and wrong for anything you want to keep.
Watercolour and gouache are the wrong tool on all three clays. On air-dry clay the water softens the surface, and on polymer clay it simply beads up and refuses to spread.
Solvent-based spray paints need care around polymer clay. Some react with the plasticiser and stay tacky, and the same is true of nail varnish, which is sometimes suggested as a cheap glaze and degrades polymer clay over time.
Household emulsion is not designed for this. It is formulated to sit on plaster in a thick film and is neither flexible enough nor pigmented enough for a small detailed piece.
Alcohol inks are worth a mention because they look wonderful and fade. They are dyes rather than pigments and will lose colour in daylight, so keep them for pieces you accept are temporary.
Getting a clean finish
Work in thin coats and let each one dry properly. Almost every complaint about clay painting, from cracking to patchy colour to visible brush marks, comes back to paint applied too thickly.
Use fluid acrylics or thin your heavy-body paint slightly for detailed sculptures. Thick paint fills fine texture and softens the detail you sculpted.
Dry brushing is the most useful technique for sculpted work. Load a stiff brush, wipe nearly all of it off on a paper towel, then drag the almost-dry brush across the surface so colour catches only on the raised areas. It takes seconds and makes texture read properly.
Let the base colour dry completely before adding detail on top, or you will lift it.
Paint pens are worth having for fine lines, eyes, and edges. They give more control than a brush at that scale and are far easier to keep neat.
Sealing your finished piece
The right sealer depends on the clay again.
Air-dry clay needs sealing, and a polyurethane or acrylic sealer is the durable choice. PVA glue or Mod Podge works as a cheap alternative but gives less protection. Two or three thin coats beat one thick one, and even then the result is water-resistant rather than waterproof. Only an epoxy resin coating gets close to genuinely waterproof, and none of these make a piece food safe.
Polymer clay usually does not need sealing at all. Baked polymer is already durable, and a varnish can create the same stickiness problem the paint can. If you do want to seal painted polymer, use a product sold as clay-safe and test it on a scrap first. A varnish will not rescue paint that is already peeling, since the bond is only as good as the layer underneath.
Kiln-fired ceramic that has been glazed and fired needs nothing further.
Watch out for yellowing. Cheaper varnishes yellow with age and sunlight, which shows badly on white or pale pieces.
Conclusion
For air-dry clay, prime it, paint it with acrylic in thin coats, and seal it, because unsealed air-dry clay stays vulnerable to moisture indefinitely. For polymer clay, sand lightly, use artist-grade acrylic or acrylic ink, and test your paint on a baked scrap of the same brand first, since the plasticiser can turn some paints permanently sticky. For kiln-fired work, underglaze and a glaze firing give you the only genuinely waterproof, food-safe result, and acrylic is a perfectly good alternative for anything decorative.
Frequently asked questions
Can you use acrylic paint on all types of clay?
Acrylic works on air-dry clay, polymer clay, and bisque-fired ceramic, though each needs different preparation. The one caution is polymer clay, where certain paint and clay combinations stay tacky, so test on a baked scrap first.
Do you need to seal painted clay sculptures?
Air-dry clay always needs sealing, since it stays water-soluble and can soften or crumble in humidity. Polymer clay usually does not. Glazed and kiln-fired ceramic is already sealed by the firing.
Why is my paint sticky on polymer clay?
The plasticiser in the clay has migrated into the paint and softened it. It depends on the specific brands involved, which is why testing matters. Isopropyl alcohol will sometimes remove sticky paint so you can start again.
Should you paint clay before or after baking?
Either works with polymer clay. Painting before baking often gives a better bond, provided the paint is completely dry before it goes in the oven. Painting after baking gives more control over detail and shading.
Is painted air-dry clay waterproof?
No. Paint and sealer make it water-resistant, so it survives a wipe or a splash, but it is not waterproof and is not safe for food or drink. Keep painted air-dry pieces indoors and dry.
Related Articles
Can You Paint Acrylic Over Oil Paint? Full Guide
How to Seal Acrylic Paint: Complete Step-by-Step Guide
How to Get Rid of Paint Smell Fast: 12 Proven Tips That Actually Work
How to Paint a Brick Fireplace: The Complete Step-by-Step Guide