
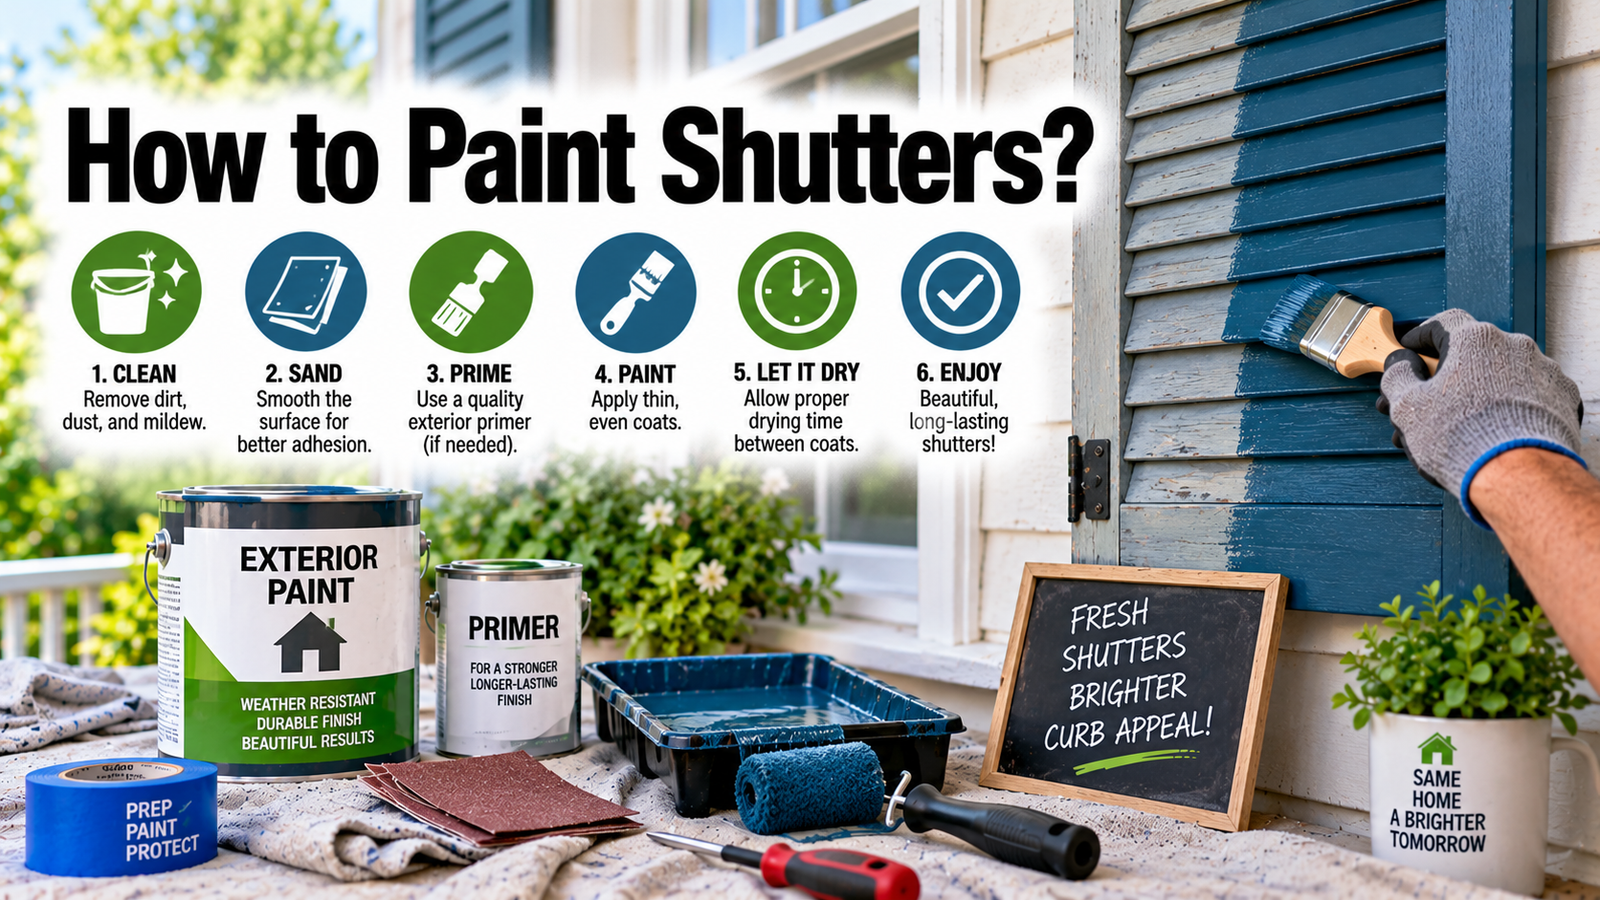

To paint shutters, take them down, clean and lightly sand them, prime, then apply two thin coats of exterior paint matched to the material and let each dry fully. That’s the whole job. The part that trips people up is the paint: vinyl, wood, and composite each need different products, and using the wrong one, especially a dark color on vinyl, can peel or even warp your shutters. Here’s how to do it right for whatever yours are made of, plus honest notes on removing them, spraying versus brushing, and when to replace instead.
How to paint shutters, in short
Fresh paint on your shutters is one of the cheapest ways to lift a home’s curb appeal, and it’s a genuine weekend project. The process is the same at a high level for any material: clean, sand, prime, and paint two thin coats. What changes is the products you use and one important color rule for vinyl.
Because most of the outcome rides on matching the paint to the material, that’s where to start before you buy anything.
First, what are your shutters made of?
Shutters come in a few materials, and each behaves differently under paint. Figure out yours first, then match the products to it.
| Material | What paint to use | Key thing to know |
| Vinyl / PVC | 100% acrylic latex labeled vinyl-safe, over a bonding primer | Avoid oil-based paint and non-safe dark colors that warp it |
| Wood | Exterior latex or oil-based, over an exterior primer | Prime bare wood; oil is most durable, latex more flexible |
| Composite | Exterior paint with a bonding primer | Check the manufacturer’s guidelines first |
Vinyl (PVC) is the most common type on modern homes. It’s slick and non-porous, so paint struggles to bond without a bonding primer, and it expands, contracts, and can warp with heat. Use a 100% acrylic latex paint labeled vinyl-safe.
Wood is the easiest to paint and takes primer and paint readily. Either exterior latex or oil-based paint works; oil is the most durable, while latex stays more flexible and resists peeling if the surface gets scratched.
Composite shutters blend wood fibers and resin. Many are paintable with a bonding primer and exterior paint, but check the manufacturer’s guidance first, since some have specific requirements.
The vinyl color trap
If your shutters are vinyl, this is the single most important thing to know, so it gets its own section. Color choice matters far more on vinyl than on wood. A dark color absorbs heat the shutter was never designed to handle, and on a sunny afternoon the surface can spike well past 180 degrees, which causes vinyl to warp or buckle.
The safe rule is to stay at or lighter than the shutter’s original color unless the paint is specifically rated vinyl-safe for dark shades. Manufacturers like Sherwin-Williams make VinylSafe paints with cool pigments that reflect heat and let you go darker without the warping risk. Even then, pure black is the riskiest choice, so a deep charcoal or navy in a vinyl-safe line is a smarter way to get a dark look. Painting a dark, non-safe color on vinyl is the fastest way to ruin the shutters, and many manufacturers void the warranty for it.
Before you fall in love with a dark shutter color, check that the paint is labeled vinyl-safe. A standard dark shade on vinyl can heat past 180 degrees in summer sun and warp the shutter permanently.
What you need
Gather your supplies before you start:
- A cleaner: mild detergent, or TSP for heavily soiled exterior shutters (use TSP carefully, as it can corrode metal and damage finished wood).
- Sandpaper or a sanding sponge in a medium grit.
- The right primer: a bonding primer for vinyl, an exterior primer for bare wood.
- Exterior paint matched to your material (see the table above), ideally in satin or semi-gloss.
- An angled brush and a mini roller, or a sprayer, plus a screwdriver, drop cloths, and painter’s tape.
How to paint shutters (step by step)
Here’s the process from tired shutter to fresh finish. It applies to all materials, with the product choices from above.
- Take the shutters down. Unscrew them and lay them flat on sawhorses or a drop cloth. This gives you access to every edge and a cleaner result than painting in place, and it keeps paint off your siding.
- Clean thoroughly. Scrub off dirt, chalk, and mildew with detergent or diluted TSP, rinse well, and let them dry completely. Paint won’t bond over grime.
- Sand lightly. Scuff glossy or slick surfaces with medium sandpaper to give the primer something to grip. On old wood shutters, scrape off any loose, peeling paint first.
- Prime. Apply a bonding primer on vinyl or an exterior primer on bare wood, in a thin even coat, and let it dry fully (often around four hours). Primer is also what gives even coverage on a big color change.
- Paint the first coat. For slatted shutters, do the louvers first, working paint into the slats without letting it pool in the corners. For solid panel shutters, start with the recessed center details and work outward. On wood, follow the grain.
- Add a second coat. The first coat often looks streaky, which is normal. Let it dry, then apply a second thin coat for full, even coverage. Two thin coats always beat one thick one.
- Let it cure, then rehang. Wait 24 to 48 hours before reattaching the shutters, so you don’t smudge or fingerprint the finish. An optional clear coat adds extra sun and weather protection.
Spray or brush?
Both work, and the best choice depends on your shutter style. Spraying gives the smoothest, most even finish and handles louvered or detailed shutters beautifully, since it coats every slat without brush marks. The downside is more masking to prevent overspray and, if you don’t own one, the cost of a sprayer.
Brushing and rolling give you more control and push paint into crevices, though a brush can leave marks and takes longer. A common approach that works well: roll the flat panel areas, then immediately brush out the louvers while the paint is still wet to blend and avoid lap marks. An angled sash brush is ideal for getting into slats cleanly.
Should you remove the shutters?
You can paint shutters in place to save time, especially if they’re high up or awkward to remove, but taking them down almost always gives a better result. Off the house, you can reach all sides and edges, work flat to avoid drips, and spray cleanly without getting overspray on your siding or brick.
If you do paint them in place, mask the surrounding wall carefully. A simple trick for slatted shutters is to hold a piece of cardboard behind your brush and slide it along as you work, which keeps paint off the surface behind. But when you can, removing them is worth the extra few minutes.
When you shouldn’t paint (replace instead)
Paint refreshes how shutters look, but it can’t fix what’s broken. Skip painting and replace the shutters if:
- They’re cracked, warped, or broken. Paint only improves appearance, not structure, and a fresh coat can highlight the damage.
- They’re covered in mold or mildew you can’t fully clean. Painting over it traps moisture and leads to bigger problems.
- They’re low-quality early-generation vinyl that won’t bond well, or the warranty forbids painting.
It’s also worth checking your shutter warranty before you start, since some prohibit repainting. And remember that exterior shutters generally need repainting every four to seven years anyway, a range cost and maintenance guides like HomeAdvisor report for exterior trim, so factor that upkeep into your plans. With good prep and a vinyl-safe finish, a fresh coat commonly holds up five to seven years or more.
Conclusion
Painting shutters is a simple, high-impact weekend upgrade as long as you match the paint to the material. Take them down, clean, sand, prime, and apply two thin coats of exterior paint, and give it a day or two to cure before rehanging. For vinyl, use a vinyl-safe formula and steer clear of dark, non-safe colors that warp in the sun. Replace anything cracked or warped rather than painting over it. Do those things and faded shutters look sharp again for years.
Frequently asked questions
What kind of paint do you use on shutters?
It depends on the material. Use a 100% acrylic latex vinyl-safe paint on vinyl, exterior latex or oil-based paint on wood, and exterior paint with a bonding primer on composite. Satin or semi-gloss finishes clean easily and hold up well outdoors.
Do you have to prime shutters before painting?
Usually yes. Vinyl needs a bonding primer to grip its slick surface, and bare wood needs an exterior primer. You can sometimes skip primer when recoating the same color with a quality vinyl-safe paint, but it helps on big color changes.
Can you paint vinyl shutters a dark color?
Only with a paint specifically labeled vinyl-safe for dark colors. Standard dark shades absorb too much heat and can warp the vinyl. Vinyl-safe lines use cool pigments that reflect heat, letting you go darker safely, though pure black is still the riskiest.
Should I remove shutters to paint them?
Taking them down gives a cleaner, more even result, since you can reach every edge and avoid overspray on your siding. Painting in place is faster and fine if they’re hard to remove, but mask the surrounding wall carefully.
How long does paint last on shutters?
Exterior shutters generally need repainting every four to seven years, depending on sun and climate. With thorough prep and a vinyl-safe or quality exterior paint, expect five to seven years or more before you see fading or peeling.
Related Articles
How to Recycle Spray Paint Cans?
How to Spray Paint: Technique, Prep and Recoat Timing