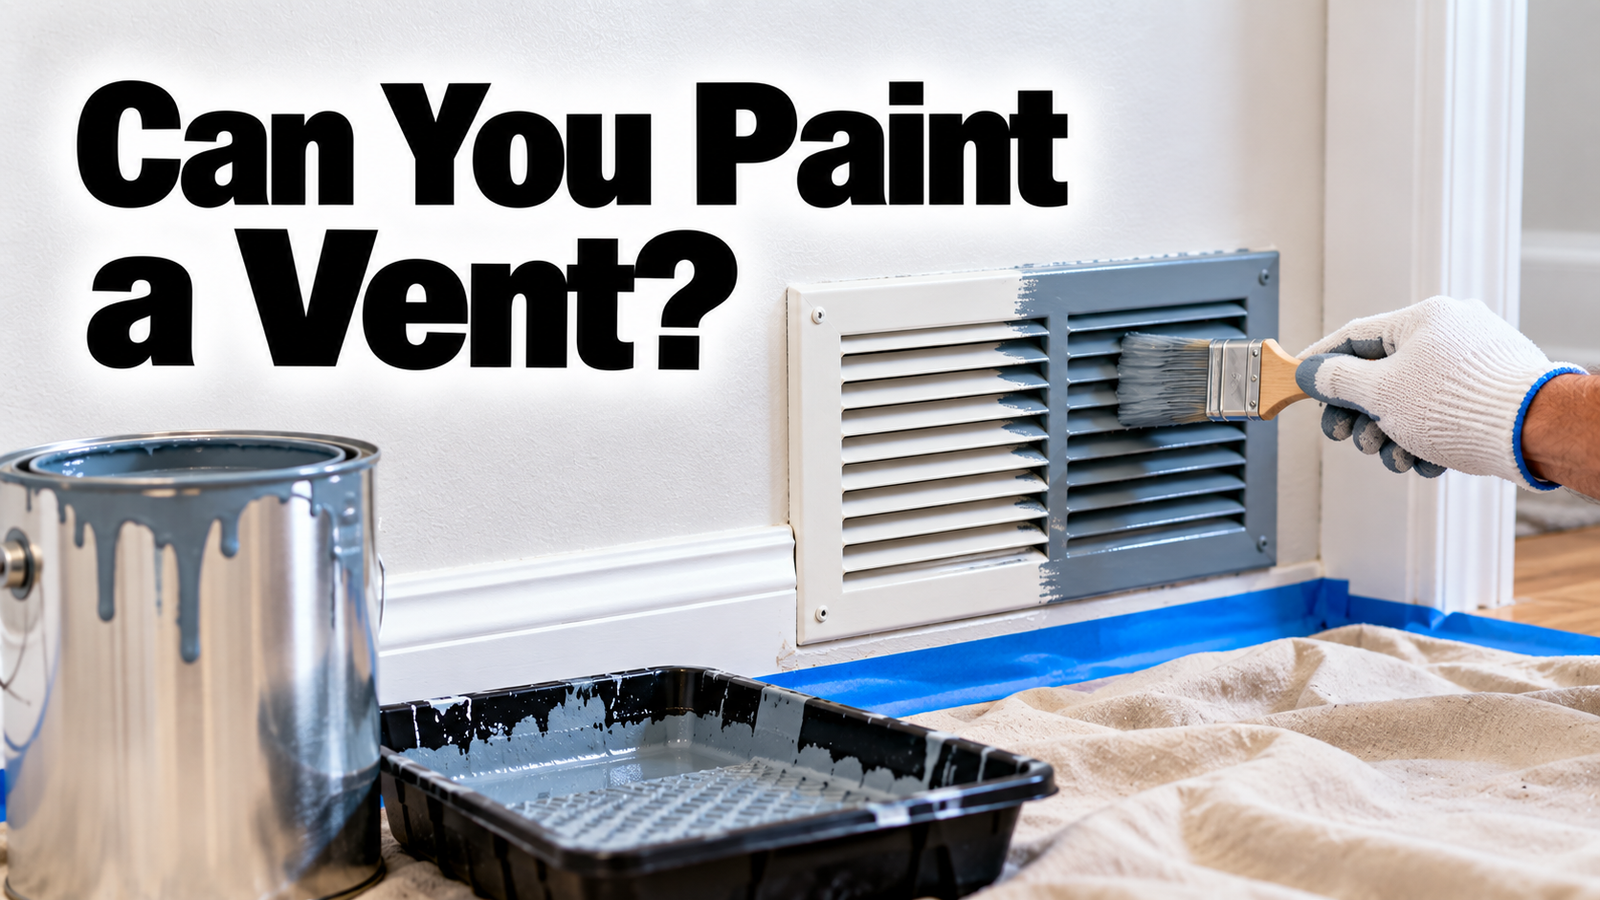

Yes, you can paint a vent. A white or rusty air vent that clashes with your walls is one of the easiest things in a room to fix, and a coat of paint makes it blend right in. The trick is that vent covers are usually smooth, non-porous metal, so paint won’t stick well unless you clean the cover, prime it, and spray light, even coats. Do it right and the finish looks factory-smooth and the slats still open and close. Do it in place with a heavy hand and you get drips, a gummed-up vent, and paint that peels.
This guide covers the different vent types, whether to remove the cover or paint it in place, the exact steps, what color to pick, and whether heat will ruin your work.
Does the vent’s material or location change anything?
Most household vents, whether they’re floor registers, wall returns, or ceiling grilles, are metal, and they all take paint the same way with the right prep. The one thing that changes is the primer. For bare or rusty metal, use a rust-inhibiting or self-etching metal primer so the paint bonds and rust doesn’t creep back. For a vent that’s already painted, a bonding primer made for previously painted surfaces is the better match, since etching primers are meant for bare metal.
Plastic vents exist too, mostly on some bathroom fans and newer builds. They can be painted, but they need a primer made for plastic. And a quick note on which vents to paint: air supply and return vents are fine, but leave the paint off anything that carries real heat or exhaust, and don’t paint dryer vents or combustion-appliance vents. For normal heating and cooling vents, the air is warm at most, not hot enough to be a problem.
Should you take the vent off or paint it in place?
Take it off. Removing the cover is a couple of screws and it’s worth every second. Off the wall, you can lay it flat, reach every angle of the slats, spray both sides, and avoid getting paint on your wall, floor, or the duct behind it. Painting a vent in place almost always leads to runs, missed spots in the grooves, and slats that stick together when the paint dries.
There’s a bonus, too: with the cover off, you have open access to the duct, so it’s the perfect moment to vacuum out the dust and debris that collect just inside. If you truly can’t remove a cover, at least mask off everything around it heavily and spray very light coats, but removing it is the way to get a clean result.
What you’ll need
It’s a short list, and you may already own most of it:
- A screwdriver or drill to remove the cover, plus a container for the screws
- Degreasing soap, water, and a stiff brush or old toothbrush for the crevices
- Fine sandpaper or steel wool (roughly 220 grit) to knock down rust or gloss
- The right spray primer: rust-inhibiting or self-etching for bare metal, a bonding primer for already-painted or plastic covers
- Spray paint in your color and finish (a paint-and-primer enamel works well on cool vents)
- A drop cloth or cardboard box to contain overspray, and a piece of cardboard to hold the screws
How to paint a vent, step by step
Work outside or in a well-ventilated space, and give each coat time to dry. The order below is what keeps the finish smooth and the slats working.
1. Remove the cover and clean it
Unscrew the cover and set the screws aside in a container. Wash both sides with degreasing soap and warm water, using a brush or old toothbrush to clear dust and grease out of the slats. Grease and grime are the main reasons paint won’t stick, so don’t rush this. Rinse it, dry it fully, and cover the open duct so nothing falls in (or a curious pet goes exploring).
2. Deal with rust or a glossy surface
If the cover is rusty, knock the loose rust off with steel wool or a wire brush and wipe away the dust, since rust makes paint go on unevenly. If the surface is smooth and glossy, a light scuff with 220-grit sandpaper gives the primer something to grab. Wipe it clean again afterward so no grit is left behind.
3. Prime it
Set the cover on cardboard or a drop cloth and spray a light, even coat of the right primer. Hold the can about 8 inches away and use sweeping passes so the primer doesn’t pool in the slats. This is the step that decides whether the paint lasts: an unprimed metal vent will shed its finish. A rust-inhibiting spray primer like Rust-Oleum’s clean metal primer is a common choice for bare or lightly rusted covers. Let it dry fully before painting.
4. Spray light coats of paint
Shake the can well and apply the paint in thin, even coats, keeping the nozzle about 8 inches from the surface. Light coats are the whole secret here. Heavy coats sag, drip, and fill in the gaps between slats so the vent won’t open. Let the first coat dry, then rotate the cover about 90 degrees and give it another light coat so you hit every angle of the slats. Two or three thin coats beat one thick one every time. Don’t forget to paint the screw heads: poke the screws through a piece of cardboard so only the heads show, and spray those too.
5. Let it cure, then reinstall
Give the paint enough time to dry and harden before you handle the cover. Most spray paints are dry to the touch quickly but need longer to fully cure, so check the can. This matters most for floor vents that get foot traffic. Once it’s cured, screw the cover back in place. If any slats feel slightly stuck from the paint, work them open and closed a few times to free them up.
Choosing the right color and finish
The easiest choice is to match the vent to whatever surface it sits on. On a wall, matching your wall color makes the vent nearly disappear. On a ceiling, white keeps it blending in. On a wood floor, a metallic finish like oil-rubbed bronze looks intentional and coordinates with door hardware and hinges. Matching nearby metal fixtures, like doorknobs or outlet and switch covers, is another clean way to make vents look like they belong.
For finish, a satin or gloss enamel wipes clean easily and holds up better than a flat finish, which matters for vents that get touched or walked on. If you want your painted vent to match nearby outlet covers exactly, a light coat of clear satin over the color can help even out the sheen. Spraying gives the smoothest, most factory-like result; a brush works in a pinch but tends to leave marks in the grooves.
Will the paint hold up, and is heat a problem?
For a normal supply or return vent, heat is not a problem. The air moving through your heating and cooling vents is warm at most, nowhere near the temperature that would burn off ordinary paint. That’s different from a hot-water radiator or a combustion appliance, where regular paint can smell or scorch, so those are the ones to leave alone. Standard floor, wall, and ceiling air vents are safe to paint with everyday spray enamel.
As for durability, a properly cleaned, primed, and painted vent holds up well for years, even ones that get foot traffic. The finish lasts because the prep did its job. Skip the cleaning or the primer and the paint chips or peels early, which is the whole reason those two steps matter more than the paint itself.
Conclusion
You can paint a vent, and it’s one of the quickest wins in a room. Take the cover off, clean it well, prime it with the right primer for its surface, and spray light coats so the slats keep moving. A good result is a smooth finish that blends into the wall, ceiling, or floor and still opens and closes freely. Give it time to cure before you reinstall it, and skip anything that carries real heat or exhaust.
Frequently asked questions
Do I have to remove the vent cover to paint it?
It’s strongly recommended. Off the wall you can spray both sides evenly, reach every slat, and avoid paint on your wall or duct. Painting in place usually causes drips, missed spots, and slats that stick together.
What kind of primer do I use on a metal vent?
Use a rust-inhibiting or self-etching metal primer for bare or rusty covers, and a bonding primer made for previously painted surfaces if the vent is already painted. The primer is what keeps the paint from peeling off the slick metal.
Can you spray paint an air vent?
Yes, spray paint gives the smoothest, most even finish on a vent. Clean and prime it first, then hold the can about 8 inches back and apply light coats, rotating the cover so you hit every angle of the slats.
Will the paint burn off or smell when the heat runs?
No, not on a normal supply or return vent. The air is only warm, not hot enough to affect ordinary paint. Radiators and combustion vents are different and shouldn’t be painted with regular spray paint.
Why do my vent slats stick together after painting?
That happens when the coats go on too thick and fill the gaps. Spray thin, light coats and let each dry. If a slat sticks, work it open and closed a few times once the paint has cured to free it.
Related Articles
Can You Paint a Fiberglass Bathtub? Yes, and Here’s How to Do It Right
Can I Paint Over Mold? Why You Shouldn’t and What to Do