

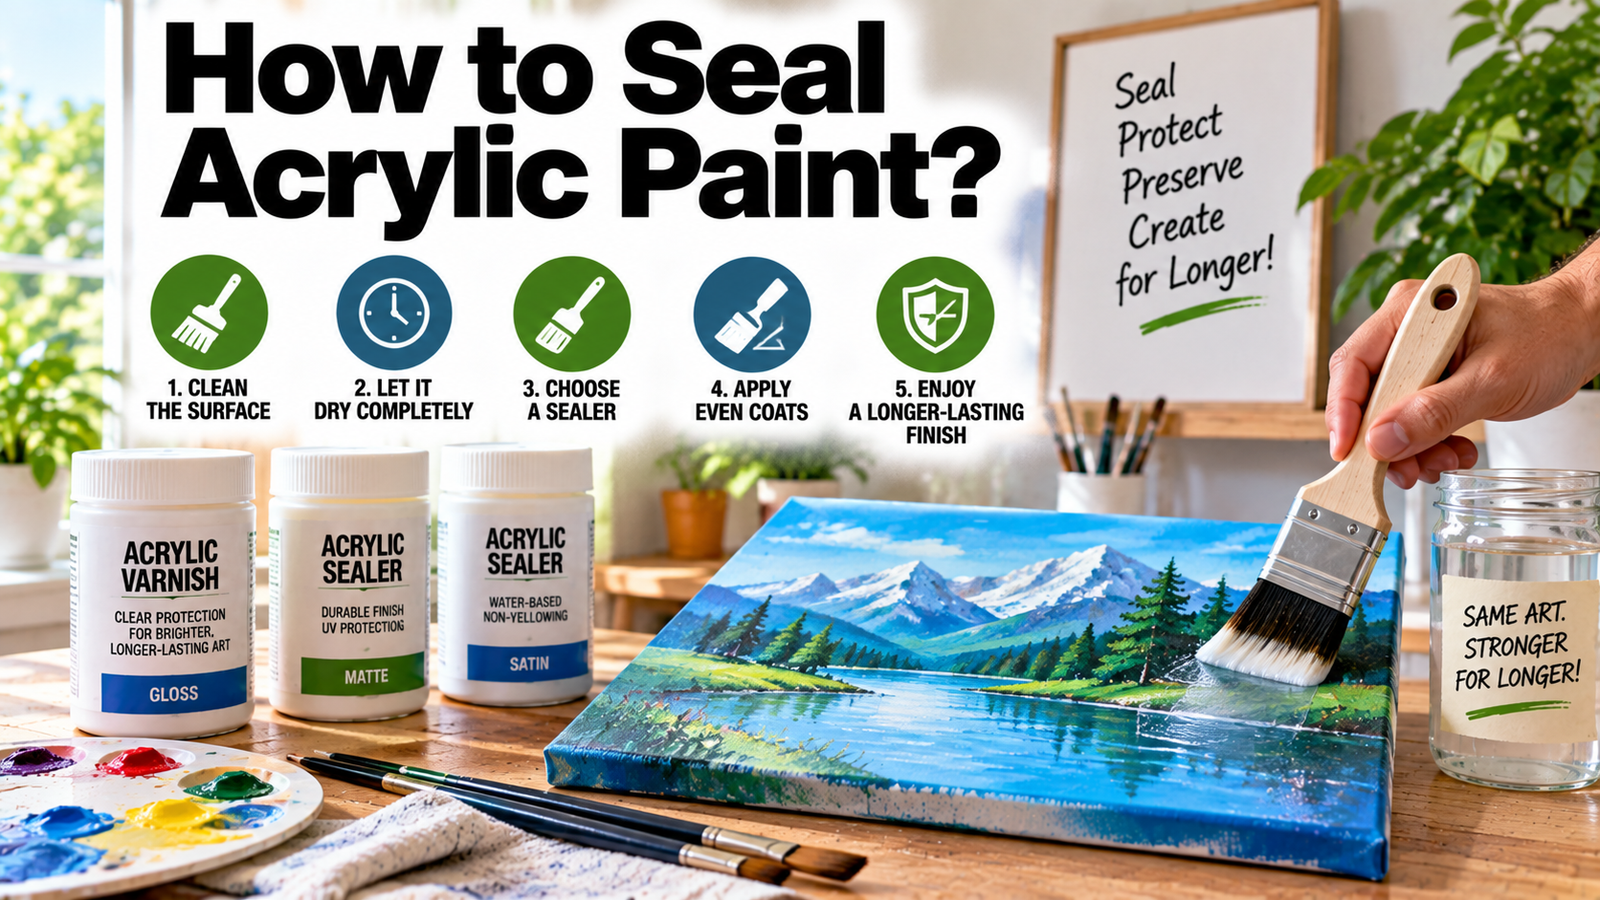

To seal acrylic paint, let the paint cure fully first, then apply two to three thin coats of a clear acrylic sealer that matches the project: a brush-on or spray varnish for artwork, a water-based polycrylic for furniture and functional wood pieces, a decoupage medium for casual crafts, or epoxy resin when you want a thick glass-like shell. The waiting matters as much as the product. Acrylic feels dry in half an hour, but sealing before it has genuinely cured is the number one cause of cloudy, sticky, or peeling finishes.
- Does acrylic paint actually need to be sealed?
- Pick the right sealer for the project
- Dry to the touch is not cured
- How to seal acrylic paint, step by step?
- Sealing acrylic paint on different surfaces
- The mistakes that ruin a sealed finish
- Conclusion
- Frequently asked questions
- Can you use hairspray to seal acrylic paint?
- How long should acrylic paint dry before sealing?
- Does sealing make acrylic paint waterproof?
- Should I seal with gloss, satin, or matte?
- Is Mod Podge good for sealing acrylic paint?
- Related Articles
This guide covers whether your project needs sealing at all, which sealer fits which job, the full step-by-step method, how the rules change on wood, canvas, rocks, glass, and fabric, and the mistakes that ruin an otherwise finished piece.
Does acrylic paint actually need to be sealed?
Dried acrylic is a thin plastic film: water-resistant, flexible, and tougher than most craft paints. It is not invincible. The surface stays slightly soft and slightly porous, so it collects dust in its texture, scuffs under handling, and can soften or lift if it sits wet. Strong sunlight slowly fades some pigments. A sealer answers all four problems at once by covering the paint in a harder, clear, often UV-filtering layer, and it evens out the patchy shine that different colors dry to.
That said, not everything needs it. A canvas painting that hangs indoors, out of direct sun, and never gets touched can live unsealed for years. Sealing becomes worth the effort the moment a piece gets handled, washed, sat in sunlight, or displayed outdoors: painted furniture, signs, rocks, coasters, ornaments, and anything headed to a bathroom or a porch. For work you plan to sell or keep long term, sealing is cheap insurance either way.
Pick the right sealer for the project
Every option below is clear and goes over fully dried acrylic. They differ in toughness, look, and how much work they ask of you.
| Sealer | Examples | Best for |
| Brush-on acrylic varnish | Liquitex or Golden polymer varnish (gloss, satin, matte) | Canvas and panel artwork. Archival versions add UV filtering, and removable ones allow future cleaning and re-varnishing. |
| Spray varnish or clear acrylic sealer | Archival aerosol varnishes, UV-resistant clear sprays | Textured paintings, rocks, ornaments, and small crafts, where a brush would drag or pool. No brush strokes, easy even coats. |
| Water-based polycrylic | Minwax Polycrylic | Painted furniture, signs, trays, and other functional wood. Hard, non-yellowing, recoats in about two hours. |
| Decoupage medium | Mod Podge and similar | Casual and kids’ crafts. Simple and forgiving, but only water-resistant, not waterproof, and it can stay slightly tacky in humidity. |
| Epoxy resin | Two-part art and tabletop resins | Paint pours, tumblers, coasters, and tabletops that need a thick, glass-like, genuinely waterproof coat. The most durable option and the most involved. |
Sheen is the other half of the choice, and every category above comes in gloss, satin, and matte. Gloss deepens and saturates color the way wet paint looks, satin lands in the middle, and matte kills glare for photography and bright rooms but can very slightly haze the darkest colors, because matte finishes contain a fine matting powder. A useful trick when you want depth and no shine: build the protective coats in gloss, then make only the final coat matte.
One note on the words you will meet on labels. Varnish, clear coat, top coat, sealer, and finish all describe the same idea: a clear protective layer over the paint. The names matter less than three things printed in the fine print: that the product is rated for use over acrylic or water-based paint, that it is non-yellowing if your piece has whites or pale colors, and that its sheen is the one you actually want. Read for those three, and the marketing name on the front stops mattering.
Dry to the touch is not cured
Acrylic dries in two stages. Water evaporates from the surface within about 30 minutes and the paint feels dry, but moisture keeps working its way out of the film for days afterward. Seal too early and that moisture gets trapped under the new coat, where it shows up as milky cloudiness, poor adhesion, or a finish that never quite hardens.
Give a thin, standard painting at least 72 hours before sealing. Give thick applications, heavy texture, palette-knife work, and paint pours one to two weeks, and longer in cold or humid rooms. Slow-drying additives such as retarder stretch the wait further. When in doubt, wait; there is no such thing as sealing too late.
A quick readiness check for thick work and pours: press a barely damp piece of paper towel lightly onto an inconspicuous spot and lift it away. A trace of color on the towel is normal. If the towel drags, sticks, or picks up real paint, the film is still soft underneath, so give it more days before sealing.
Dry to the touch is not cured. The most common sealing failure is varnishing paint that felt dry but was still releasing moisture underneath.
How to seal acrylic paint, step by step?
- Let the paint cure. A minimum of 72 hours for thin work, one to two weeks for anything thick. This single step prevents most sealing failures.
- Clean the surface and the room. Wipe the piece with a dry, lint-free cloth to lift dust and stray hairs, and work somewhere clean and still. Bring the sealer and the piece to the same room temperature; a cold bottle on a warm painting behaves badly.
- Add an isolation coat if the piece is fine art. An isolation coat is a permanent clear layer between the paint and a removable varnish, so the varnish can be stripped and renewed decades later without touching the paint. A standard recipe is soft gel gloss medium diluted two parts to one with water, brushed on and left to dry for a day. It also seals absorbent areas, which prevents the frosted look matte varnish can get over thirsty surfaces. Craft and furniture projects skip this step.
- Test first. Try the sealer on a scrap painted the same way, or an inconspicuous corner. Sheen and clarity vary between products, and a test costs two minutes.
- Stir, never shake. Shaking a varnish fills it with micro-bubbles that dry into the finish. Stir gently, and decant spray-can test bursts onto scrap before aiming at the piece.
- Apply thin, even coats. For brush-on, load a wide soft brush and pull long strokes in one direction across the whole piece without going back over drying areas. For spray, hold the can 10 to 12 inches away and sweep past the edges in light, overlapping passes. A thin coat that looks slightly underwhelming is correct; thickness comes from the number of coats, never from one heavy pass.
- Recoat two or three times. Follow the recoat time on the label, often around two hours for polycrylic and per instructions for varnishes, and alternate stroke direction between coats for the most even film.
- Let it harden before use. The sealed piece can usually be handled within hours, but give it days before washing, stacking, or putting it to work. Sealers, like the paint under them, keep hardening long after they feel dry.
Two label-reading habits close the gap between a decent result and a professional one. For artwork, the manufacturer’s directions go deeper than any summary can; Golden’s varnish application guidelines cover isolation coats, sheens, and removability in full. For functional pieces, the Minwax Polycrylic product page lists exact recoat windows, coverage, and the surfaces it is rated for.
Sealing acrylic paint on different surfaces
- Canvas and paper art: brush-on polymer varnish, with the isolation coat if the work matters long term. Spray varnish wins on heavy texture, where brushed varnish pools in the valleys.
- Wood: polycrylic or another water-based clear coat, two to three thin coats. Water-based products stay clear; oil-based polyurethane ambers with age and slowly yellows whites and pale colors.
- Rocks and outdoor pieces: a UV-resistant clear spray, several light coats on all sides, refreshed every year or two. Sun and rain wear any sealer down eventually.
- Glass and ceramic: a spray sealer after the paint has fully cured, and hand-wash only from then on. No sealer makes painted glass dishwasher-proof.
- Fabric and shoes: this is the exception where a hard sealer is wrong, because rigid films crack when cloth flexes. Mix fabric medium into the paint before painting, heat-set per the medium’s label, and use a flexible waterproofing spray if the item needs weather protection.
- Anything near food or lips: no sealer in this article makes a painted surface food safe. Keep paint and sealer off plates, bowls, the inside of containers, and the rim area of mugs and glasses, whatever the finish.
The mistakes that ruin a sealed finish
Almost every bad result comes from a short list. Sealing before the paint cured traps moisture and clouds the finish. One thick coat instead of three thin ones causes drips, streaks, and milky patches. Matte varnish straight over an absorbent, chalky surface dries frosted, which is exactly what the gloss-first approach and the isolation coat prevent. A shaken bottle seeds the film with bubbles. A dusty room or a fuzzy cloth leaves debris locked under clear coats where it can never be wiped away. And an oil-based furniture finish over pale artwork turns the whites cream within a year or two.
The pattern across all of them: patience and restraint. The sealer is the easiest part of the whole project when the surface is clean, the paint is cured, and the coats stay thin.
Conclusion
Sealing acrylic paint comes down to three decisions made in the right order. Match the sealer to the project: varnish for art, polycrylic for functional wood, resin for waterproof pieces, fabric medium for anything that bends. Wait for a true cure, at least 72 hours and up to two weeks for thick paint. Then apply two or three thin coats in a clean room, testing first. Do those three things and the sealed piece will outlast the unsealed version by years.
Frequently asked questions
Can you use hairspray to seal acrylic paint?
No. Hairspray is not made to bond with paint; it can stay sticky, yellow with age, and react with the acrylic underneath. A basic clear acrylic spray sealer costs a few dollars more and is designed for exactly this job.
How long should acrylic paint dry before sealing?
At least 72 hours for thin, standard work, and one to two weeks for thick paint, heavy texture, or paint pours. The paint feels dry within an hour, but sealing before the film fully cures traps moisture and clouds the finish.
Does sealing make acrylic paint waterproof?
It makes it strongly water-resistant: sealed pieces handle splashes, cleaning, and humidity. For genuine waterproofing on items like tumblers and coasters, epoxy resin is the only option that gets close. Nothing makes painted surfaces food safe or dishwasher safe.
Should I seal with gloss, satin, or matte?
Gloss deepens and saturates the colors, matte removes glare but can slightly haze the darkest tones, and satin splits the difference. For depth without shine, build protective coats in gloss and finish with a single matte coat.
Is Mod Podge good for sealing acrylic paint?
For casual crafts, yes: it is cheap, forgiving, and easy. It is only water-resistant, can stay tacky in humid rooms, and is not archival, so skip it for artwork you care about, outdoor pieces, and anything that gets washed.
Related Articles
How to Thin Paint for a Spray Gun: Ratios by Paint
Will Watered Down Acrylic Paint With Alcohol Work?