

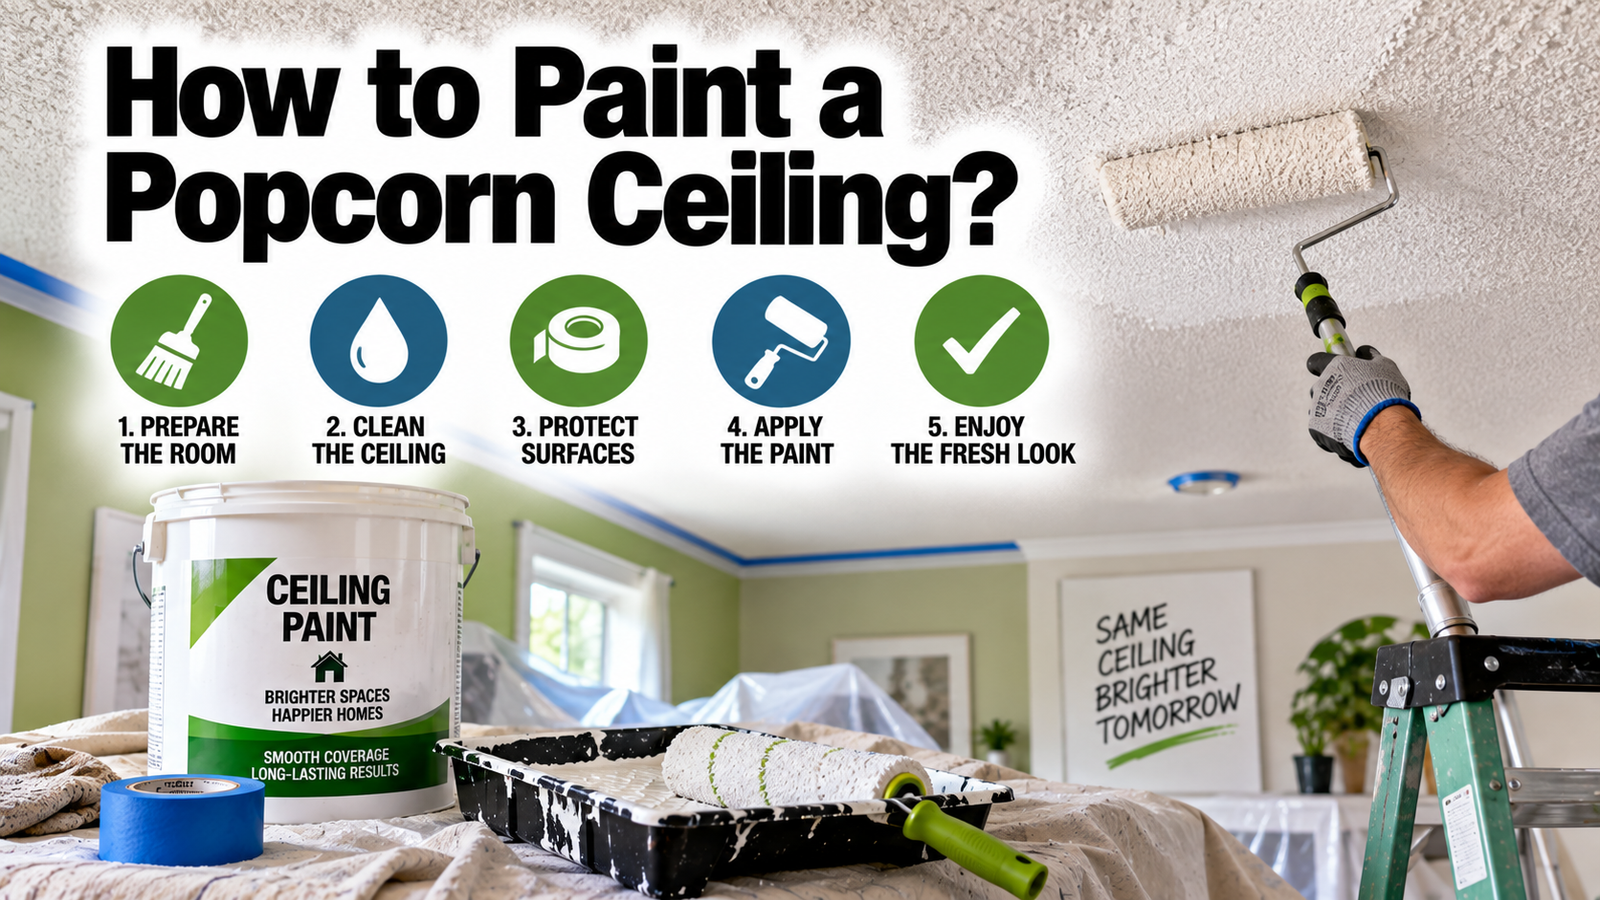

A fresh coat of paint can take a popcorn ceiling from dingy and yellowed to bright and clean in an afternoon. The trick is that this bumpy, fragile surface does not behave like a flat ceiling. Roll too hard and the texture rains down on your floor. Skip a step and old water stains ghost right through the new paint. Done the right way, though, it is a straightforward job. Here is how to paint a popcorn ceiling so it looks crisp and the texture stays put.
- Check for asbestos before you start
- What paint and tools you need
- Roller or sprayer?
- How to paint a popcorn ceiling, step by step
- Mistakes that flake the texture or leave stains
- Conclusion
- Frequently asked questions
- Can you paint a popcorn ceiling with a roller?
- What kind of paint do you use on a popcorn ceiling?
- Do you need to prime a popcorn ceiling before painting?
- Why is my popcorn ceiling texture falling off when I paint?
- How many coats of paint does a popcorn ceiling need?
- Related Articles
Check for asbestos before you start
This is the one step you cannot skip. If your home was built before the mid-1980s, the popcorn texture may contain asbestos, which is harmless while sealed but dangerous once fibers are disturbed and breathed in. Painting itself is usually low-risk on an intact ceiling, but scraping, sanding, or aggressive brushing can release those fibers.
So before you touch it, sort out the asbestos question:
- Pre-1980 home, never tested? Get it tested first. A lab sample typically costs around $25 to $75, and home test kits run roughly $15 to $40.
- Test comes back positive? Do not disturb it yourself. Many asbestos ceilings can still be painted safely, but leave it to a licensed abatement or specialist painter.
- Test is clear, or home is newer? You are good to go, using the gentle method below.
Treat any untested pre-1980 ceiling as if it contains asbestos until a lab says otherwise. It is a small cost for real peace of mind.
If you want to understand the risk before deciding, the EPA’s guidance on asbestos in the home explains when material is dangerous and when it is safely left alone. The short version: intact, painted-over texture that nobody is drilling or scraping is generally low-risk, and the danger comes almost entirely from disturbing it.
What paint and tools you need
A quick reality check before you buy anything: painting refreshes a popcorn ceiling, but it is still a popcorn ceiling afterward. It will still gather dust and cobwebs, and buyers still recognize the texture. If your real goal is to modernize for a sale, scraping the texture off and skim-coating smooth is the bigger project that adds more value. But if you simply want a clean, bright ceiling now for very little money, paint is the fast, cheap win, and that is what the rest of this guide covers.
The paint choice is simple and important: use a flat or matte ceiling paint. A dead-flat sheen hides the tiny shadows and imperfections that texture creates, while satin or gloss does the opposite and highlights every lump under room light. A water-based acrylic-latex ceiling paint is the standard pick. Many ceiling paints come with primer already mixed in, which can save you a step if the surface is clean and unstained.
Beyond the paint, keep the kit short:
- Thick-nap roller. The nap has to reach down into the bumps. Match it to your texture: a 3/8-inch nap suits fine, shallow texture, while heavier popcorn wants a 3/4-inch to 1-inch nap. A short-nap roller only paints the peaks and leaves the valleys bare.
- Extension pole. Saves your neck and arms and lets you keep even pressure across the ceiling.
- Angled brush. For cutting in the edges where the ceiling meets the wall, and around fixtures.
- Stain-blocking primer. For any water, smoke, or cooking stains (more on this below).
- Drop cloths, plastic sheeting, and painter’s tape. Popcorn sheds and drips, so cover everything.
One planning note: buy plenty of paint. The texture drinks it up, so a gallon that would cover 400 to 500 square feet of flat ceiling covers far less here. Plan on roughly double the paint you would use on a smooth ceiling, and expect two coats.
Roller or sprayer?
Both work. The right choice comes down to the size of the job and how much masking you are willing to do.
| Method | Best for | Watch out for |
| Thick-nap roller | Most DIY jobs, small to mid rooms, more control | Press too hard and texture flakes off |
| Airless sprayer | Large or whole-house ceilings, most even coat | Lots of masking and cleanup, more setup |
For most people painting one or two rooms, a thick-nap roller on an extension pole is the easier, more forgiving option. A sprayer gives the most even, factory-like coat and is worth the setup on large or whole-house ceilings, but it demands careful masking of everything nearby and a lot more cleanup. If you have never sprayed before, a ceiling is a big surface to learn on, so rolling is the safer bet.
If you do spray, thin the paint as the label directs and keep the gun moving in steady, overlapping passes, each one covering about half the last. A shield or masking held into the wall-to-ceiling corner keeps overspray off the walls. Whichever tool you pick, the golden rule is the same: build coverage with light, even layers rather than one heavy pass. The texture is what you are trying to protect, so gentleness beats speed every time.
How to paint a popcorn ceiling, step by step
Once the asbestos question is settled, the job itself is methodical. Work in sections, keep your pressure light, and give each coat real time to dry, since paint settles between the peaks and stays damp longer than you expect. Pick a day that is not too humid, too, because moisture in the air slows drying and a popcorn ceiling already holds paint longer than a flat one. Have everything laid out before you load the roller, so you can keep moving and hold a wet edge across each section.
- Fix leaks and repairs first. If a stain came from a leak, find and fix the source, then let the ceiling dry fully, ideally a week. Painting over damp or crumbling texture just traps the problem.
- Cover the room. Clear or sheet the furniture, lay drop cloths, and tape plastic to the walls. Bag light fixtures and ceiling fans, and turn the fans off. Dust and drips travel further than you would think.
- Dust the ceiling gently. Popcorn is a dust magnet, and paint will not stick to grime. Use a soft brush or a vacuum with a soft attachment and a light touch. Do not scrub or press.
- Spot-prime any stains. Water, smoke, and cooking stains bleed through fresh paint no matter how many coats you add. Hit those spots with a stain-blocking primer first. Oil-based or shellac-based primers work best on stubborn stains, and shellac is the go-to for odor stains like smoke, though it needs good ventilation. Let it dry, and if the stain still shows, prime again.
- Cut in the edges. With an angled brush, paint a two-inch border where the ceiling meets the walls and around fixtures and alarms. This gives you clean lines the roller cannot reach.
- Roll the first coat. Load the roller so it is full but not dripping. Work in small sections, rolling gently in one direction, and keep a wet edge so you do not leave lap lines. Light passes are the whole game here: too much pressure knocks the texture loose.
- Let it dry, then add a second coat. Wait for the first coat to dry fully, usually a couple of hours but longer on heavy texture. Apply the second coat in the opposite direction to even out coverage and hide roller marks. Touch up any thin spots with a small brush once it dries.
Mistakes that flake the texture or leave stains
Nearly every bad popcorn-ceiling job comes down to one of these. Steer clear and you are almost home.
- Pressing too hard. The number one way to lose texture. Let the roller and paint do the work, and keep every pass light.
- Skipping stain primer. Rolling color straight over a water stain never hides it. The yellow keeps bleeding through. Always prime stains first.
- Using the wrong sheen. Satin or gloss makes the texture look blotchy and shows every flaw. Stick to flat or matte.
- Too thin a roller nap. A short nap paints the peaks and misses the valleys, leaving a patchy, half-painted look. Match the nap to the texture depth.
- Oversaturating the surface. Piling on too much wet paint can soak the texture and make it sag or peel. Two thin coats beat one heavy one every time.
Conclusion
Painting a popcorn ceiling is a genuinely doable weekend job as long as you respect the surface. Settle the asbestos question first on any older home, then cover the room, dust gently, prime any stains, and roll on two thin coats of flat ceiling paint with a thick-nap roller and a light hand. Keep the pressure soft and the coats thin, and you will end up with a bright, even ceiling and every bit of texture still where it belongs. A good job like this typically holds up for years before it needs redoing, so the small effort now buys a long stretch of clean, fresh ceiling overhead.
Frequently asked questions
Can you paint a popcorn ceiling with a roller?
Yes, and for most DIY jobs a roller is the easiest choice. Use a thick-nap roller on an extension pole, keep the pressure light, and work in sections so the texture does not flake off.
What kind of paint do you use on a popcorn ceiling?
A flat or matte water-based ceiling paint. The dead-flat sheen hides the texture’s shadows and flaws. Avoid satin or gloss, which highlight every bump and make the ceiling look uneven.
Do you need to prime a popcorn ceiling before painting?
Not always. If the ceiling is clean and unstained, a paint-and-primer-in-one can be enough. But any water, smoke, or cooking stain must be spot-primed with a stain-blocking primer, or it will bleed through.
Why is my popcorn ceiling texture falling off when I paint?
Usually too much pressure or too much wet paint. The texture is fragile and porous, so heavy rolling or oversaturating loosens it. Use light passes, a loaded but not dripping roller, and two thin coats.
How many coats of paint does a popcorn ceiling need?
Two coats in most cases. The texture soaks up paint and one coat rarely covers evenly. Roll the second coat in the opposite direction to the first to hide marks and even out the finish.
Related Articles
How to Paint Shutters: Step-by-Step Guide
How to Recycle Spray Paint Cans?