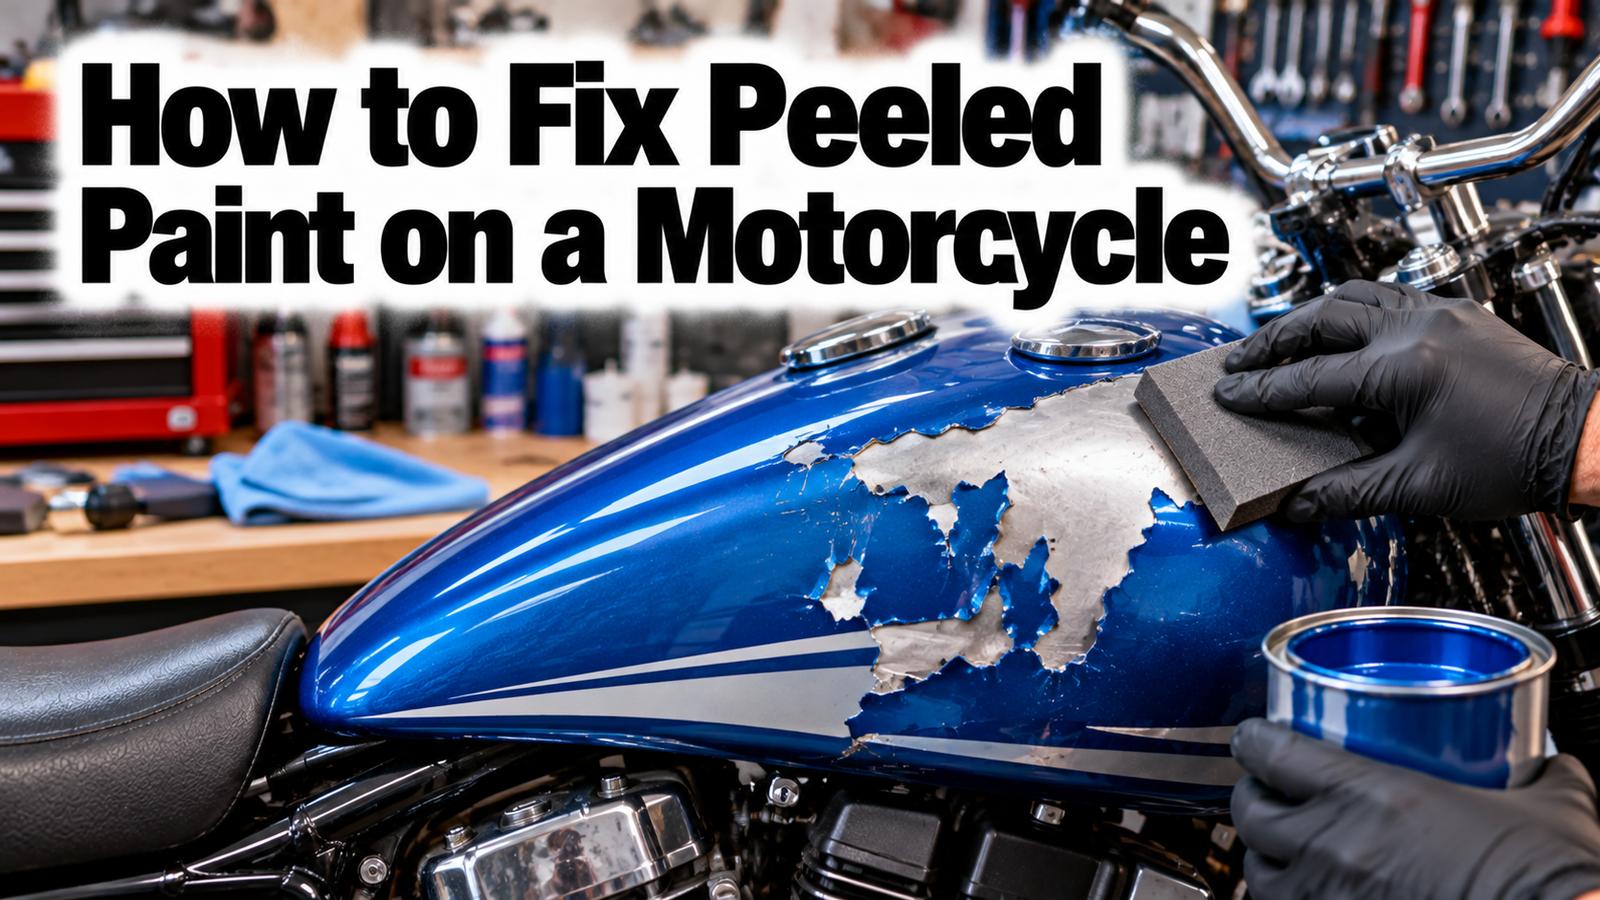

You can fix peeled paint on a motorcycle by removing loose coating, sanding the damaged area until the edges are smooth, applying a compatible primer, and repainting it with matching color and clear coat. The right method depends on whether the damage is on a metal fuel tank or frame, or on a plastic fairing. The key is to repair the cause of the peeling and prepare a stable surface before adding new paint.
- What Causes Motorcycle Paint to Peel?
- What You Need to Repair Peeled Motorcycle Paint
- How to Fix Peeled Paint Wear on a Motorcycle
- 1. Inspect the Damage and Identify the Surface
- 2. Wash and Degrease the Area
- 3. Remove Loose and Failed Paint
- 4. Feather the Edges and Smooth the Surface
- 5. Apply the Correct Primer
- 6. Apply Matching Motorcycle Paint
- 7. Add Clear Coat When the Paint System Requires It
- 8. Let the Finish Cure Before Reassembly
- Can You Fix Peeled Motorcycle Paint Without Repainting the Whole Bike?
- How to Prevent Motorcycle Paint from Peeling Again
- When Should You Use a Professional Paint Shop?
- Conclusion
- Frequently asked questions
- Can I paint over peeling motorcycle paint?
- What sandpaper should I use for peeled motorcycle paint?
- Can I fix a small patch of peeled paint on a motorcycle tank?
- Why does motorcycle paint peel after repainting?
- How long should motorcycle paint dry before riding?
- Related Articles
A small chip may need only careful touch-up work. If the paint is lifting in sheets, cracking across a panel, or exposing rust, the affected coating usually needs to be removed back to a sound layer. Painting over loose edges will not create a lasting repair.
What Causes Motorcycle Paint to Peel?
Motorcycle paint usually peels when one coating layer loses its grip on the layer beneath it. Poor surface preparation, incompatible products, moisture, fuel spills, impact damage, and long exposure to sun and weather can all contribute.
Look closely at the damaged area before choosing a repair. If only the clear coat is flaking and the color underneath remains smooth, the repair may be limited to the clear coat or may require refinishing the whole panel for a uniform result. If the colored basecoat is lifting too, remove the loose layers until the remaining paint is firmly attached.
Common causes include:
- Poor preparation: Wax, oil, silicone, dirt, or a glossy surface can stop new paint from bonding properly.
- Incompatible coatings: Primer, color paint, and clear coat must be suitable for the surface and for one another.
- Fuel or chemical damage: Gasoline can soften or stain some finishes, especially if spills are left on the tank.
- Rust beneath the paint: Corrosion expands under the coating and pushes it away from the metal.
- Weather and age: Sunlight, heat, rain, and repeated temperature changes can weaken an old finish.
- Scrapes and stone chips: A small impact can break the coating and let water enter beneath it.
What You Need to Repair Peeled Motorcycle Paint
For a small DIY repair, gather the supplies before you start. You will generally need motorcycle-safe cleaner, clean microfiber cloths, masking tape and paper, suitable sandpaper, a compatible primer, color-matched paint, and clear coat if the paint system calls for it. Use a rust treatment or metal primer only when appropriate for the exposed material and product system.
Read the instructions for every coating before applying it. The product label and technical data sheet specify surface preparation, compatible layers, application temperature, flash time between coats, and curing time. For general guidance on cleaning and preparing damaged vehicle panels, see 3M’s small damage repair procedure.
Wear eye protection, suitable gloves, and the respiratory protection specified for the products you use. Work in a well-ventilated area away from flames, sparks, heaters, and smoking. Spray paints and their vapors can be flammable. Some two-part automotive clear coats contain isocyanates and require professional spray-booth controls and specialized respiratory protection. Do not spray them in a home garage with an ordinary dust mask.
How to Fix Peeled Paint Wear on a Motorcycle
Follow these steps for a localized repair. If a large area is peeling, several layers have failed, or the tank has widespread corrosion, professional refinishing may give a safer and more consistent result.
1. Inspect the Damage and Identify the Surface
Start by checking how far the peeling extends. Gently inspect the paint around the damaged spot. If the edges are raised, cracked, or loose, the failure may extend beyond the area that is already missing paint.
Identify whether the part is steel, aluminum, or plastic. A fuel tank is commonly metal, while many outer fairings are plastic. Use a repair system made for that material. If the panel is cracked, distorted, or has broken mounting tabs, repair the panel itself before painting it.
If the damage is on or near the fuel tank, look for signs of leakage and check whether fuel has affected the finish. Never sand or spray around a tank that is leaking, and keep all ignition sources away from fuel vapors. If the tank is damaged or fuel has seeped beneath the coating, have it inspected before continuing.
2. Wash and Degrease the Area
Wash the part with mild vehicle soap and water, then rinse and dry it completely. Cleaning first helps prevent road grit from scratching the surface during sanding.
Next, use a surface cleaner that is approved for the material and paint system. Follow its instructions and use clean cloths so you do not spread oil or residue back onto the panel. Avoid household cleaners that leave polish, wax, or other films behind.
3. Remove Loose and Failed Paint
Use suitable sandpaper to remove flaking paint and smooth the boundary between the damaged coating and the paint that remains firmly attached. The goal is a stable edge, not simply a flat-looking surface. Continue only as far as needed to remove failed coating, and avoid aggressive sanding that could damage thin metal or plastic.
For a small chip, careful hand sanding gives you more control. A larger repair may need a sanding block to keep the surface even. Do not force the edge of a scraper beneath sound paint, because that can make the peeling spread.
If rust is present on metal, remove the corrosion and inspect the metal underneath. Deep pitting, holes, or structural corrosion need more than a cosmetic paint repair. If the plastic is cracked or damaged, fix it with a repair method compatible with that plastic before applying paint.
4. Feather the Edges and Smooth the Surface
After the loose coating is removed, sand the edge gradually so there is no sharp ridge between the old finish and the exposed area. This is called feathering. It helps the repaired spot blend into the surrounding paint instead of leaving a visible ring.
Use an abrasive grade suitable for the coating and the next product you will apply. There is no single grit that works for every motorcycle finish. Follow the primer or paint maker’s recommendations, and do not sand through sound paint unnecessarily.
Wipe away dust and inspect the surface under good light. Run a clean fingertip lightly over the edge to check for a step, taking care not to contaminate the prepared surface. If the transition still feels rough, continue sanding gently before priming.
5. Apply the Correct Primer
Primer helps the next coating bond and, on suitable metal systems, helps protect exposed metal from corrosion. Choose a primer specifically compatible with the part and the color coat. Bare metal and plastic may need different products, and some plastic parts require an adhesion promoter before primer.
Apply thin, even coats according to the label. Allow the stated flash time between coats and the required time for the primer to cure. Avoid spraying one heavy coat to cover everything at once, because runs and trapped solvents can cause new defects.
Once the primer has cured, sand it only if the product instructions call for it. Use the recommended abrasive and avoid cutting through the primer at corners and edges. Remove the dust and clean the surface as directed before applying color.
6. Apply Matching Motorcycle Paint
Use a paint color matched to your motorcycle’s make, model, year, and paint code when available. A color that looks similar in the can may appear different on the bike, especially with metallic or pearl finishes. If an exact match matters, test the color on a suitable test card before painting the part.
Apply the color in light, even coats, holding the spray can or gun at the distance stated by its manufacturer. Keep the tool moving and overlap each pass consistently. Allow each coat to flash for the time specified on the label.
7. Add Clear Coat When the Paint System Requires It
Many motorcycle finishes use a clear coat over the color to provide gloss and protection. Apply only a clear coat that is compatible with the basecoat and follow the stated recoat window. Applying it too early or too late can cause adhesion problems, so the product instructions matter.
Use the recommended number of coats and the correct flash time. Keep the application even and do not flood corners or edges, where runs can form easily. If you are using a two-part clear coat, review its safety data before starting. Isocyanate-containing products should not be sprayed without the required professional controls and respiratory protection.
Some touch-up systems have different instructions, and not every paint product requires the same clear coat. Do not mix products at random just because they are all intended for vehicles.
8. Let the Finish Cure Before Reassembly
Dry to the touch does not mean fully cured. Leave the part undisturbed for the period stated by the coating manufacturer. Temperature, humidity, film thickness, and product type affect drying and curing time.
Avoid washing, polishing, waxing, or exposing the fresh finish to gasoline until the product allows it. If you removed a fairing, refit it carefully after the coating has cured enough to handle. Tight bolts, rubber mounts, or tools can mark a soft finish.
When reinstalling parts, check that fasteners and trim do not rub against the new paint. Correcting a contact point can prevent the same area from wearing through again.
Can You Fix Peeled Motorcycle Paint Without Repainting the Whole Bike?
Yes. If the damage is limited to one small area, you can often repair just that spot or refinish the affected panel. A small chip may be suitable for a color-matched touch-up pen or brush, while a larger peeled section may need sanding, primer, color, and clear coat.
A spot repair is harder to hide on metallic, pearl, or faded paint. A fuel tank or fairing with peeling across several areas may look more consistent if the whole part is refinished. If the coating is failing over multiple panels, repainting only the visible chips may leave the rest of the finish weak.
How to Prevent Motorcycle Paint from Peeling Again
The best way to prevent another failure is to protect the finish and fix the reason it peeled. Wash the motorcycle with products intended for vehicle paint, dry it after wet rides, and clean fuel spills promptly using the method recommended by the motorcycle manufacturer.
Avoid harsh solvents, abrasive pads, and unapproved polishing products. Inspect stone chips early and touch them up before moisture reaches exposed metal. If you store the motorcycle outdoors, use a breathable, well-fitting cover and avoid trapping moisture against the bodywork.
When Should You Use a Professional Paint Shop?
A professional paint shop is the better choice when paint is peeling over a large area, corrosion has damaged the metal, the fuel tank may be leaking, or a plastic fairing needs structural repair. Professionals can also help when the original color is difficult to match or the repair must blend across a curved panel.
Professional help is especially sensible for two-part coatings that require specialized ventilation and respiratory protection. A neat repair depends on more than the final color coat. The surface must be stable, the products must be compatible, and the application environment must be safe.
Conclusion
To fix peeled paint wear on a motorcycle, clean the part, remove loose coating, feather the edges, and apply a compatible primer, color paint, and clear coat as needed. Match the repair method to the surface and the extent of the damage. Allow every layer to cure fully before reassembly or exposure to fuel and weather. If rust, widespread peeling, structural damage, or hazardous spray products are involved, use a qualified paint professional.
Frequently asked questions
Can I paint over peeling motorcycle paint?
No, not if the existing coating is loose. Remove the failed paint and smooth the edges until the remaining finish is firmly attached. Painting over peeling layers usually leaves the new finish vulnerable to lifting again.
What sandpaper should I use for peeled motorcycle paint?
The correct grit depends on the surface, the condition of the old coating, and the primer or paint system. Use the abrasive grades specified by the product maker, and progress carefully so you do not damage thin metal or plastic.
Can I fix a small patch of peeled paint on a motorcycle tank?
Yes, a small patch can often be repaired with careful sanding, compatible primer, color-matched paint, and the correct clear coat. If fuel has leaked or the tank is corroded, address that problem before attempting a cosmetic repair.
Why does motorcycle paint peel after repainting?
Peeling after repainting can result from contamination, poor sanding, incompatible products, incorrect flash times, or painting over a weak old layer. Remove the failed coating and follow the product system’s preparation and application instructions.
How long should motorcycle paint dry before riding?
Follow the paint manufacturer’s curing instructions rather than relying only on touch-dry time. Fresh paint can remain soft after its surface feels dry. Avoid fuel, washing, polishing, and reassembly pressure until the coating is ready for those conditions.
Related Articles
Can You Paint Carpet? Best Options and Risks
Can You Paint Treated Lumber? Yes, Here’s How
What Is Back Rolling in Painting? A Simple Guide to a Stronger Finish