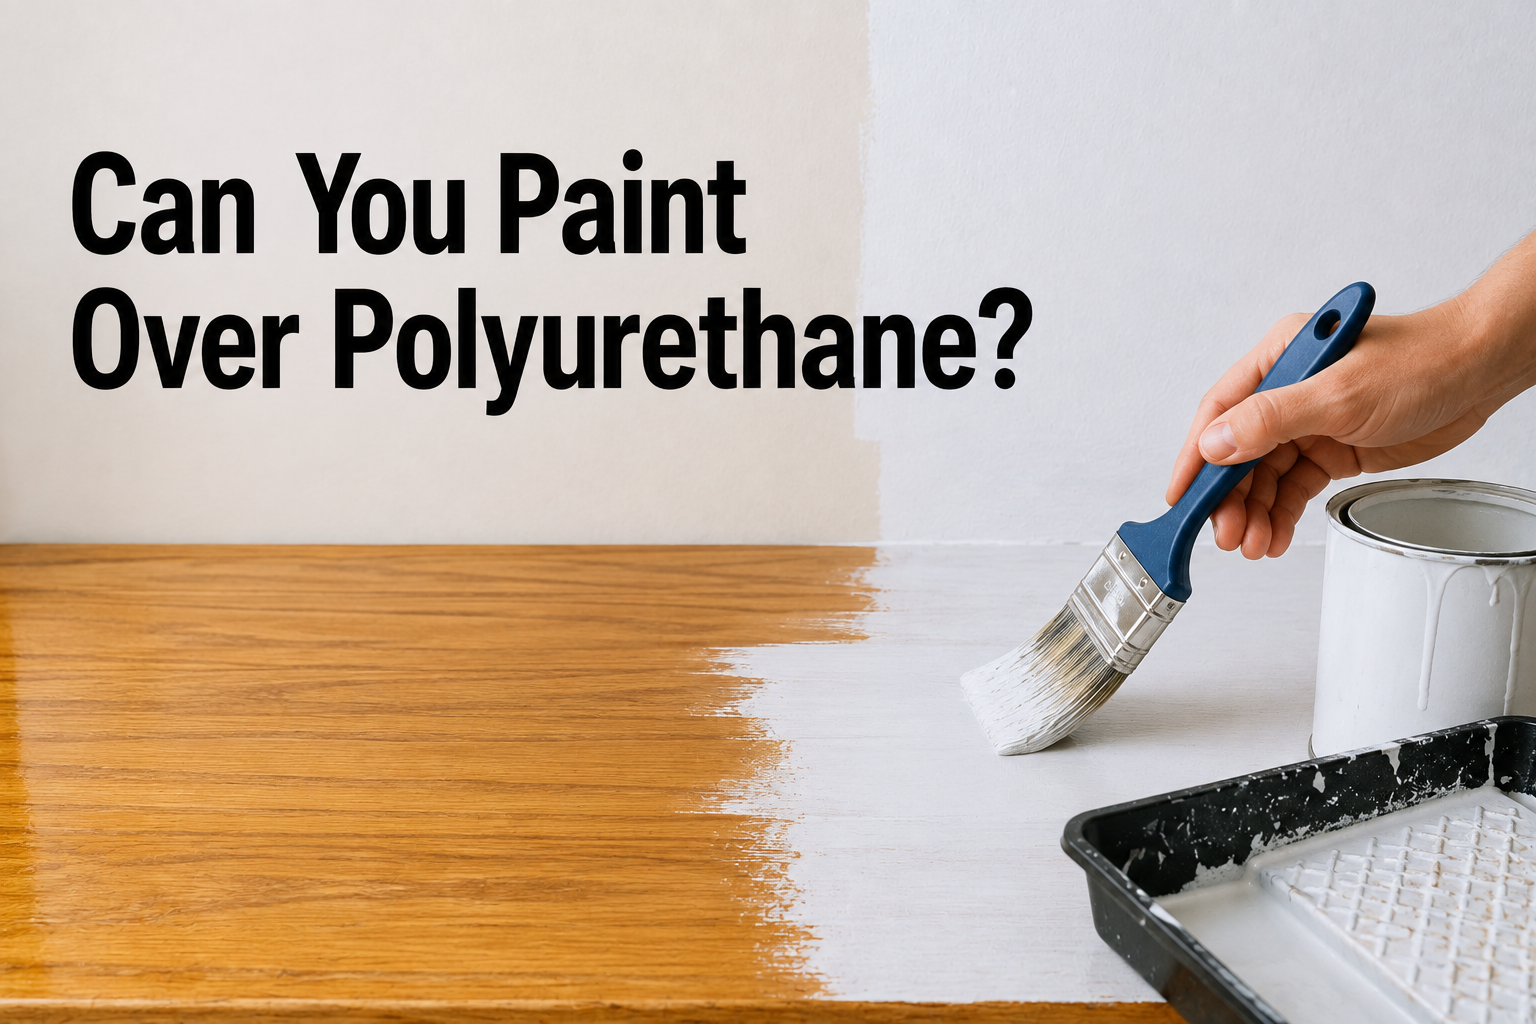

If you have a piece of furniture, a set of cabinets, or a wood floor that’s coated in a shiny protective layer and you’re itching to give it a fresh coat of color, you’ve probably typed one question into a search bar: can you paint over polyurethane? The good news is that the answer is a confident yes. You don’t have to strip away that tough, glossy sealant down to bare wood just to change its look. With the right preparation and a bit of patience, paint can bond beautifully to a polyurethane-coated surface and hold up for years.
- Understanding Polyurethane First
- Can You Paint Over Polyurethane? (The Core Answer)
- What You’ll Need Before You Start
- Step-by-Step: How to Paint Over Polyurethane
- Step 1: Clean the Surface
- Step 2: Sand the Surface
- Step 3: Wipe Away Sanding Dust
- Step 4: Apply Primer
- Step 5: Apply Paint
- Step 6: Optional Topcoat/Sealant
- Special Cases
- Common Mistakes to Avoid
- Do You Always Need to Sand? (Alternatives)
- How Long Does It Take? (Time Expectations)
- Tips for a Long-Lasting, Professional Finish
- Frequently Asked Questions (FAQ)
- Conclusion
- Related Aricles
People ask this question for all kinds of reasons. Maybe you inherited an old dresser with a yellowed varnish-like finish that doesn’t match your décor. Maybe your kitchen cabinets have a dated orange-ish tone from years-old polyurethane. Or maybe you’re refinishing hardwood floors and want a painted accent instead of stain. Whatever your project, this guide walks through everything — from understanding what polyurethane actually is, to the exact steps for painting over it, to the mistakes that trip up most DIYers.
Understanding Polyurethane First
Before diving into the “how,” it helps to understand the “what.” Polyurethane is a synthetic, plastic-like coating applied to wood surfaces to protect them from scratches, moisture, and everyday wear. It’s commonly found on hardwood floors, wooden furniture, cabinetry, and trim work. Once it dries, it forms a hard, glossy (or sometimes satin) shell over the wood.
Types of Polyurethane: Oil-Based vs. Water-Based
There are two main categories of polyurethane, and knowing which one you’re dealing with changes your painting approach slightly.
Oil-based polyurethane tends to have an amber or slightly yellow tint, dries slower, and creates an extremely hard, durable surface. It’s often used on floors and furniture that need to withstand heavy use. Water-based polyurethane, on the other hand, dries clear, dries much faster, and has a lighter odor, but it isn’t always quite as tough as its oil-based counterpart.
You can usually tell the two apart by color: if the finish has an amber or honey-like hue, it’s likely oil-based. If it looks clear and colorless, it’s probably water-based.
Why Polyurethane Makes Surfaces Hard to Paint
Polyurethane’s entire job is to repel moisture and resist adhesion — that’s what makes it such a good protective layer. Unfortunately, that same quality makes it resistant to paint. A smooth, glossy, non-porous surface gives paint nothing to physically grip onto, which is why paint applied directly over polyurethane without any prep work tends to peel, chip, or slide right off within weeks.
Can You Paint Over Polyurethane? (The Core Answer)
So, can you paint over polyurethane without any extra steps? Not really — not if you want the paint to last. The honest, complete answer is: yes, you can paint over polyurethane, but only if you break down its glossy surface first and give the new paint something to hold onto.
Think of it like trying to stick a sticker onto a waxed car versus a piece of cardboard. The wax (polyurethane) repels the sticker (paint), while the cardboard (properly sanded wood) lets it adhere. Sanding and priming essentially turn that “waxed” surface into something closer to cardboard — porous enough for paint to bite into.
The good news is that this doesn’t require removing all the old polyurethane. You simply need to scuff it up and prime it correctly, and from there, most any paint will perform well.
Oil-based vs. water-based polyurethane also affects your primer and paint choice. Oil-based poly usually pairs best with an oil-based or shellac-based primer, while water-based poly is more forgiving and can often accept a quality bonding primer designed for glossy surfaces.
What You’ll Need Before You Start
Having your materials ready before you begin saves time and prevents frustrating mid-project trips to the hardware store.
| Category | Items Needed |
|---|---|
| Abrasives | 150–220 grit sandpaper, sanding sponge or orbital sander |
| Cleaning | TSP (trisodium phosphate) or mild soap, clean rags, tack cloth |
| Primer | Bonding primer, oil-based primer, or shellac-based primer (e.g., Zinsser BIN) |
| Paint | Latex, oil-based, or chalk paint depending on project |
| Application Tools | High-quality brush, foam roller, or sprayer |
| Protection | Drop cloths, painter’s tape, gloves, mask/respirator |
| Optional Finish | Clear polyurethane or polycrylic topcoat for durability |
Choosing the Right Primer
Primer is arguably the single most important product in this whole process. A bonding primer is formulated specifically to stick to slick surfaces like polyurethane, laminate, and glass, making it a safe all-around choice. If you’re working with an oil-based polyurethane, an oil-based primer creates the strongest chemical bond. Shellac-based primers, such as the well-known Zinsser BIN, are excellent for blocking stains, sealing in old finishes, and adhering to almost anything — including glossy polyurethane.
Choosing the Right Paint
Once primed, you have flexibility. Latex (water-based) paint is easy to clean up, low-odor, and works well for furniture and trim. Oil-based paint offers a harder, more durable finish, which is ideal for high-traffic items like tabletops or cabinet doors, though it takes longer to dry and requires mineral spirits for cleanup. Chalk paint is a popular choice for furniture makeovers because it often skips the priming step altogether, though a light sanding is still recommended for the best results.
Step-by-Step: How to Paint Over Polyurethane
Here’s the process broken into manageable steps. Take your time with each one — rushing prep work is the number one reason paint jobs fail.
Step 1: Clean the Surface
Start by wiping down the entire surface with a rag dampened in warm water and mild soap, or a diluted TSP solution if there’s grease or grime (common on kitchen cabinets). Dirt, oils, and dust left behind will prevent both primer and paint from bonding properly, so don’t skip this step even if the surface looks clean.
Step 2: Sand the Surface
Using 150–220 grit sandpaper, scuff the entire polyurethane surface until it loses its shine and feels slightly rough to the touch. You’re not trying to remove the polyurethane completely — just break its glossy seal so primer has something to grip. An orbital sander speeds this up on large, flat surfaces like tabletops or cabinet doors, while a sanding sponge works well for detailed or curved areas.
Step 3: Wipe Away Sanding Dust
After sanding, dust particles settle into every crevice. Use a tack cloth or a slightly damp microfiber rag to remove all residue. Any leftover dust trapped under your primer will create a gritty, uneven texture once it dries.
Step 4: Apply Primer
Apply a thin, even coat of your chosen primer using a brush or foam roller, following the direction of the wood grain when possible. Let it dry fully according to the product’s instructions — usually anywhere from 1 to 24 hours depending on the type. If the surface still looks patchy or you can see the old finish through it, apply a second coat.
Step 5: Apply Paint
Once the primer is completely dry, apply your paint in thin, even layers rather than one thick coat. Thin coats dry more evenly and reduce the risk of drips or brush marks. Most projects need two coats of paint for full, even coverage, with light drying time between each.
Step 6: Optional Topcoat/Sealant
If the piece will see heavy use — think kitchen cabinets, tabletops, or floors — consider adding a clear protective topcoat like polycrylic or a water-based polyurethane over the painted surface. This adds an extra layer of durability and makes the finish easier to clean.
Special Cases
Not every polyurethane-coated surface behaves the same way. Here’s how the process shifts depending on what you’re working on.
Painting over polyurethane on furniture is generally the most forgiving scenario, since furniture pieces are smaller and easier to sand thoroughly by hand. Chalk paint is especially popular here because it forgives imperfect prep work better than latex or oil-based paint.
Painting over polyurethane on wood floors requires more heavy-duty sanding, often with a floor sander or edger, since foot traffic demands a stronger bond. Floors also benefit from a durable oil-based or specialty floor paint, followed by multiple coats of a protective topcoat.
Painting over polyurethane on cabinets calls for extra attention to degreasing, since kitchen cabinets accumulate cooking residue that plain sanding won’t remove. A bonding primer is almost always recommended here, since cabinets get opened and closed constantly and need a strong, flexible bond.
Painting over old or yellowed polyurethane — common on vintage furniture — is still very doable, but be aware that an oil-based primer with strong stain-blocking properties (like a shellac-based primer) will prevent that yellow tint from bleeding through your new paint color, especially with lighter shades like white or pastel tones.
Common Mistakes to Avoid
Even experienced DIYers run into trouble by skipping steps that seem optional but really aren’t.
- Skipping sanding entirely — paint applied directly to a glossy, unsanded polyurethane surface almost always peels within weeks or months.
- Skipping primer — even lightly sanded surfaces benefit enormously from primer; it’s the glue that holds everything together.
- Painting in humid or overly cold conditions — both primer and paint need proper temperature and humidity to cure correctly; painting in a damp basement or a chilly garage can cause tackiness or poor adhesion.
- Using the wrong paint type for the job — a delicate latex paint on a high-traffic tabletop will wear through much faster than an oil-based paint.
- Rushing drying times — applying a second coat too soon can trap moisture and cause bubbling or peeling later on.
Do You Always Need to Sand? (Alternatives)
Sanding is the most reliable way to prep a polyurethane surface, but it isn’t the only option.
Liquid Deglosser as a Sanding Alternative
Liquid deglosser (sometimes called liquid sandpaper) is a chemical product that breaks down the glossy finish without any physical sanding. It’s applied with a rag, left to sit briefly, and wiped away, leaving a dull, paint-ready surface. This is a great option for detailed furniture with grooves, carvings, or trim work that would be tedious to sand by hand.
When Sanding Is Absolutely Necessary vs. Optional
Sanding is essentially mandatory on floors and heavily used furniture where durability matters most, since the physical texture created by sandpaper offers a stronger mechanical bond than deglosser alone. On lighter-use decorative pieces, however, a liquid deglosser paired with a strong bonding primer can be a perfectly acceptable shortcut.
How Long Does It Take? (Time Expectations)
Time expectations vary depending on your products and project size, but here’s a general breakdown:
| Stage | Typical Time |
|---|---|
| Cleaning the surface | 15–30 minutes |
| Sanding | 30 minutes to a few hours (depending on size) |
| Primer drying time | 1–24 hours (check product label) |
| Paint drying time (between coats) | 2–6 hours |
| Full paint cure time before heavy use | 24–72 hours (up to 2–4 weeks for full hardness) |
Keep in mind that “dry to the touch” and “fully cured” are two different things. A painted tabletop might feel dry within a day but shouldn’t have heavy objects placed on it for a couple of weeks while the paint reaches full hardness.
Tips for a Long-Lasting, Professional Finish
A few small habits separate an amateur-looking paint job from one that looks store-bought.
Using high-quality brushes and rollers reduces visible brush strokes and lint in your finish. Applying thin, even coats — rather than one thick, heavy coat — prevents drips, sagging, and uneven drying. Paying attention to environmental conditions, like keeping the workspace between roughly 65–85°F with moderate humidity, helps both primer and paint cure as intended. Finally, adding a protective topcoat over your finished paint job, especially on furniture and cabinets, extends the life of your work significantly and makes future cleaning much easier.
Frequently Asked Questions (FAQ)
Can you paint over polyurethane without sanding? It’s possible using a liquid deglosser and a strong bonding primer, but sanding remains the most reliable method for long-term adhesion, especially on high-use surfaces.
What happens if you don’t prime before painting? Without primer, paint has a much higher chance of peeling, chipping, or wearing away quickly, since it has nothing to properly bond to on a sealed polyurethane surface.
How long should polyurethane cure before painting? If the polyurethane was recently applied, let it cure fully — typically around 30 days — before sanding and painting over it, since painting over a still-curing finish can trap solvents and cause adhesion problems.
Can you use chalk paint over polyurethane? Yes, chalk paint is one of the more forgiving options and can often be applied with minimal sanding, though a light scuff sand still improves adhesion and durability.
Will paint eventually peel off polyurethane? If proper prep steps (cleaning, sanding, priming) are followed, painted polyurethane surfaces can last for years without peeling; skipping prep is what usually leads to premature peeling.
Conclusion
So, can you paint over polyurethane? Absolutely — and it’s a far more approachable project than most people expect. The secret isn’t some special paint or expensive product; it’s proper preparation. Clean the surface, sand or degloss it to remove the shine, apply the right primer for your polyurethane type, and finish with thin, even coats of your chosen paint.
Whether you’re refreshing an old dresser, updating tired kitchen cabinets, or reviving a wood floor, this process gives you the freedom to change the look of a piece completely without the time and mess of stripping it down to bare wood. If you’re still unsure how your specific surface will respond, start with a small, inconspicuous test area before committing to the whole project — it’s the easiest way to build confidence before diving in.
Related Aricles
Can You Paint Ceramic Tile? A Complete Step-by-Step Guide
Do You Sand Primer Before Painting? A Complete Step-by-Step Guide
What Is Thinner in Paint? A Complete Guide to Types, Uses & Safety Tips