

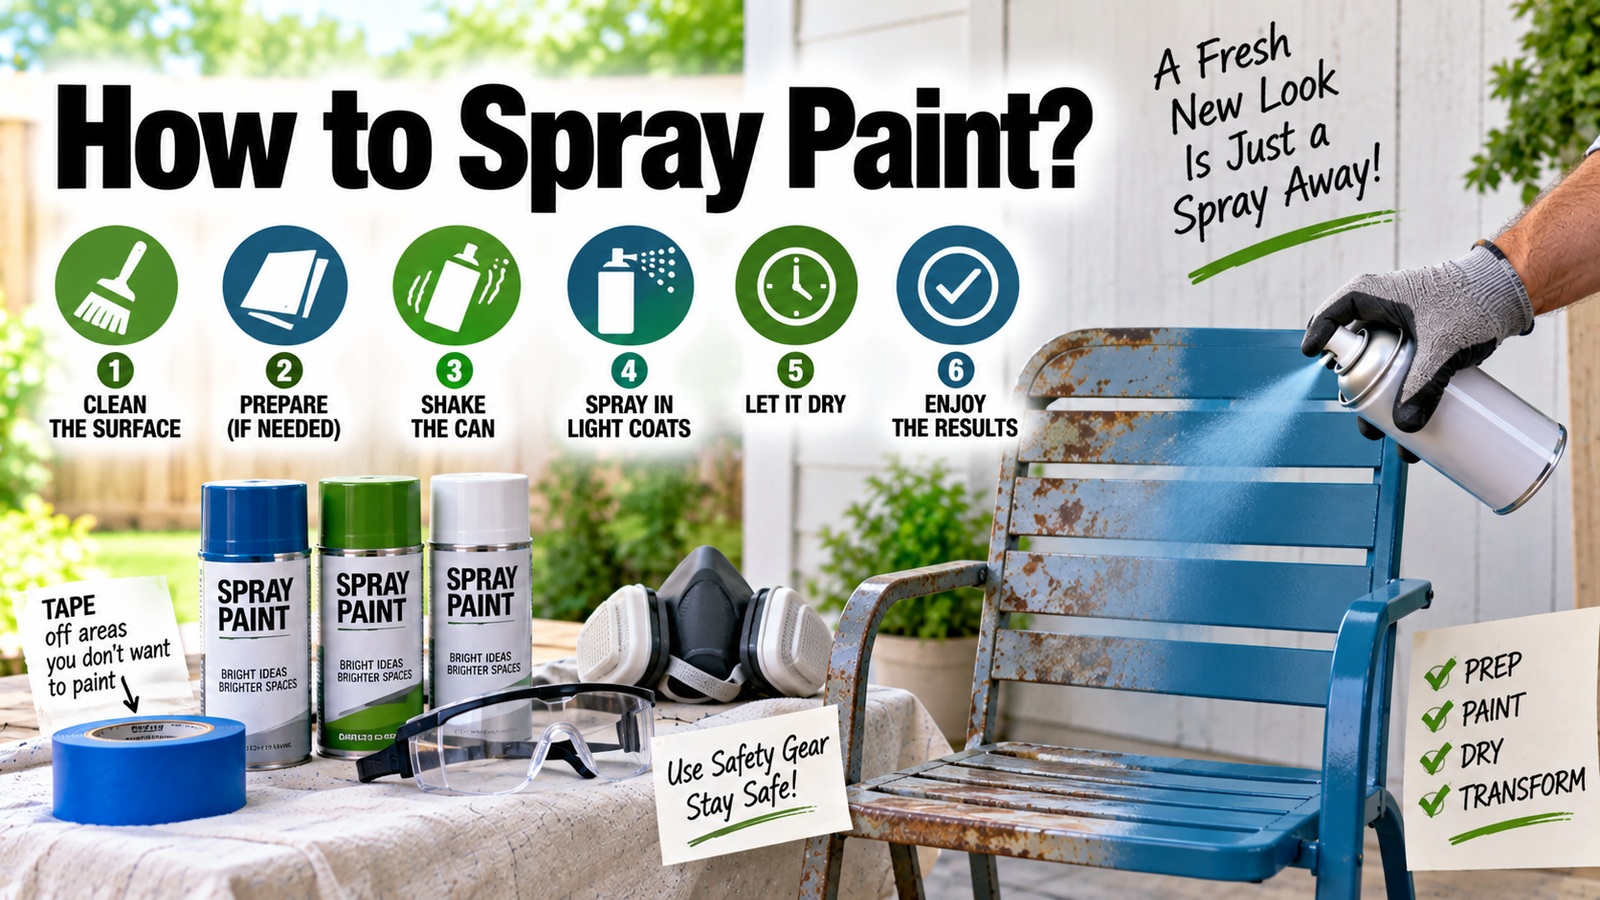

Hold the can about 10 inches from the surface, keep it moving at a steady speed, and start and stop each pass off the edge of the object. Build the colour with two or three light coats rather than one heavy one.
That is the whole technique. Almost every bad spray job comes from one of three things: spraying too close, moving too slowly, or trying to cover in a single pass.
The rest of this guide covers the parts that decide whether that technique works: the prep, the conditions, and the recoat timing that quietly ruins more projects than bad aim ever does.
Set up your workspace
Work outdoors or in a garage with the door wide open. Aerosol paint puts solvent vapour and fine mist into the air, and neither belongs in a closed room.
Give yourself a catch area. A large cardboard box laid on its side makes an effective spray booth for small items, containing overspray that would otherwise drift onto everything within a few feet.
Raise the object off the ground. Empty tins, jars, or offcuts of timber under the piece let you reach the lower edges without tipping it, and stop the item sticking to the drop cloth.
Put something absorbent underneath. Cardboard or a canvas drop cloth is better than plastic sheeting, which lets overspray pool and stay wet.
Keep a pair of tweezers nearby. Something always lands in a wet coat, and lifting it out immediately is far easier than sanding it out later.
Choosing the right can
Match the paint to the material first. Most failures that look like technique problems are actually the wrong product on the wrong surface.
General purpose enamel handles wood, primed metal, and most craft surfaces. It is the default for furniture and garden items.
Plastic needs either a plastic-specific paint or a plastic primer underneath, because ordinary enamel has nothing to grip on a smooth polymer and will flake off at the first knock.
Bare metal wants a rust-inhibiting primer under the colour, and outdoor metal wants it without exception.
Anything that gets hot, like a barbecue, a stove surround, or engine parts, needs a dedicated high heat paint. Ordinary paint will discolour and blister.
Then pick a sheen. Gloss is the most durable and the easiest to wipe clean, but it shows every flaw in your prep. Satin is the forgiving middle ground and the safest choice for a first project. Matte hides surface imperfections best and marks most easily.
Buy more than you think. A single can covers less than people expect once you are applying the thin coats this job needs, and running out halfway through a piece means a visible join or a wait for a colour that may not match.
Prepare the surface
Paint sticks to a surface that is clean, dull, and dry. Skipping this is the most common reason a finish peels weeks later.
Degrease first, always. Fingerprints, furniture polish, and kitchen grease all cause fisheyes, and no amount of sanding removes a contaminant you have just rubbed deeper in.
| Surface | Preparation | Primer? |
| Bare wood | Sand to 180 or 220 grit, remove all dust | Yes, wood primer |
| Bare metal | Degrease, remove rust, scuff the surface | Yes, rust-inhibiting |
| Plastic | Wash, dry, then scuff lightly with fine paper | Plastic primer or an all-in-one paint |
| Previously painted | Clean, degrease, and scuff to dull the sheen | Only over bare patches |
| Glass or ceramic | Clean with rubbing alcohol | Yes, a specialist primer |
Prime unless the can says otherwise. Some products, sold as all-in-one or paint-and-primer, are formulated to go straight onto scuffed plastic and bare metal. Everything else does better with a primer matched to the material.
Wipe the dust off after sanding. A vacuum followed by a microfiber cloth is enough, and the surface needs to be completely dry before anything is sprayed.
How to spray?
- Shake the can hard for one to two minutes after the ball starts rattling, and shake it again every minute or so while you work.
- Test on scrap cardboard. This clears any dried paint from the nozzle and shows you the spray pattern before it lands on your project.
- Hold the can 8 to 12 inches away, upright, and perpendicular to the surface.
- Start the spray just off one edge, sweep across in a straight line at a steady pace, and release just past the far edge. Never start or stop over the piece.
- Overlap each pass by about half the width of the previous one. This is what gives even coverage.
- Move your whole arm, not your wrist. Swinging from the wrist arcs the can, which puts more paint in the middle of the pass and less at the ends.
- Keep the first coat light enough that you can still see the surface through it. Coverage comes from the second and third coats.
- Rotate the piece 90 degrees for the next coat if you can, so the passes cross the previous ones.
Resist the urge to fix a thin patch while the coat is wet. Going back over a wet area is what creates runs. Let it flash off and correct it on the next coat.
The recoat window that ruins most projects
This is the single most useful thing to know about aerosol paint, and it is not intuitive.
Many solvent-based spray paints tell you to recoat within one hour, or else wait 48 hours. The gap in between is the danger zone.
The reason is in the chemistry. Rust-Oleum’s own troubleshooting guidance explains that a coat starts forming a skin almost immediately, and if you spray over it while the paint underneath is still drying, the solvents in the new coat break through that skin. The result is wrinkling: a raised, crinkled surface that looks like a dried-up riverbed.
So either work fast and get your coats on within the hour, or walk away and come back in two days. Do not sand in between either, because sanding breaks the skin and exposes the soft paint below to the next coat’s solvents.
Heavy coats make it worse. Thick paint dries slowly, which leaves it vulnerable for longer and invites orange peel and cracking alongside the wrinkling.
Check your own can. Recoat windows differ between brands and product lines, and some acrylic formulas are far more forgiving than the enamels.
Conditions that decide the result
Manufacturer drying times generally assume around 70°F and 50 percent humidity. The further you are from that, the more the timings shift.
Heat and direct sunlight cause the surface to skin over too quickly while the paint underneath stays soft, which contracts the top layer and causes wrinkles and bubbles. Move into the shade.
Cold and humidity slow everything down. Paint applied on a cold damp day stays soft for far longer than the can suggests, and high humidity can leave a white haze in the finish.
Wind is the underrated one. A breeze blows atomised paint off course before it lands, giving patchy coverage and a gritty texture as half-dried droplets settle. If you must work in a breeze, put the wind at your back so it carries overspray away from you and the piece.
Looking after the can
Clear the nozzle after every session. Turn the can upside down and spray until only clear propellant comes out, which takes a couple of seconds and stops the tip clogging.
If a nozzle blocks anyway, pull it off and soak it in a little mineral spirits rather than trying to poke it clear with a pin, which deforms the opening.
Store cans upright, somewhere that stays between room temperature and cool. Do not leave them in a car in summer or a shed in winter.
Keep the cap on. Aerosol paint has a shelf life of roughly two to five years, and the propellant usually fails before the paint does.
Fixing what went wrong
Runs and drips mean too much paint in one place, from spraying too close or too slowly. Let it dry fully, sand the run flat with fine paper, and respray a light coat.
Orange peel, a dimpled texture like the fruit, comes from spraying too far away or in air that is too warm, so the droplets partly dry before they land. Move closer and work in cooler conditions.
Spitting is usually a partly blocked nozzle or a can that was not shaken enough. Clear the tip and shake again.
Wrinkling means you recoated inside the danger window. Sand the wrinkled area smooth with 220 to 320 grit, clean off the debris, wait 24 to 48 hours, then apply a light even coat across the whole affected panel so the colour and sheen match.
Fisheyes, small craters in the finish, mean contamination. Something greasy was on the surface. Sand back, degrease properly, and start again.
Patchy coverage usually means too few coats rather than a faulty can. Three light coats will always look better than two heavy ones.
Staying safe
Spray painting generates both vapour and airborne mist, and the Canadian Centre for Occupational Health and Safety lists the main hazards as chemical toxicity plus fire and explosion risk.
A paper dust mask does nothing here. Solvent vapour passes straight through it. If you are spraying anything more than briefly, use a respirator with organic vapour cartridges.
Ventilate properly. Outdoors is best, and a garage counts only with the door open and air actually moving through.
Treat ignition sources seriously. Aerosol propellant and solvent vapour are flammable, so keep spraying away from pilot lights, heaters, welding, grinding, and anything that sparks.
Wear gloves and eye protection, and read the label. The safety data sheet tells you what is in the specific product in your hand, which varies more than the cans suggest.
Never puncture or burn a can, even an empty one, and check local rules for disposing of part-used ones.
Conclusion
Clean and scuff the surface, prime it, then spray in light coats from about 10 inches, moving steadily and starting each pass off the edge. Get your coats on within an hour of each other or wait two days, because the window in between is what causes wrinkling. Work somewhere ventilated, out of the sun and the wind, at around room temperature, and clear the nozzle before you put the can away.
Frequently asked questions
How far should you hold a spray can from the surface?
About 8 to 12 inches, held upright and square to the surface. Closer than that puts too much paint down and causes runs. Further away and the paint partly dries in the air, giving a gritty, dimpled finish.
How many coats of spray paint do you need?
Usually two or three light coats. Each should be thin enough that the surface still shows through the first one. Two thin coats will always outperform one heavy coat for both finish and durability.
How long between coats of spray paint?
Check the can, but many solvent-based paints say within one hour or after 48 hours. Recoating in between lets the new solvent break the skin on the drying coat underneath, which causes wrinkling.
Do you need to prime before spray painting?
Usually yes, unless the can states it is an all-in-one product. Primer matters most on bare metal, bare wood, plastic, and any surface where you want the finish to survive handling.
Why is my spray paint bubbling or wrinkling?
Almost always recoat timing, heavy coats, or heat. Spraying in direct sun or over a coat that is still drying makes the surface skin over while the paint below stays soft. Sand it back and recoat after 48 hours.
Related Articles
How to Take Paint Off Metal: 4 Methods That Work
How to Tell If Paint Is Lead-Based (A Clear Guide)