

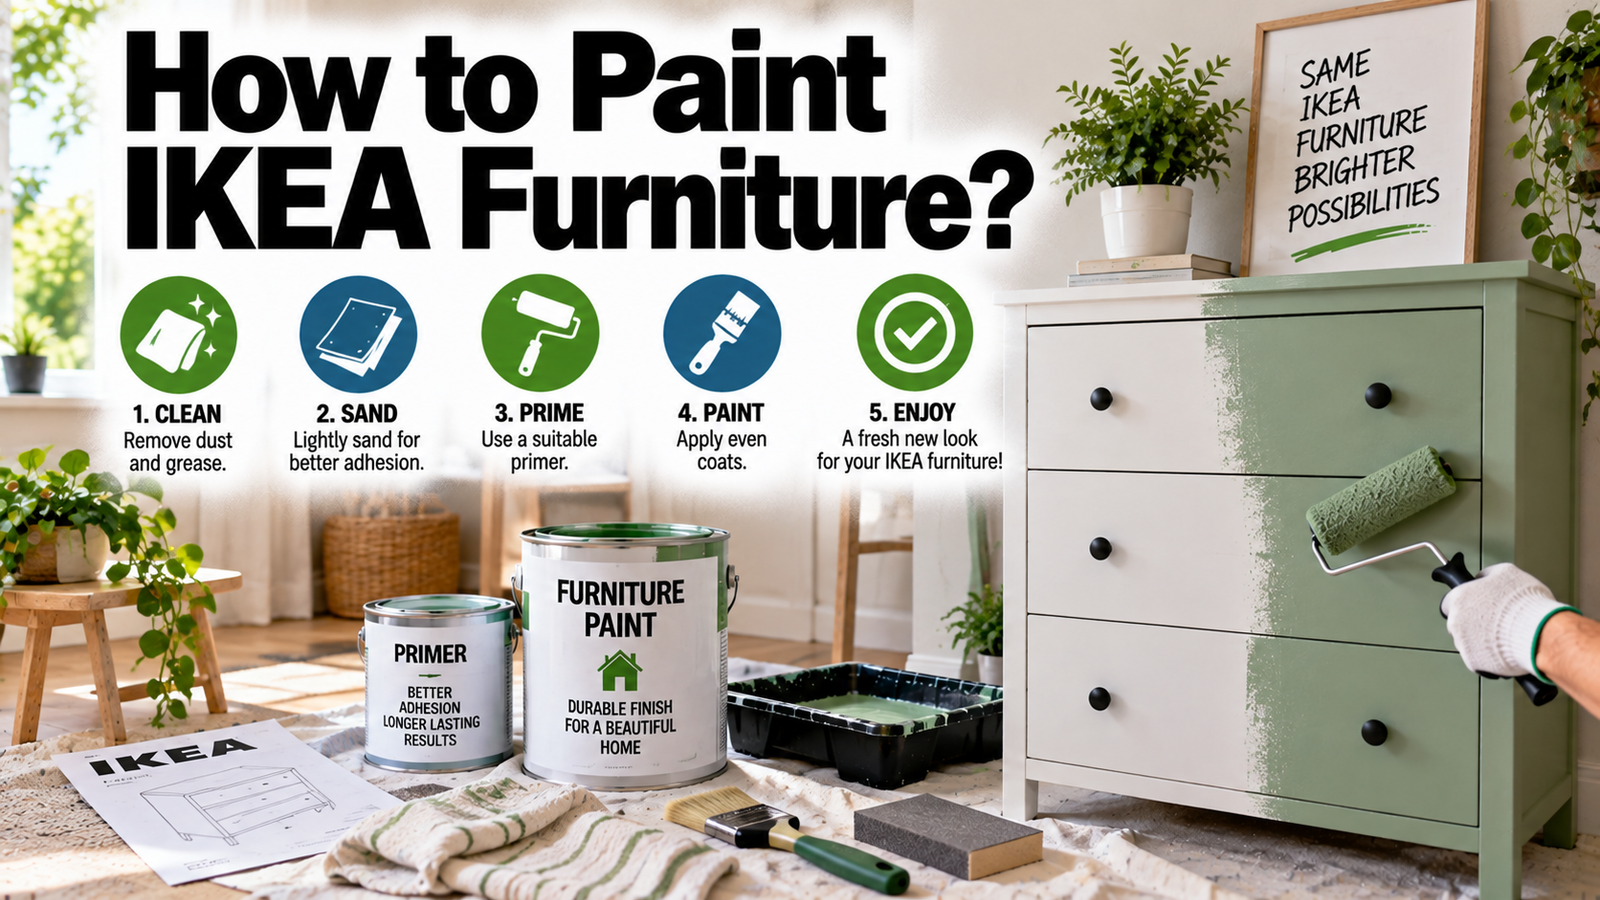

Painting an IKEA piece is one of the cheapest ways to get a custom, high-end look at home. A plain white BILLY or MALM can become any color you like for the price of a can of primer and paint. There is a catch, though, and it is the reason for all those horror stories about paint peeling off in sheets after two days: most IKEA furniture is slick laminate, and ordinary primer will not stick to it. Get one product right and the whole job holds for years. Here is how to do it properly.
- Can you actually paint IKEA furniture?
- First, know what your piece is made of
- The one thing that makes or breaks the job: primer
- How to paint IKEA furniture, step by step
- Mistakes that make the paint chip
- Conclusion
- Frequently asked questions
- Do you have to sand IKEA furniture before painting?
- What primer should you use on IKEA laminate furniture?
- Why does paint peel off IKEA furniture?
- Can you paint IKEA furniture without a topcoat?
- How long should you wait before using painted IKEA furniture?
- Related Articles
Can you actually paint IKEA furniture?
Yes, and it is easier than painting real wood in some ways. The surface is smooth and even to start with, so there is no grain to fill and no old finish to strip. What trips people up is not the painting, it is the prep and the primer. Skip those, or use the wrong products, and the paint peels. Follow the steps below and your painted piece will look custom and survive daily use and even a house move.
It is also one of the best-value updates in a home. A basic flat-pack piece costs a fraction of custom furniture, and a coat of paint plus new hardware can make it look bespoke. That is the whole appeal of the IKEA hack: you are paying for a blank canvas and adding the style yourself. Renters like it too, since you can paint just the removable parts, drawer fronts and shelves, and take them along to the next place.
One quick decision before you start: paint it disassembled if you can. A flat panel is far faster and cleaner to coat than a built box, and you avoid brush marks in awkward corners. If your piece is new, just do not build it yet. If it is already assembled and you have lost the Allen keys, you can still paint it in place, but mask off anything you do not want painted and expect a few steps to take longer.
First, know what your piece is made of
Not every IKEA item is the same material, and the material decides your approach. Check the product sticker or the listing on IKEA’s site to confirm what you have.
| Material | How to tell | What it needs |
| Laminate / melamine | Smooth, slick, plastic-like surface over particle board (BILLY, KALLAX, MALM, PAX) | The tricky one: shellac primer is essential, light scuff helps |
| Solid pine / wood | Real wood grain you can feel; often unfinished | Sand, then any decent wood primer and paint |
| Metal | Steel frames and legs, often powder-coated | Shellac or bonding primer, then paint; scuff glossy coats |
Most of IKEA’s popular storage and bedroom pieces are laminate, sometimes called melamine, which is a thin plastic-like coating over particle board. That is the surface everyone worries about, so the rest of this guide focuses on it. If yours is solid pine or a real wood veneer, you have it easier: those can be sanded and take ordinary wood primer and paint, or even stain in the case of veneer. Laminate cannot be stained at all, since there is no real wood to soak it up. It can only be painted.
Why does the material matter so much? Paint sticks to a surface in two ways: it soaks into pores, and it grips microscopic texture. Bare wood has both, so paint clings easily. Laminate has neither. It is a sealed, glossy plastic film, which is exactly why it needs a primer built to bond to slick surfaces. Knowing which camp your piece falls into tells you, in one step, how much work is ahead and which products to buy.
The one thing that makes or breaks the job: primer
If you remember nothing else, remember this: on laminate, use a shellac-based primer. This is the single reason IKEA paint jobs succeed or fail. Regular water-based and oil-based primers struggle to grip the slick, non-porous laminate, and the paint over them can start chipping within months. Shellac primer bonds to that glossy surface, dries rock hard, and gives your topcoat something to hold onto.
The most recommended product by far is Zinsser B-I-N shellac-based primer. It sticks fast, dries in under an hour, and sands smooth. Dedicated bonding primers like Sherwin-Williams Extreme Bond and INSL-X STIX also grip laminate well and have less odor, so they are a fair alternative. What you should not reach for is a standard multi-surface primer from the garage, which is the classic mistake behind peeling.
Two honest warnings about shellac primer: it smells strong, so open the windows, and it cleans up with denatured alcohol rather than soap and water. The trade-off is the most durable base you can put on laminate.
A note on the topcoat that pairs with it: once the shellac primer is down, most quality furniture paints will bond happily, whether that is a latex enamel, chalk paint, or mineral paint. A satin or semi-gloss sheen wears and wipes better than flat on furniture that gets touched.
For application, a small foam roller gives the smoothest, most even finish on flat panels, with a synthetic brush for edges and detail. Foam is worth choosing over a standard nap roller because it leaves less texture, which matters on furniture you view up close. You can also spray, either with rattle cans or an airless sprayer, which lays down the most flawless coat of all but takes longer to build up and needs more masking. Whatever tool you use, thin, even layers are the goal, not full coverage in one pass.
How to paint IKEA furniture, step by step
Here is the full process for a laminate piece, from flat-pack to finished. Work in a ventilated space and, above all, do not rush the drying and curing times. The finish stays soft for days after it looks dry, and that is when most damage happens.
- Disassemble and remove hardware. Take off doors, drawers, shelves, knobs, and handles. Bag the screws and label the parts so reassembly is painless later.
- Clean every surface. Wipe the piece down to lift dust, grease, and fingerprints. Paint will not bond to a dirty surface, and this is a step people skip when they are eager to start.
- Scuff-sand lightly. Give the surface a quick once-over with a 180 to 220-grit sanding sponge. You are not removing anything, just knocking the shine off so the primer grips better. Vacuum the dust and wipe with a tack cloth. Modern shellac and bonding primers can technically skip this, but a light scuff is cheap insurance.
- Apply shellac primer. Roll or brush one even coat of shellac-based primer over everything you plan to paint. A foam roller on the flats and a brush for edges gives a smooth result. On darker pieces, a second coat helps the new color cover evenly. Let it cure properly, ideally a day, even though it feels dry in an hour.
- Paint two thin coats. Apply your color in thin, even layers, letting each dry fully before the next. Two thin coats always beat one thick one, giving smoother coverage and a harder finish. Lightly sand with fine 320-grit between coats for a truly smooth result.
- Seal high-use pieces. Tabletops, desks, and shelves that take daily wear benefit from a clear topcoat like a water-based polycrylic. Low-traffic pieces like a bookcase can skip it. Test the sealer on a hidden spot first, since some paint-and-topcoat combinations can cloud.
- Let it cure before use. This is the hardest step: wait. Paint can take days to weeks to fully harden. Give it as long as you can, ideally about a week, before heavy use or reassembly, or you will dent the soft finish putting it back together.
Mistakes that make the paint chip
Almost every peeling IKEA project traces back to one of these. Avoid them and your finish will last.
- Using the wrong primer. The big one. A standard primer on laminate is why paint peels in weeks. Use shellac or a true bonding primer made for slick surfaces.
- Not cleaning first. Invisible grease and dust wreck adhesion. Wipe everything down before you prime.
- Piling on thick coats. Heavy layers stay gummy, dry unevenly, and chip at the edges. Go thin, and build up.
- Reassembling too soon. A finish that feels dry can still be soft underneath. Handling it early leaves dents and nicks. Patience here pays off for years.
- Skipping the topcoat on high-traffic pieces. A desk or table without a sealer wears through faster. Match the protection to how hard the piece gets used.
Conclusion
Painting IKEA furniture is a genuinely satisfying, low-cost upgrade, and it only feels risky because of the laminate. Beat that with the right product: clean and lightly scuff the piece, prime it with a shellac-based primer, then lay down two thin coats of paint and seal anything that gets heavy use. Give it real time to cure before you put it back together. Do that, and a $60 flat-pack piece can look custom and stay that way for years.
Frequently asked questions
Do you have to sand IKEA furniture before painting?
Not heavily. Modern shellac and bonding primers grip laminate without sanding to bare surface. A light scuff with 180 to 220-grit still improves adhesion, so a quick pass is worth the few minutes.
What primer should you use on IKEA laminate furniture?
A shellac-based primer like Zinsser B-I-N is the top choice, since it bonds to slick laminate that regular primers slide off. Bonding primers such as Extreme Bond or STIX are good lower-odor alternatives.
Why does paint peel off IKEA furniture?
Almost always the wrong primer, or none. Laminate is smooth and non-porous, so ordinary paint and primer cannot grip it and flake off. A shellac or bonding primer fixes the problem.
Can you paint IKEA furniture without a topcoat?
Yes, on low-traffic pieces like bookcases or decorative items. But desks, tables, and shelves that get daily use last much longer with a clear polycrylic topcoat over the paint.
How long should you wait before using painted IKEA furniture?
Give it as long as you can, ideally about a week. Paint feels dry in hours but takes days to fully cure. Reassembling or using it too soon dents the soft finish.
Related Articles
How to Paint Shutters: Step-by-Step Guide