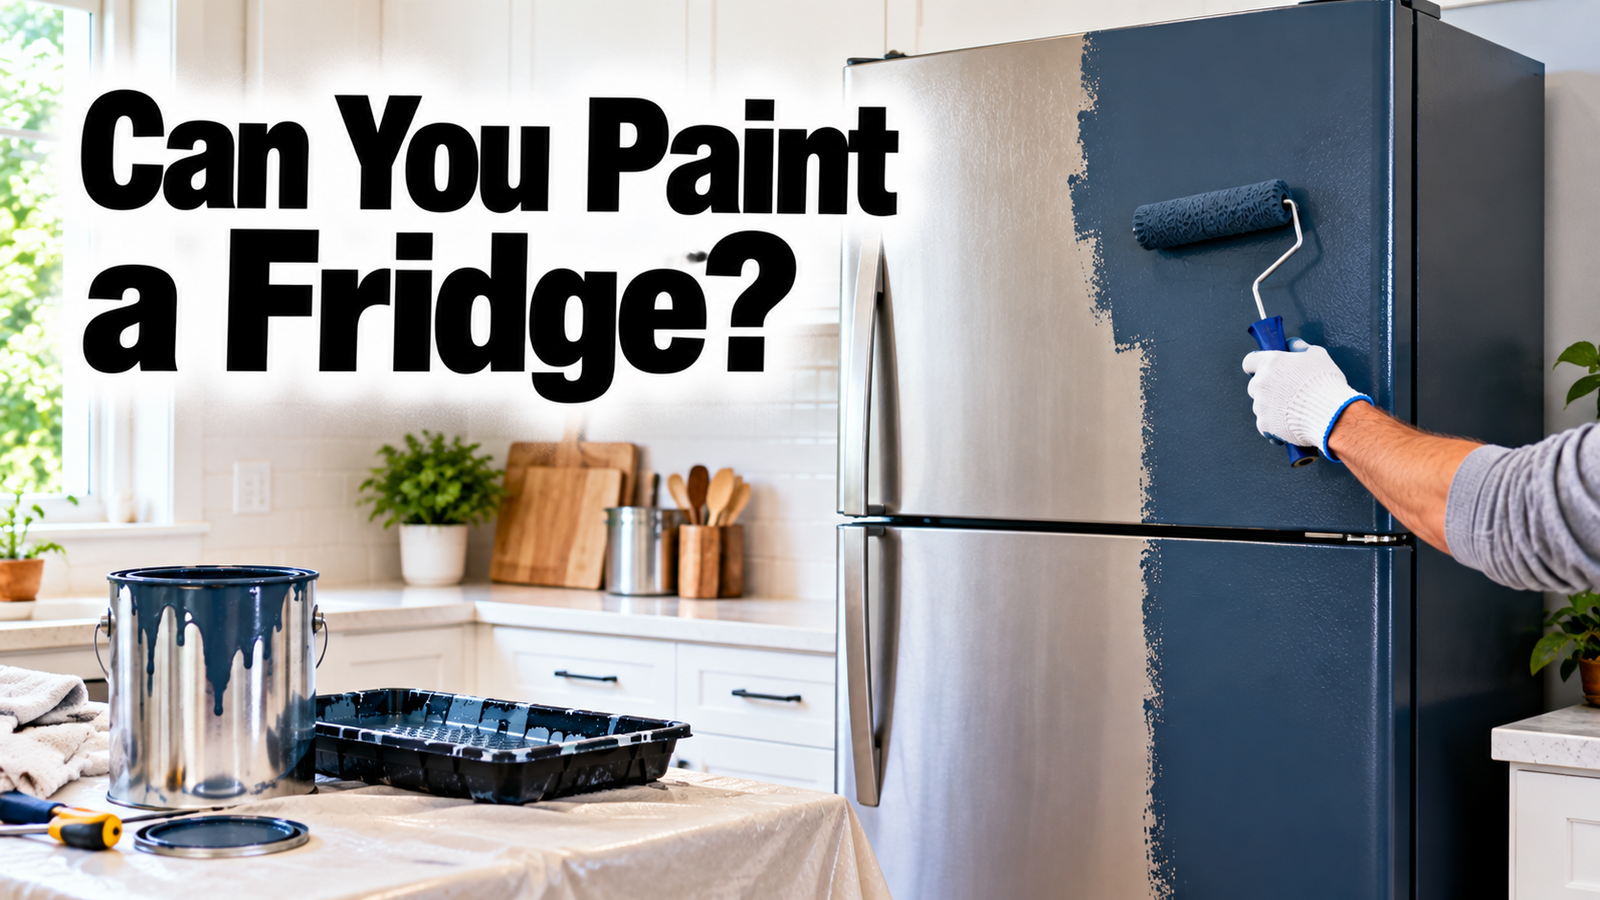

Yes, you can paint a refrigerator, and it’s a cheap way to fix a yellowed, scratched, or mismatched fridge without buying a new one. The key is using appliance epoxy, not regular wall paint, and prepping the surface so it bonds. A good paint job can make an old fridge look brand new for around $20 and an afternoon of work. Here’s exactly how to do it, which paint to use, how to stay safe, and the few parts you should never paint.
Can you paint a fridge? The short answer
Yes, and refrigerators are actually good candidates. Their exterior is smooth, durable metal or plastic, which takes paint well once it’s cleaned and lightly scuffed. With the right product and prep, the new coat bonds tightly and won’t peel easily. People paint fridges to cover wear and yellowing, match a new color scheme, or fake an expensive finish like stainless steel or a retro pastel.
The catch is durability and safety rather than difficulty. The painting itself is simple, but you have to use appliance-grade paint, ventilate well because the fumes are strong, and steer clear of the working parts. Get those right and it’s one of the most satisfying budget kitchen updates there is.
What paint to use
This is the decision that makes or breaks the job. Skip regular wall or latex paint entirely, since it won’t grip the slick surface and will scratch and peel. Use a paint made for appliances. Here are your options:
| Paint | Why choose it | Good to know |
| Appliance epoxy | The go-to. Bonds to slick metal and plastic, resists moisture and rust | Strong fumes, comes in spray or brush-on |
| Oil-based enamel | A durable, hard-shell alternative | Slower drying, strong odor, get it color-matched |
| Liquid stainless steel | Fakes a brushed-steel look on a white fridge | Brushed on with a squeegee for grain |
| Latex / wall paint | Not recommended | Won’t bond well, scratches and peels |
Appliance epoxy is the standard choice. A product like Rust-Oleum Appliance Epoxy is engineered to bond to the slick metal and plastic of a fridge and to resist moisture, rust, and frequent cleaning. It comes in appliance colors like white, black, almond, and stainless-look silver, as a spray or brush-on.
Oil-based enamel is a solid alternative that dries to a hard shell. It’s slower to dry and smells strong, but a real paint store can color-match it for you.
Liquid stainless steel is a specialty product that mimics a brushed-steel look on a white fridge, brushed on and dragged with a foam squeegee to create the grain.
Safety and prep come first
Before any paint goes on, handle safety and prep, because both matter more than the painting. Appliance epoxy and enamels contain strong solvents, so this isn’t a paint-it-in-the-kitchen project.
- Unplug the fridge. Pull the plug and, ideally, move the fridge to a garage, porch, or yard. If it has to stay inside, open every window and door.
- Ventilate and mask up. The fumes are toxic to breathe. Wear a proper respirator, not a paper dust mask, plus gloves and eye protection.
- Clean and degrease. Wash every surface with soapy water, and use a degreaser on the greasy door areas. Any oil left behind stops the paint from sticking.
- Sand lightly. Scuff the surface with a 220-grit sanding sponge to dull the sheen and give the paint a grip. Wipe off the dust.
- Remove handles and tape off. Take off the handles, and tape the brand emblem, buttons, hinges, and especially the rubber door gasket.
How to paint a fridge (step by step)
With the fridge unplugged, prepped, and in a ventilated spot, here’s the process:
- Protect the area. Lay drop cloths, and mask anything you don’t want painted, tucking painter’s tape into the channel where the gasket meets the body for a clean line.
- Prime if needed. Most appliance epoxies don’t require a separate primer, but if you’re painting bare or previously problem-prone spots, an oil-based primer helps on steel. Check your product’s label.
- Apply thin coats. Whether spraying or using a high-density foam roller, build the color in light, even coats. Cut in tight areas like around hinges with a small brush first, then blend with the roller. Thin coats level cleanly and avoid drips.
- Mind the recoat window. Epoxy is fussy about timing. Some formulas want the next coat within an hour, or else you wait a full week. Recoating outside that window can wrinkle or lift the paint, so follow the label exactly.
- Build to full coverage. Expect two or three coats for an even, opaque finish. Stop once it looks uniform rather than piling on more.
- Let it cure. Leave it at least 24 hours before reattaching handles or plugging it back in. Full hardness takes longer, so be gentle with it for the first week or two.
What you should not paint
This is the part the cheerful tutorials skip, and it matters for both safety and function. Keep paint off these:
- The rubber door gasket. Paint stiffens it and ruins the seal, which makes the fridge work harder and run up your energy bill. Always tape it off.
- The condenser coils and vents. These need to release heat freely. Coating them can cause the fridge to overheat, so leave all the working parts at the back and bottom bare.
- The inside. Appliance epoxy is for exterior surfaces only. Never paint the interior, where it would contact food, or anything that gets submerged in water.
The single most common mistake is painting over the door gasket. It seems minor, but a stiff, painted seal lets cold air escape and can make the whole fridge underperform. Tape it off every time.
How long does it last?
Done properly, a painted fridge holds up well for years. The finish feels dry within a day, but appliance epoxy keeps hardening for anywhere from one to four weeks, and it only reaches its full scratch resistance once fully cured. Product testing at outlets like Reviewed found the before-and-after difference on an old fridge to be dramatic. That’s why gentle treatment early on pays off.
Durability comes down almost entirely to prep. The number one reason paint fails is skipping the cleaning and sanding, which leaves the coat with nothing to grip. Clean thoroughly, scuff the surface, use real appliance paint, and let it cure, and the finish resists everyday knocks and cleaning. An optional clear polyurethane or epoxy topcoat adds extra scratch protection if the fridge sees heavy use.
A no-commitment alternative: contact paper
If you’re not ready to commit to something permanent, adhesive contact paper is worth considering. It comes in matte black, stainless-look, wood grain, and more, costs about the same as paint, and goes on faster with easier prep.
Its big advantage is that it peels off. If you change your mind, damage it, or want to sell the fridge later, you can remove it and return to the original surface, which you can’t do with paint. The trade-off is that it can bubble or peel at the edges over time and may not look as seamless as a good paint job. For renters or the commitment-shy, though, it’s a smart middle ground.
Conclusion
So, can you paint a fridge? Yes, and it’s a cheap, high-impact update when you do it right. Use appliance epoxy, never wall paint. Unplug the fridge, ventilate well and wear a respirator, then clean, sand, and tape off the gasket and working parts before applying thin coats. Keep paint off the seal, coils, and interior, and let it cure fully. If permanence worries you, contact paper is a peel-off alternative. Either way, a tired fridge can look brand new for very little money.
Frequently asked questions
What kind of paint do you use on a refrigerator?
Appliance epoxy is the best choice, since it bonds to slick metal and plastic and resists moisture and cleaning. Oil-based enamel works as an alternative. Avoid regular latex or wall paint, which won’t adhere well and will scratch and peel.
Do you have to sand a fridge before painting?
Yes. A light scuff with a 220-grit sanding sponge dulls the glossy surface so the paint can grip. Clean and degrease first, sand, then wipe off the dust. Skipping this is the top reason painted fridges peel.
How long does a painted fridge take to dry?
It feels dry within about 24 hours, but appliance epoxy keeps curing for one to four weeks. Wait a full day before reattaching handles or plugging it in, and treat the finish gently until it fully hardens.
Is it safe to paint a refrigerator?
It can be, with precautions. Unplug the fridge, work in a well-ventilated area, and wear a respirator, since the fumes are strong. Never paint the door gasket, condenser coils, or interior, as that affects the seal, cooling, and food safety.
Will painting my fridge make it stop working?
Not if you keep paint off the working parts. Painting the exterior panels is fine, but coating the gasket ruins the seal and painting the coils or vents can cause overheating. Tape those off and stick to the visible outer surfaces.
Related Articles
How to Clean Walls Before Painting: A Simple Step-by-Step
How to Get Paint Off Laminate Floor Without Damage?
How to Remove Paint from Plastic: 7 Easy & Safe Methods That Work